This article describes the progress of a fiber-reinforced polymer monopod robot that I built over a period of about 30 days. My hope is that seeing some of the successes and failures I encountered will help you build your own composite robots. Foam and fiberglass are very versatile materials that are just as accessible to garage-level workshops as they are to research institutions, as I hope you will see.
If this article interests you, perhaps look at the FRP tutorial slides I made, or watch the tutorial video.
Project Background
I built a robot for my Ph.D. thesis while working at a research institution in Italy, the Istituto Italiano di Technologia. Italy is an absolutely lovely place to live – people are healthy, their eyes usually excude a great understanding of human compassion, the food is reliably delicious, and the weather is amazing. But every culture has it weakpoints, and it is probably fair to say that Italians are not well known for their planning and organization. So maybe it will not surprise you that, like so many other projects in Italy, my thesis robot was constructed in a rush and at the last minute.
Due to some miscommunications, bureaucratic delays, and funding hiccups, I did not even have the parts that I needed until after the end of my thesis research period. By way of background, beginning a Ph.D. in Europe usually implies you to have gotten a Masters degree first, so the durations are shorter than in the USA. In Italy, to prevent the abuse of vulnerable and underpaid Ph.D. students, there is even a legal limit to a Ph.D.’s duration, which is a period of about three to three and a half years, followed by a three to six month period of writing the thesis. In my case, after working for three years on compliant actuation, delays meant that the construction of my robot actually began in the final three-month period allocated for us students to write our theses, so I was in a real hurry to build, code, and write as fast as my fingers could possibly type!
The point of building the robot was to try to design a mechanical structure with mechanical dynamics that would naturally be very close to actual hopping motions, even without any control effort applied. Using electric motors in a hopping robot is difficult, as they have a fairly low power-to-weight ratio. I tried to solve the problem by designing custom actuators with transmissions built to match the simulated mechanical dynamics of a 3-link hopping robot. This meant big springs, and a mechanism for stretching them elastically.
Actuator Background
Some but not all of the actuator parts arrived in December 2011, all shiny and new:
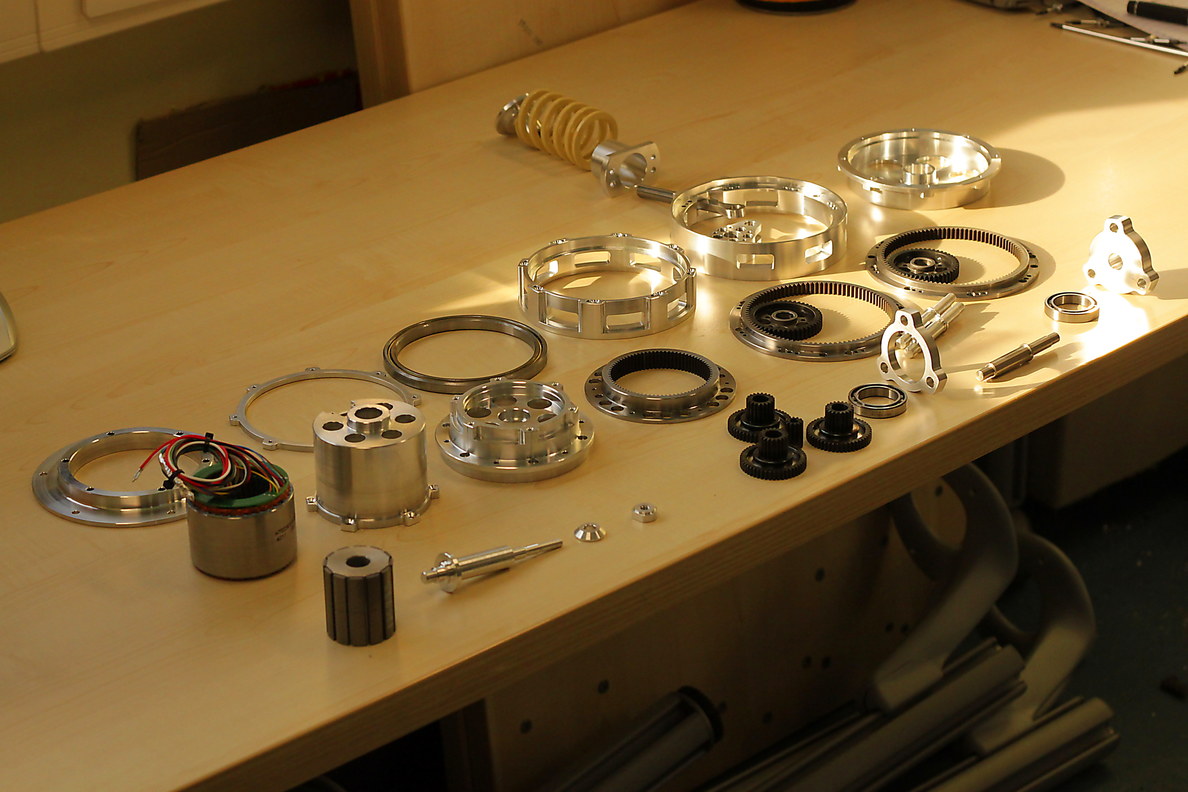
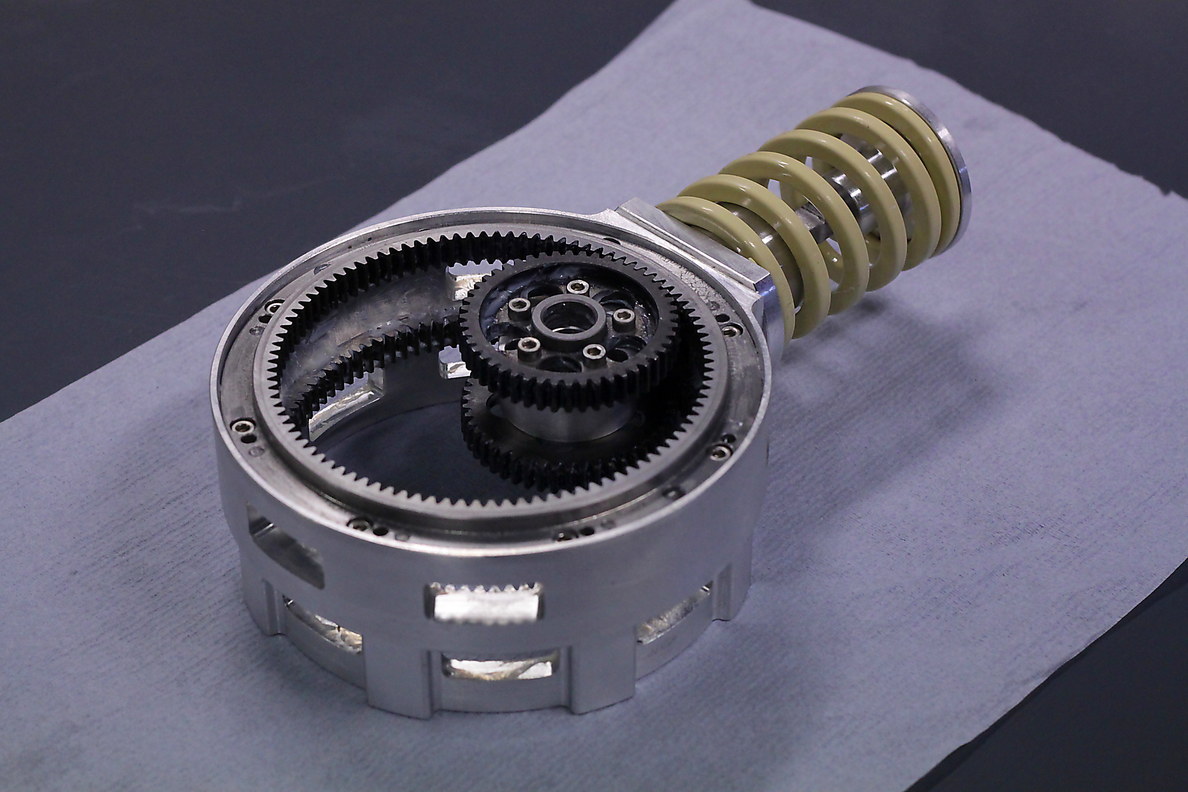
I’m not going to go into how the actuator works – see my thesis slides for that. The overview of the idea is that a center gear is driven by a differential, and as the gear rolls around the interior of the ring gear, it pulls on a bar that compresses the large spring. This can store a large amount of energy for a short time, and means the rotor needs to move less during hopping motions, so you can use a less powerful motor when hopping.
Construction Plan
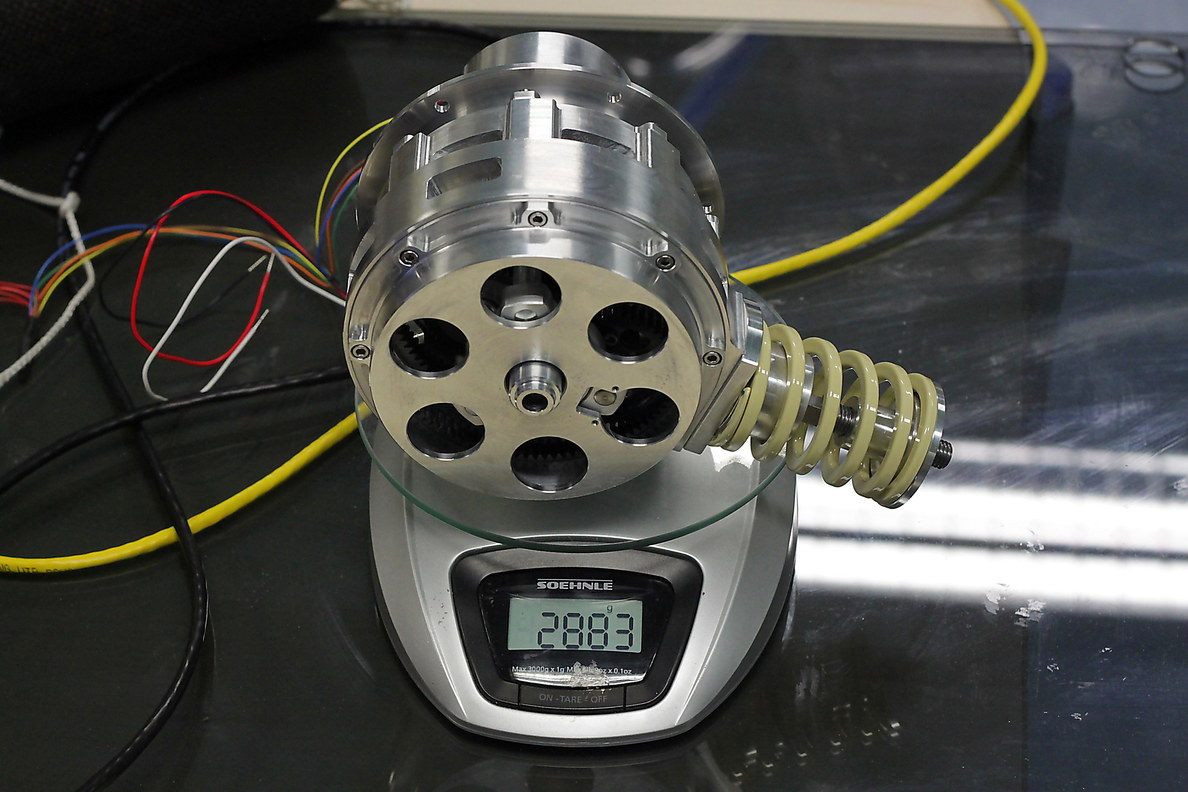
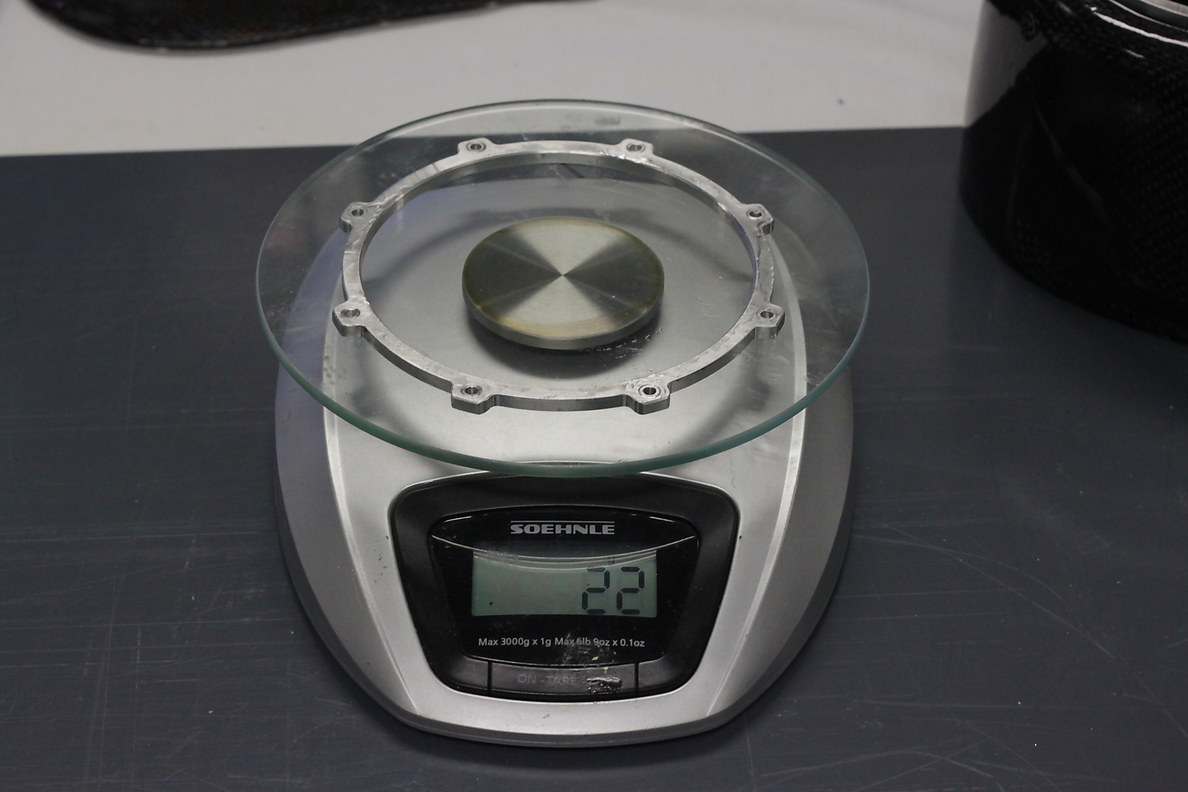
Even though I had made another larger, heavier version of this actuator about a year earlier, and since then had reduced the weight of the motor significantly, the last iteration of the actuator still ended up weighing 2883g. I had simulated the robot extensively, and I knew that the whole robot had to weigh less than 10kg, at the very most. The weight of just these two actuators alone unfortunately took up over half of the mass of the robot, and as a result I was desperate to make the structure as light as possible. Although using aluminum construction would probably have been slightly simpler, I decided to go with foam-and-fiberglass construction, since I had used it before on other projects and knew it was robust and strong enough for a structure like this.
The main point of building this robot was to test the actuators, but I also wanted to try a few different composite construction techniques. While I have used nomex honeycomb sheets for simply curved surfaces, and used molds for complex surfaces, I had never tried using hot wire techniques or an expanding urethane foam for complex curved parts. To test all the combinations, I planned to make the robot in four pieces:
- The body, which I would make from styrofoam and fiberglass, using moldless construction.
- The hip joint, which attaches the body to the thigh, I would make from fiberglass and urethane foam, using inner and outer molds.
- The thigh, which I would make from carbon fiber and urethane foam, using inner and outer molds.
- The shank, which I would make from carbon fiber and urethan foam, using inner and outer molds.
Day 1: Mold-printing
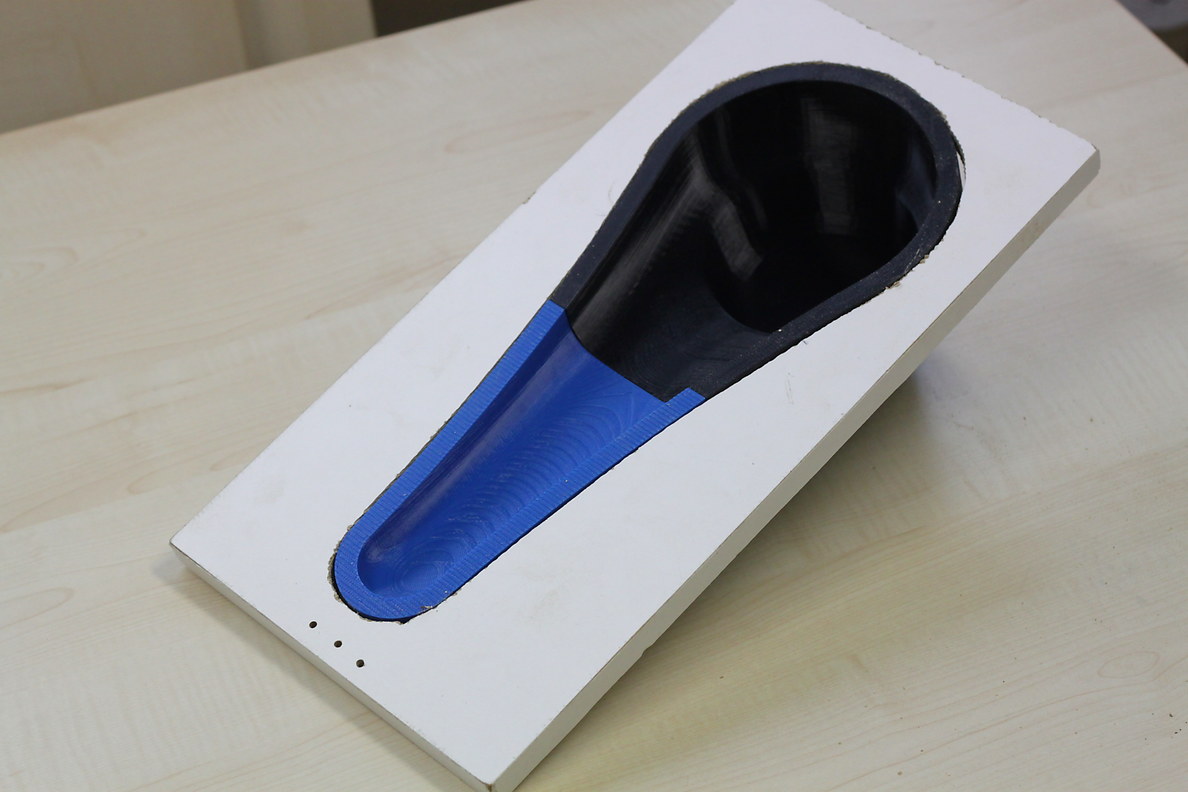
The first day, I designed and 3D-printed an inner “plug” and outer “mold” on a pair of 3D systems Stratisys printers. The colors are different because the printers had different filiments on them when I printed them.
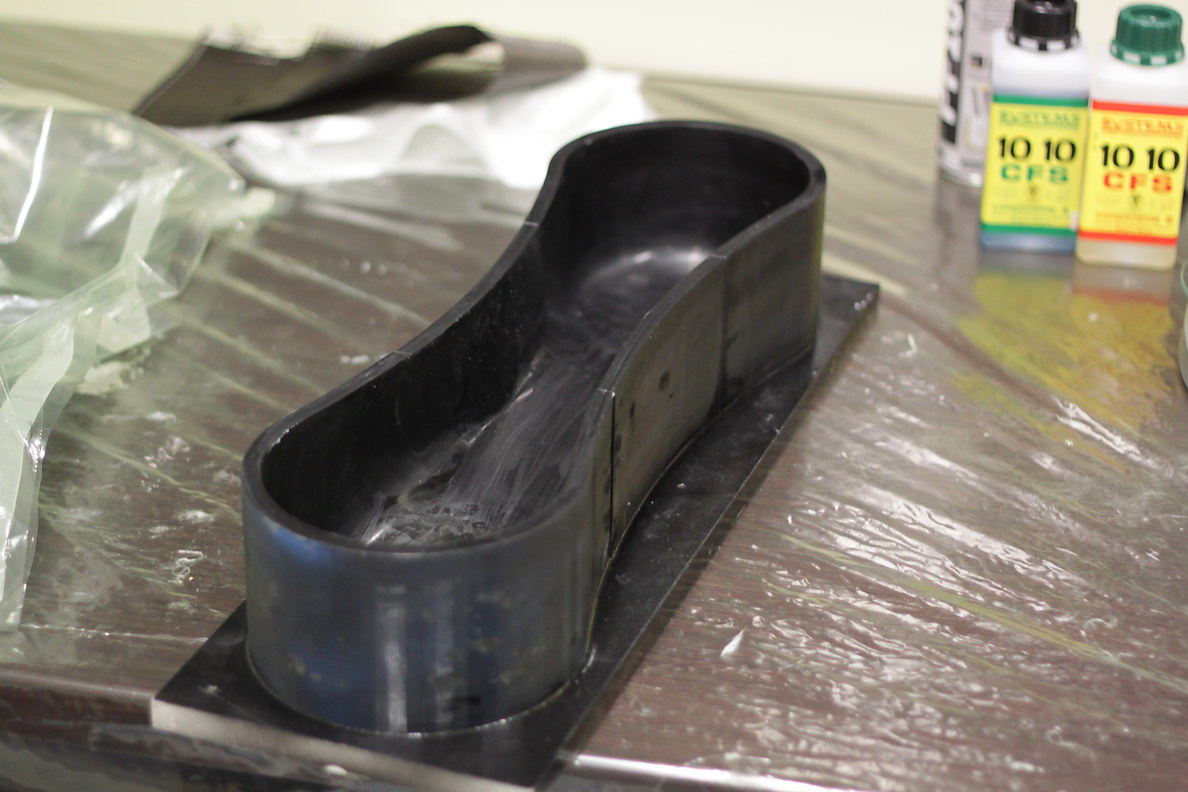
The “plug” defines the inside shape of the part that I want to make:
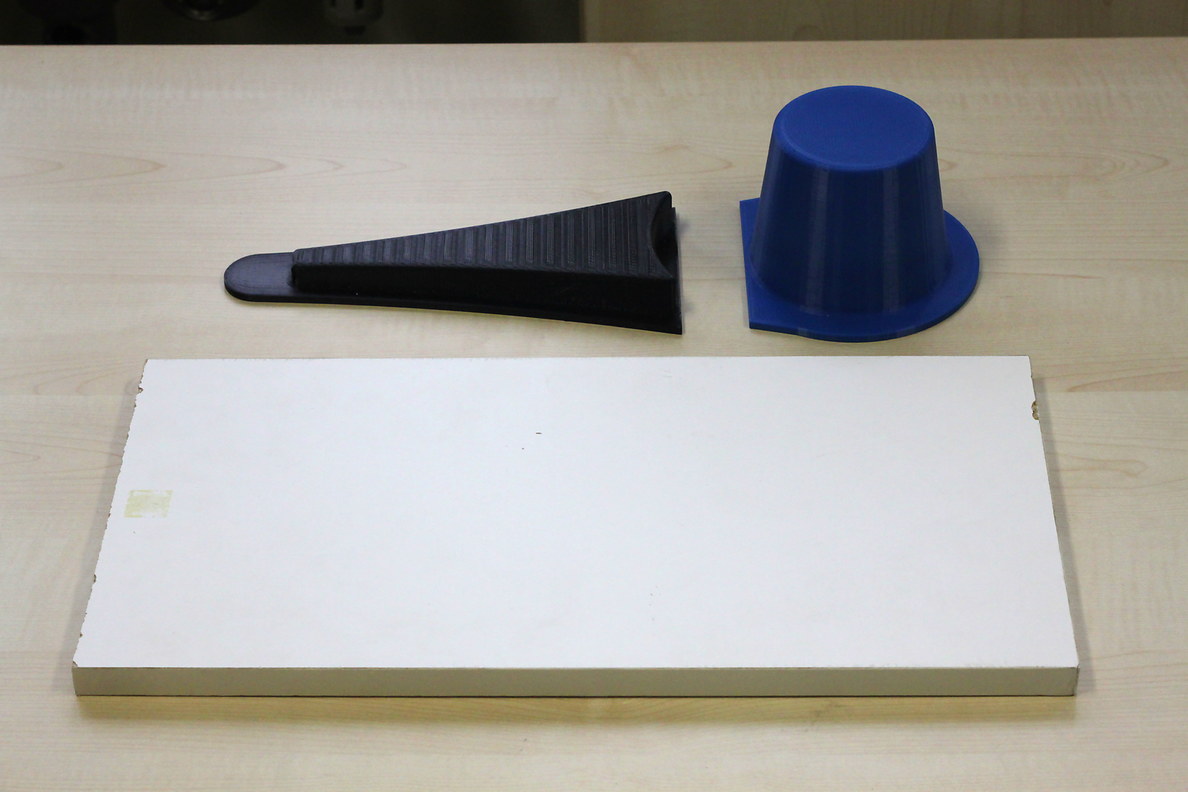
And the “mold” defines the outside shape:
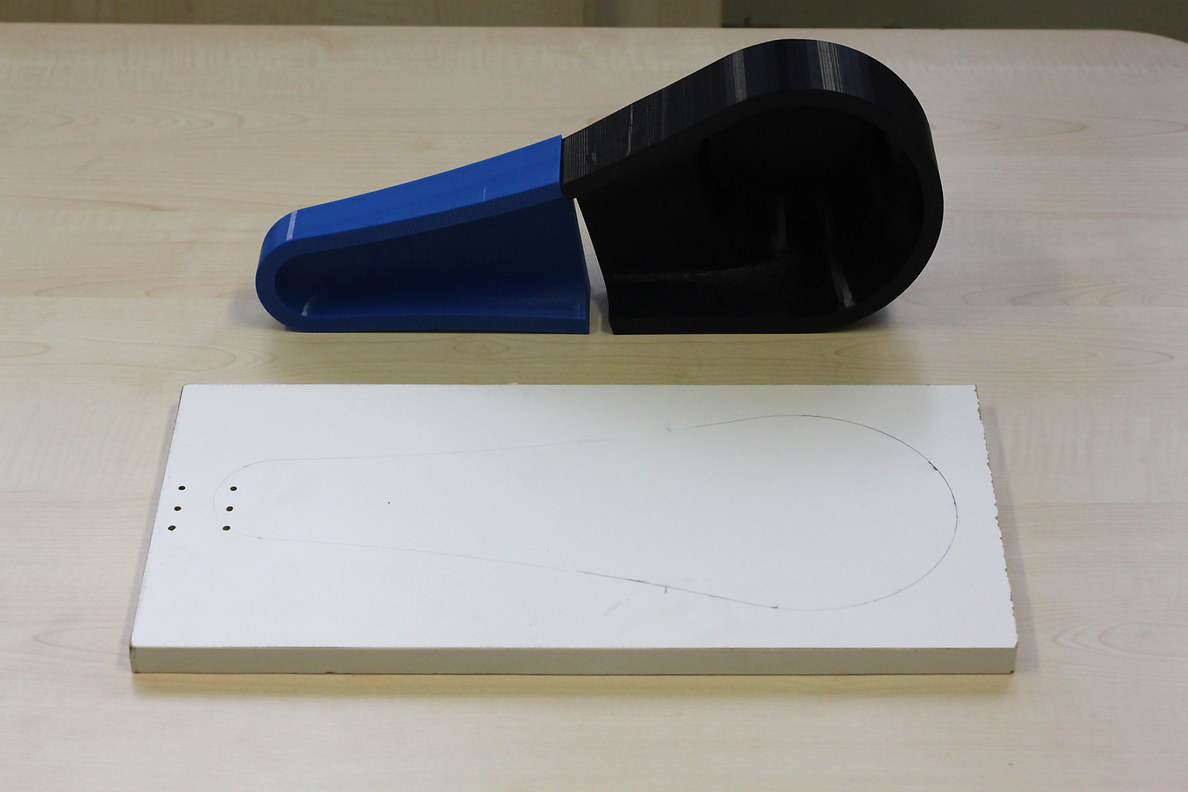
I ended up mounting the plug (not shown) and the mold on small melanine boards so that I could handle them better.
Day 2: Hot-Wiring
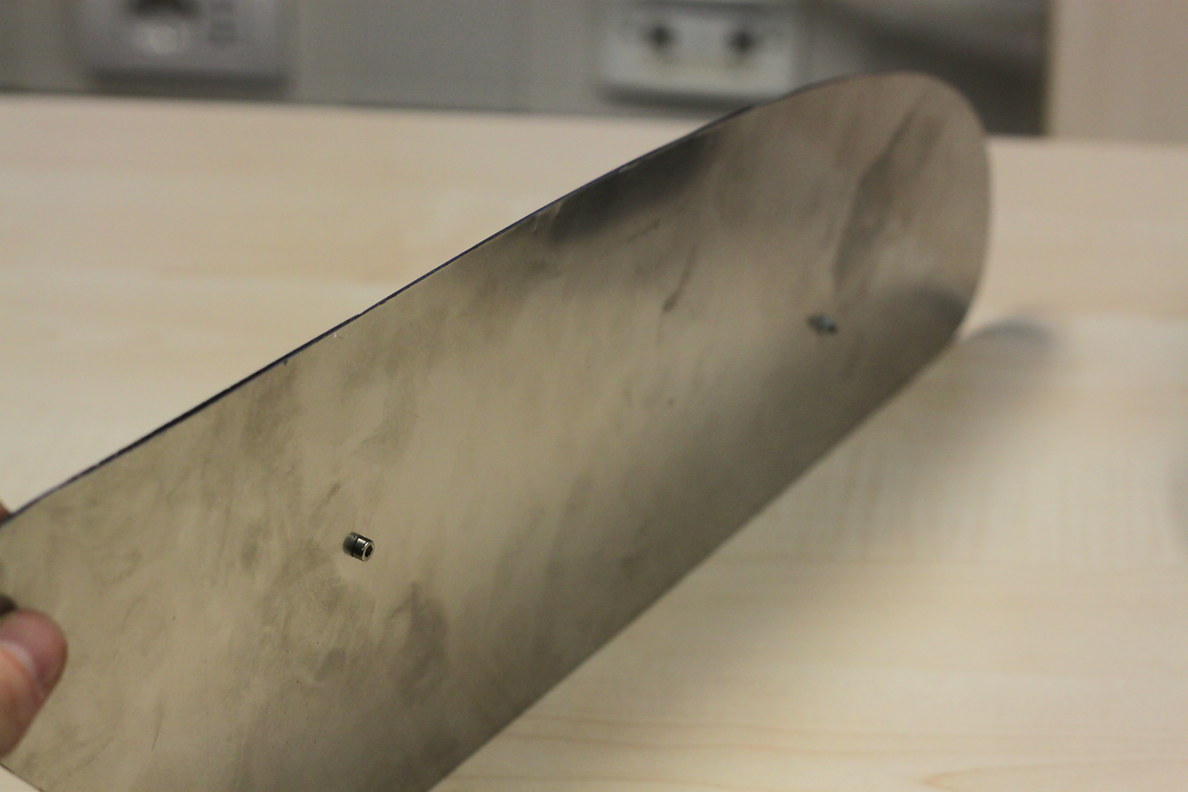
I stole a technique from Burt Rutan’s moldless composite construction books, and used two sheets of metal and an electrically heated nichrome “hot wire” to cut the body of the robot from a block of foam.
Note: DO NOT USE URETHANE FOAM FOR HOTWIRING. Styrofoam fumes are still not good to breathe, but they are much less poisonous than urethane foam smoke.
The first thing to do is to make a couple of sheet metal templates. When cutting out the sheets of metal, it’s a good idea to bolt the two pieces together so they come out identically shaped.
The hot-wiring is pretty simple. Start with three blocks of styrofoam…
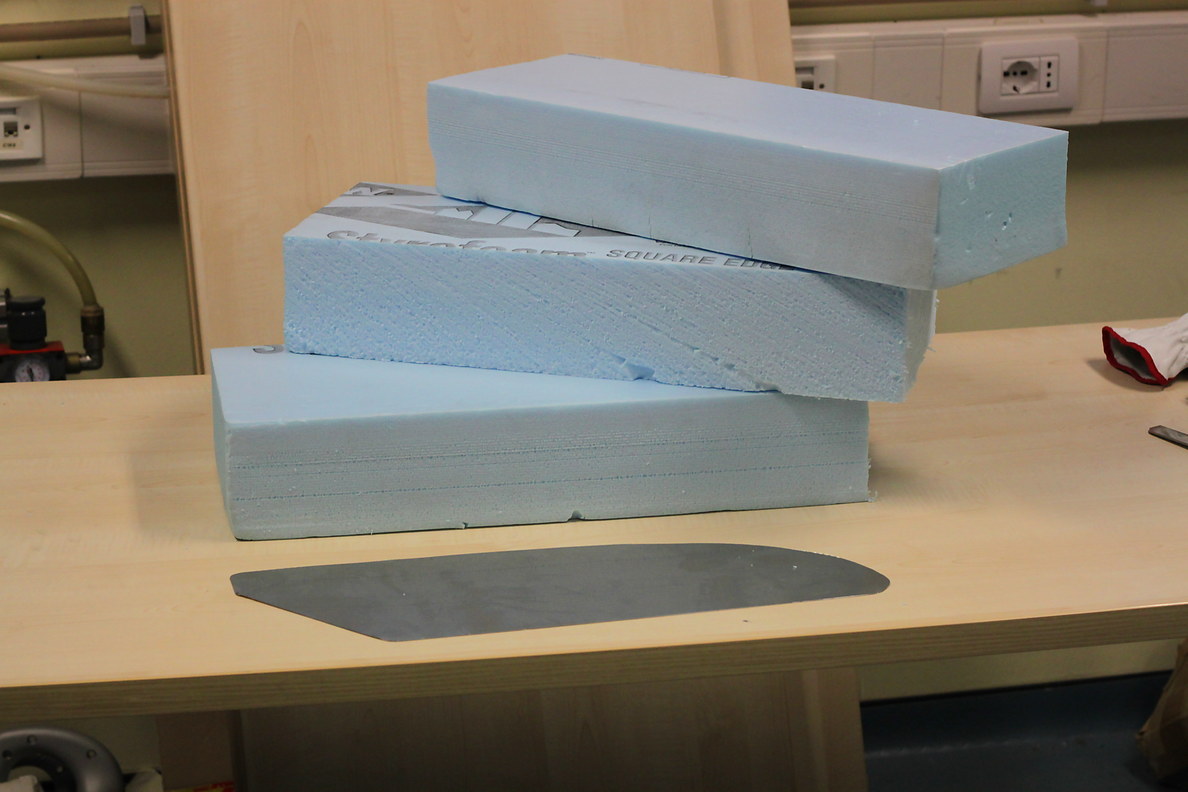
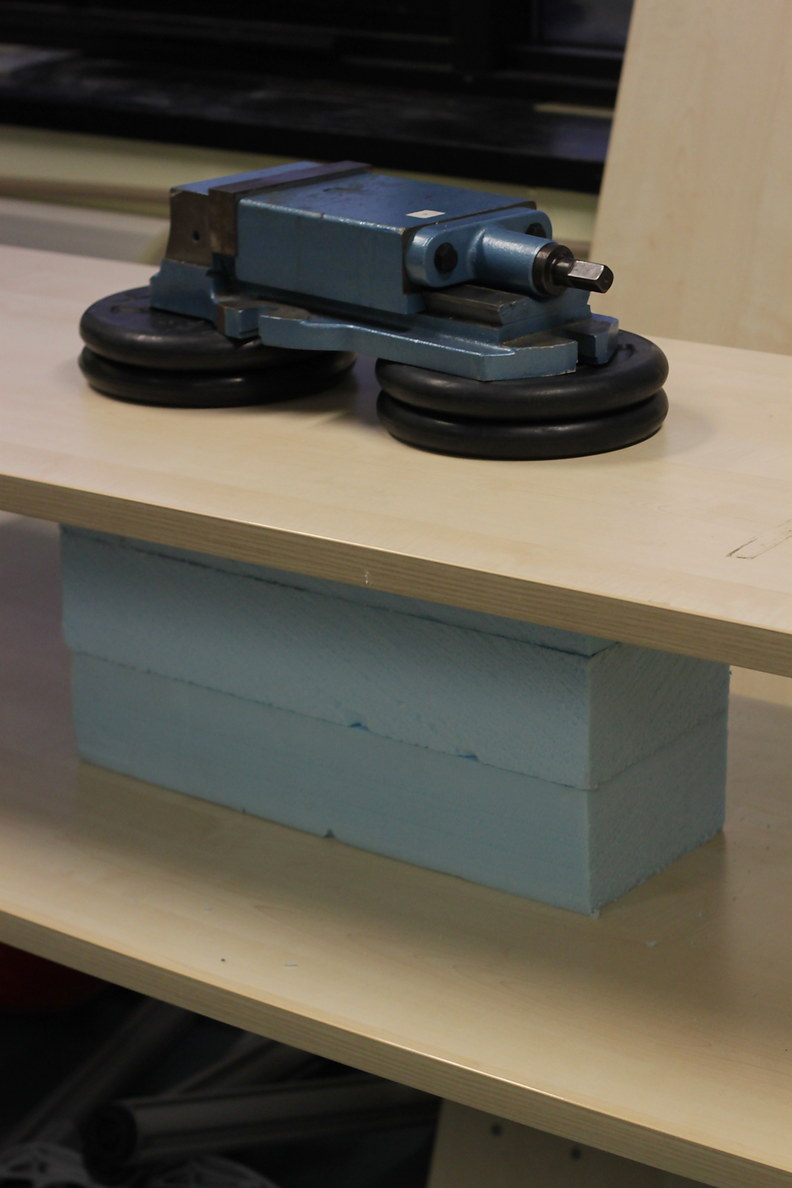
…then glue them together with spray adhesive, stack a heavy weight on top, and wait a few hours.
Clamp the metal cutouts to the block, and be careful to make sure they are not rotated relative to each other. We used machinist spacers to hold the templates a fixed distance from the tabletop when clamping them on. Likewise, make sure the templates are the correct distance from the front and back of the blocks. Be as precise as possible here, this is an important step.
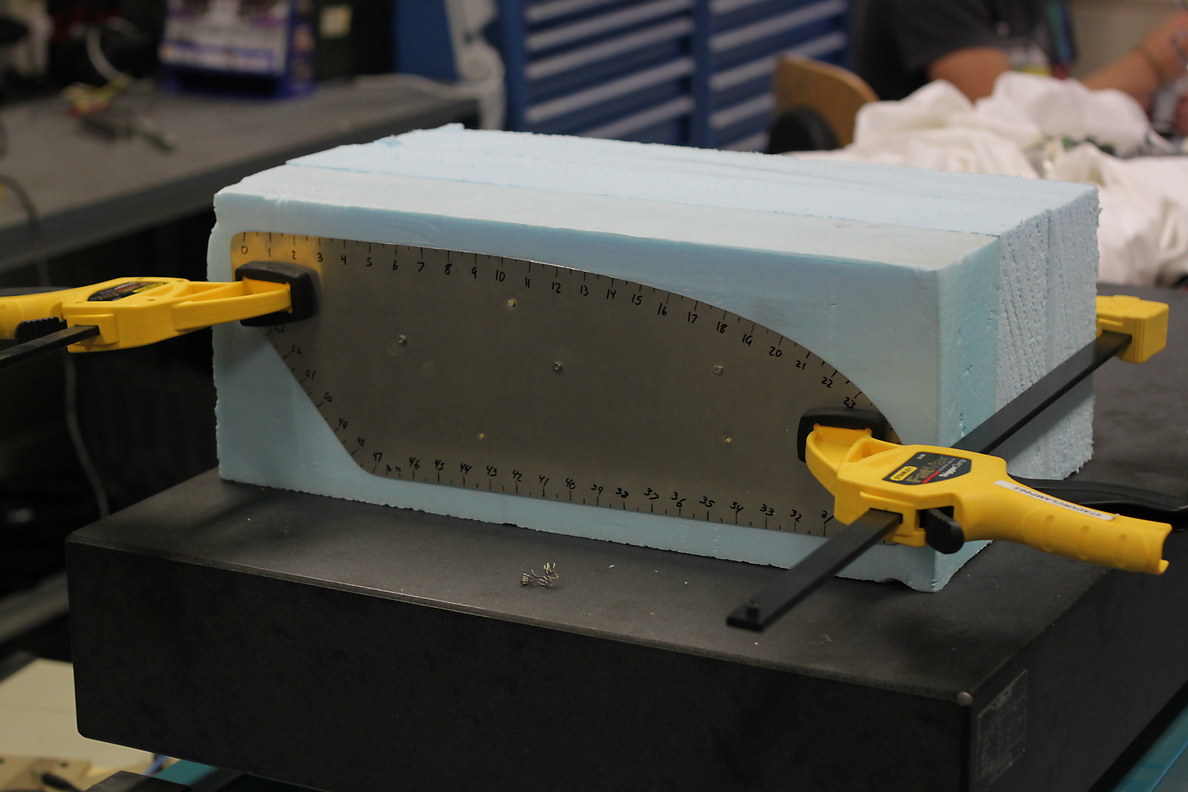
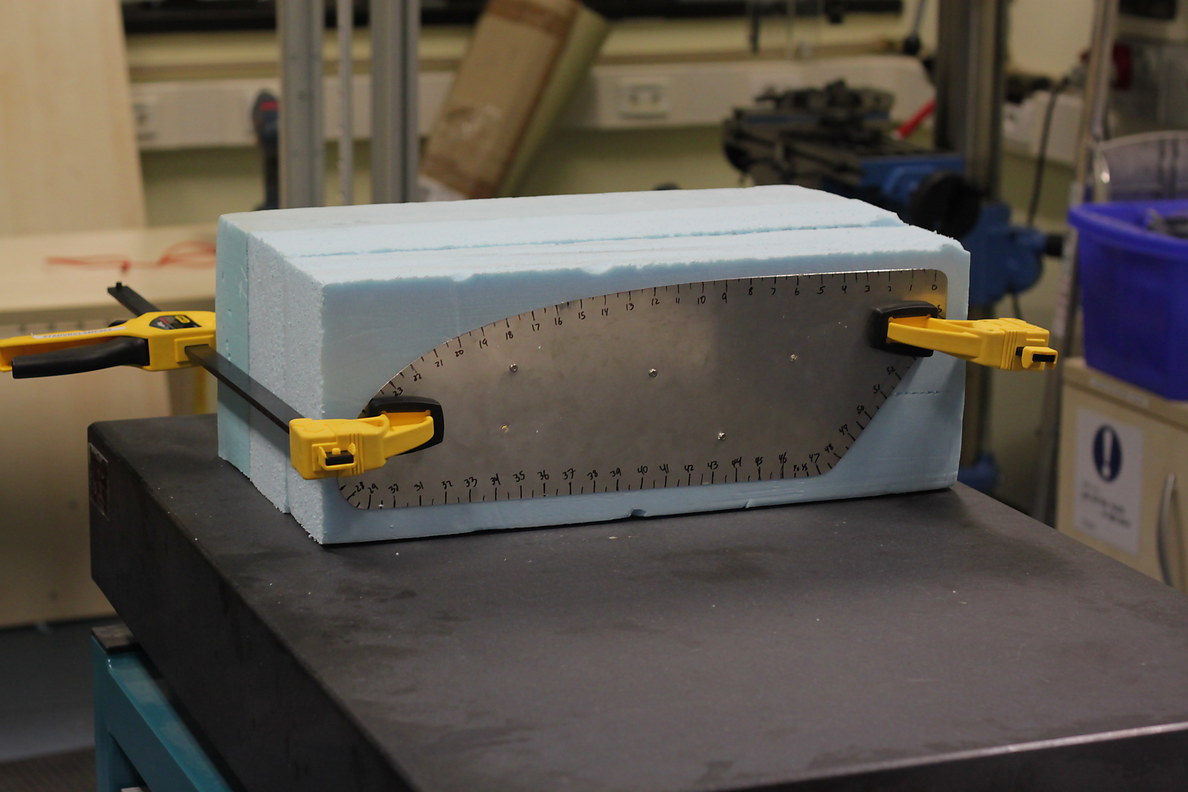
Now heat up a nichrome wire with a few amps of current. Depending on the diameter of the wire, more or less current will be needed. I recommend doing some test cuts, and adding some type of tensioning mechanism because the spring will stretch slightly as it heats and you want it to stay very taut. Here’s a short video of our test cuts:
TODO
When you are done, you should be able to lift off the piece you just cut with a hot wire, and leave long spider-web-like strands behind. The strands are easily brushed off with your hand.
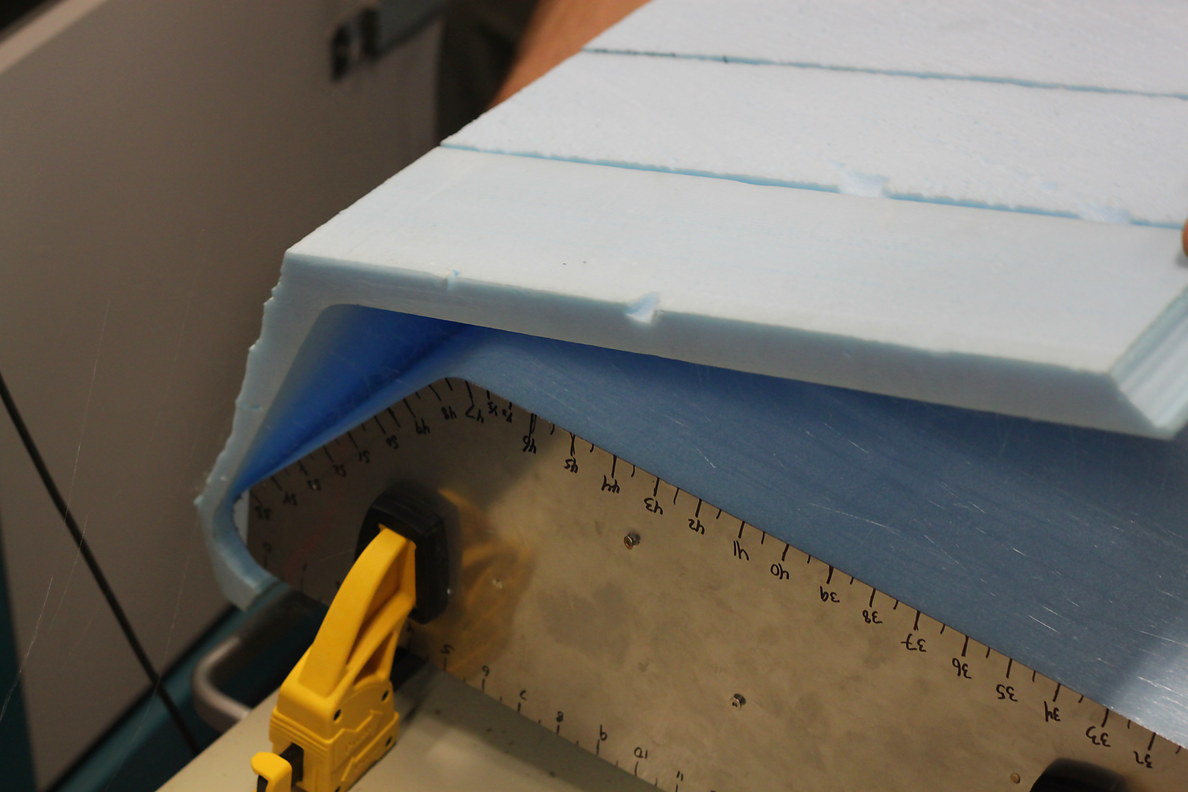
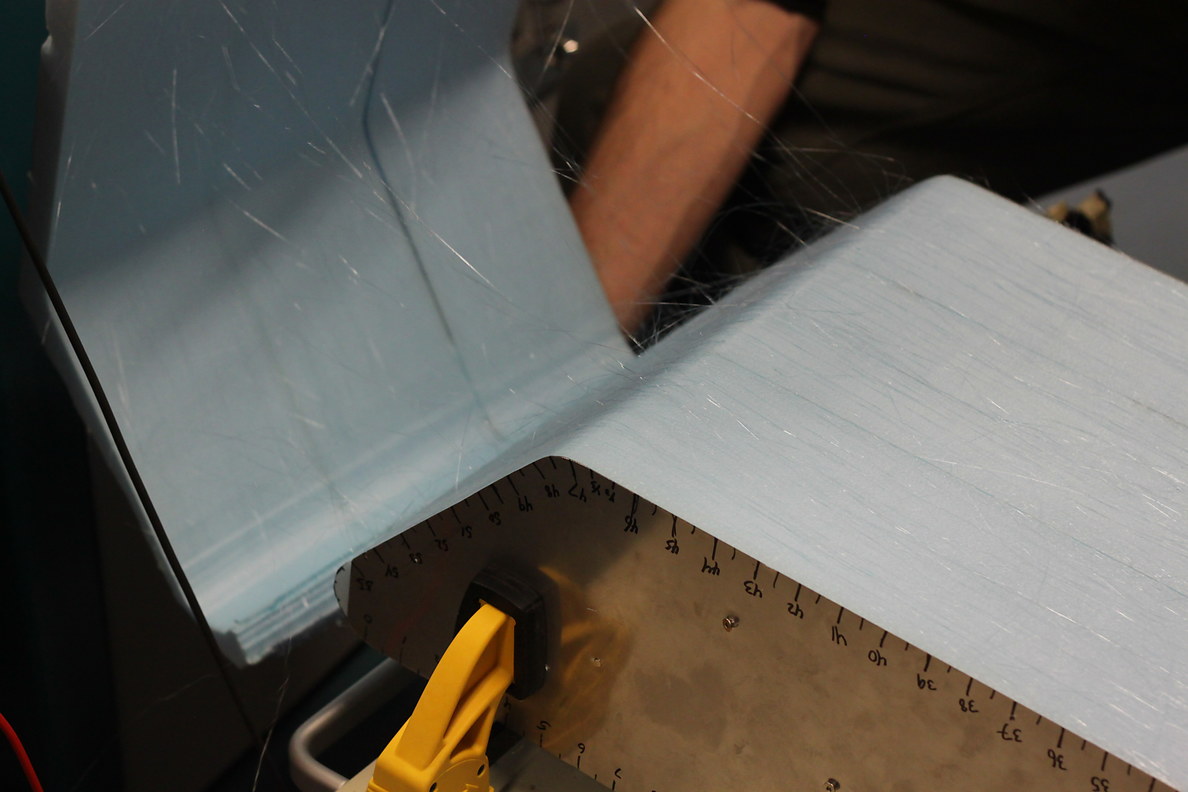
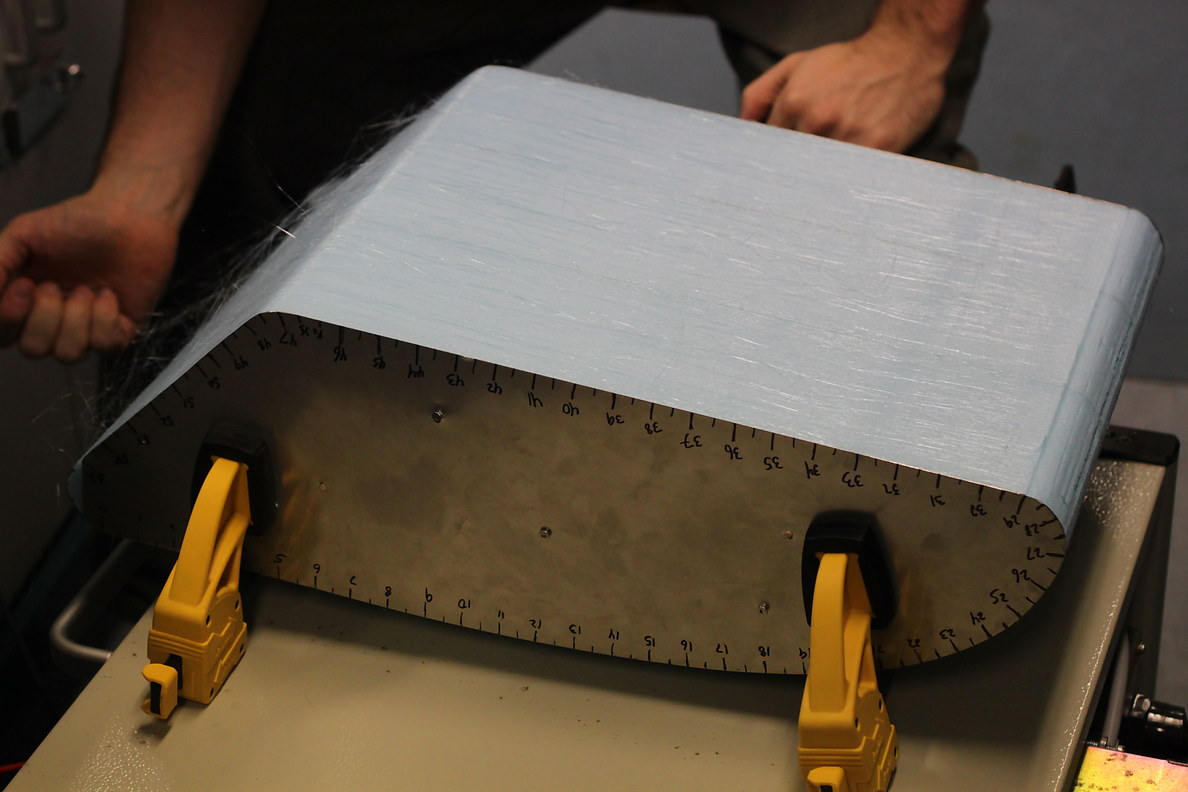
This is one of the few times where getting a good result is as easy as it looks. I don’t recommend any sawing motions or anything – just be smooth and count along with a friend as you go over all of the tick marks around the shape. I see no reason why you couldn’t achieve some pretty interesting lofted shapes, if each of the metal templates were different shapes.
Day 5:
The body of the robot now looks like this.
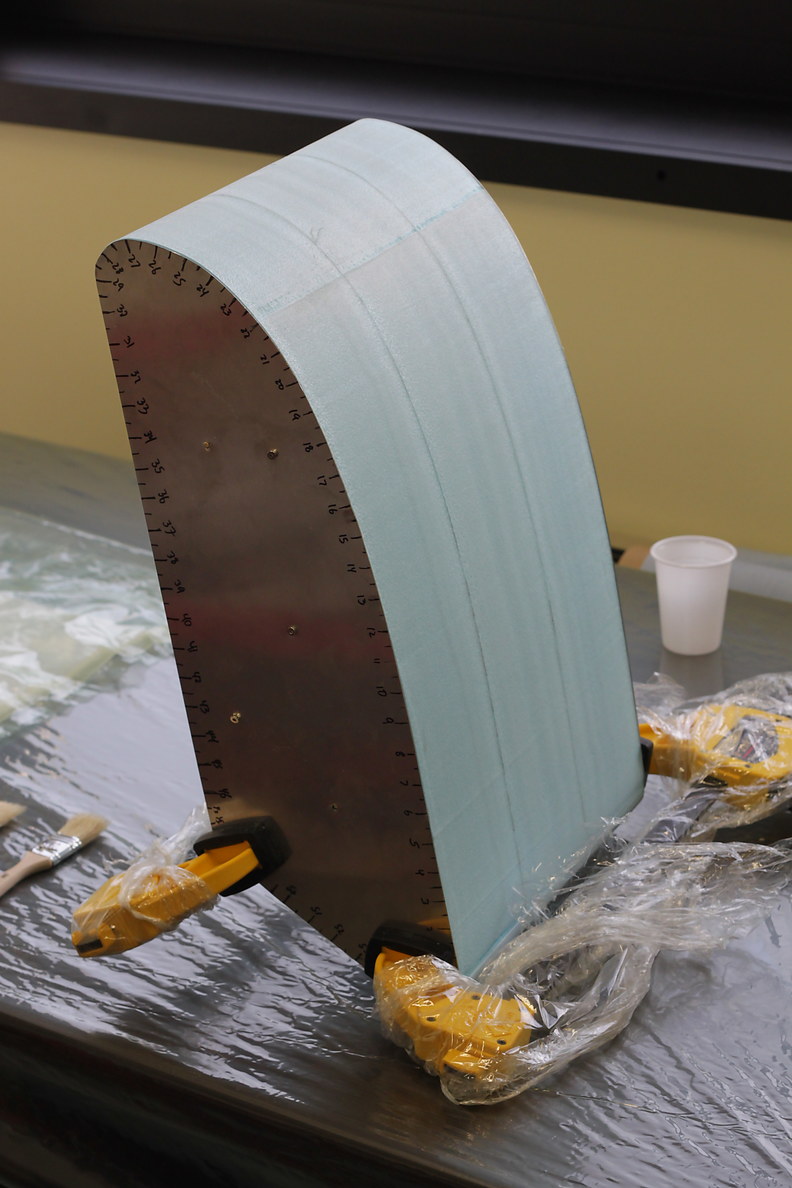
It’s time to apply fiberglass. The short version of what we are going to do is to lay fiberglass cloth over the top of the surface, spread epoxy through the fabric until it is fully wetted, and wait 8-24 hours for the epoxy to cure.
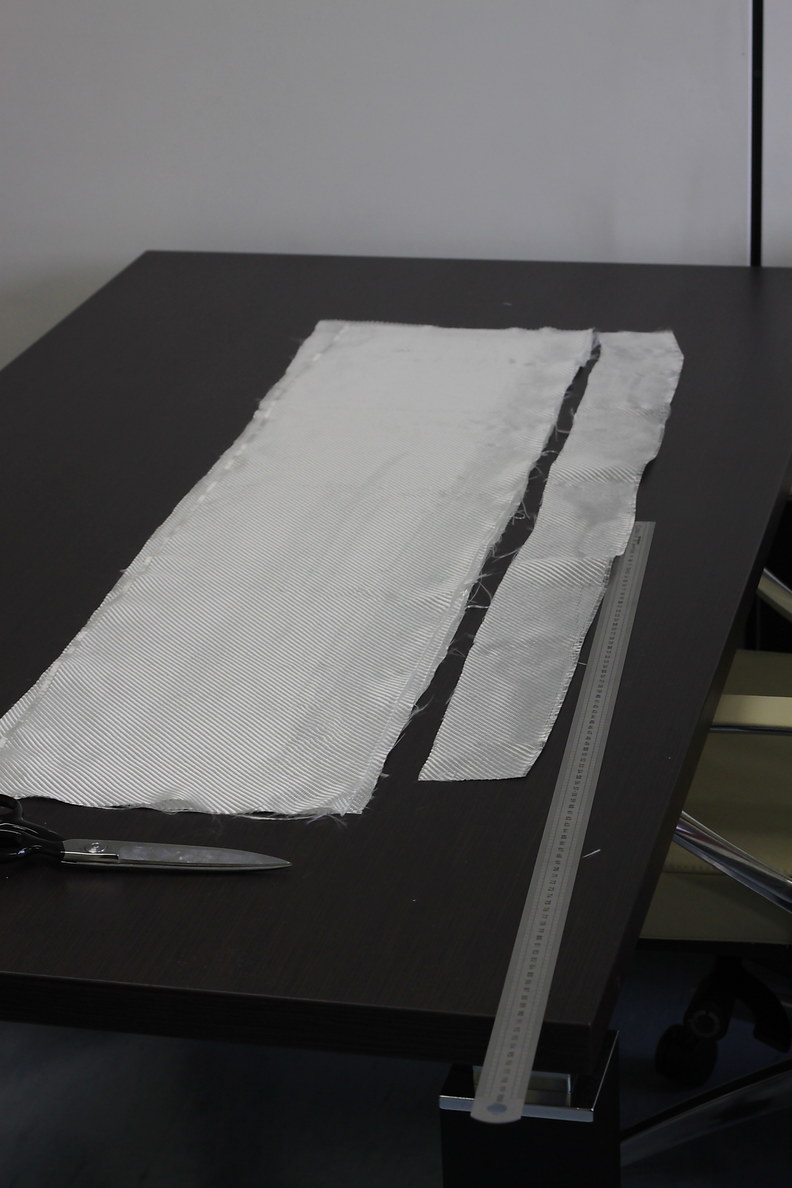
Cut out the fiberglass cloth using sharp scissors on a clean table. It’s important to use gloves and keep your oily hands off of the fabric – epoxy will not stick to oil. For common thicknesses of fiberglass fabric, you’ll only need a couple of layers to get a reasonably hard surface that can still be cut with a sharp knife. If you put 4-5 layers on, it will be heavier and much more resistant to puncture. If you want to keep it light and strong, cut out enough fabric to put 2 layers everywhere, and then reinforce the edges that are likely to strike the ground with 4-5 layers. This is additive manufacturing, and it’s acceptable to only reinforce only the places you need. If you are going to drill into the fiberglass, you’ll want to build up 10 or even 20 layers, depending on how you are attaching a bolt to it.
Weigh out the appropriate amount of resin and hardener. Many formulations these days ask for equal amounts of resin and hardener, but be careful to check if the label is indicating equal units of volume or mass – they can be different!
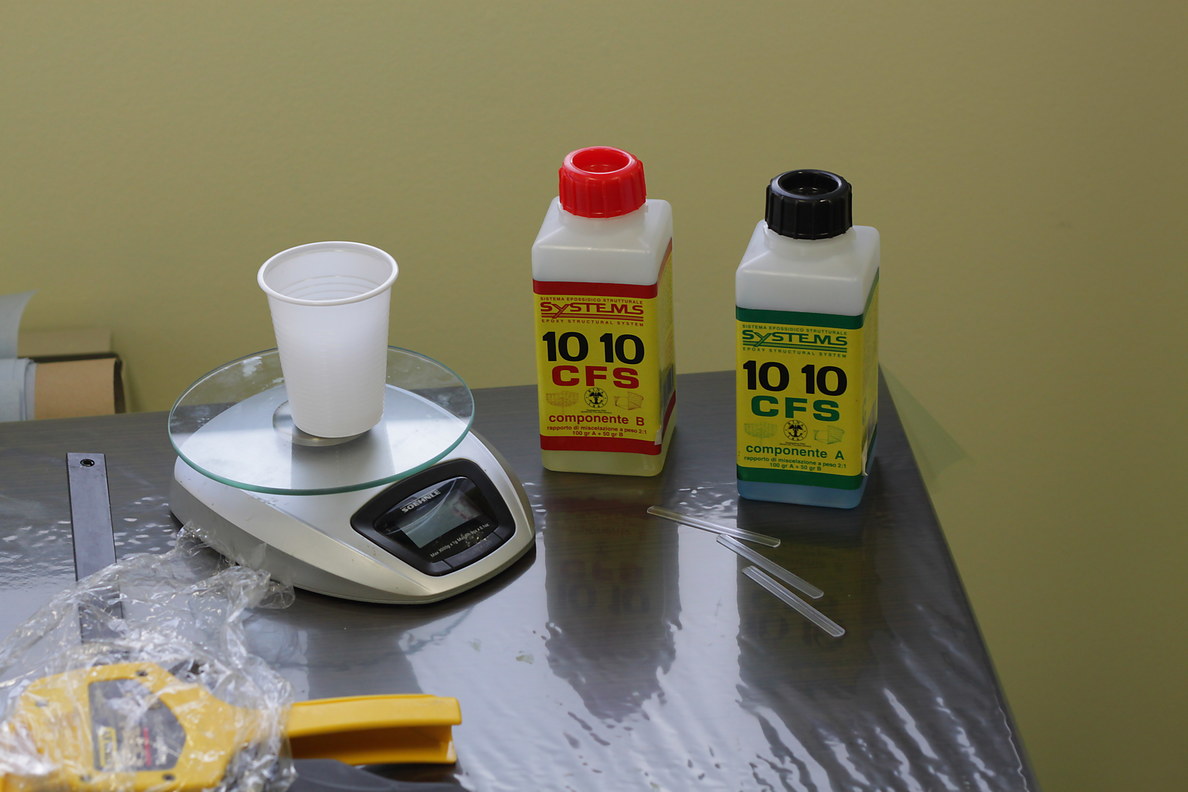
Set a timer for 30 minutes, and have a friend handy whose hands are NOT covered in sticky resin. Now wet out the fabric with a disposable paintbrush, work quickly, and stipple all the resin into the fabric.
TODO
In my case, I use a vacuum bag over the part so that atmospheric pressure pushes the fabric tightly against the foam. It also removes excess resin. Keeping the fabrics tight against one another, and removing all excess resin is generally makes slightly lighter and stronger parts, but you can get great results even without the vacuum bag. Note that if you don’t use enough resin, it will be a structural disaster, so tread carefully along that particular weight optimization pathway. As a rule of thumb, it’s better to have too much resin than too little for hobbyist projects.
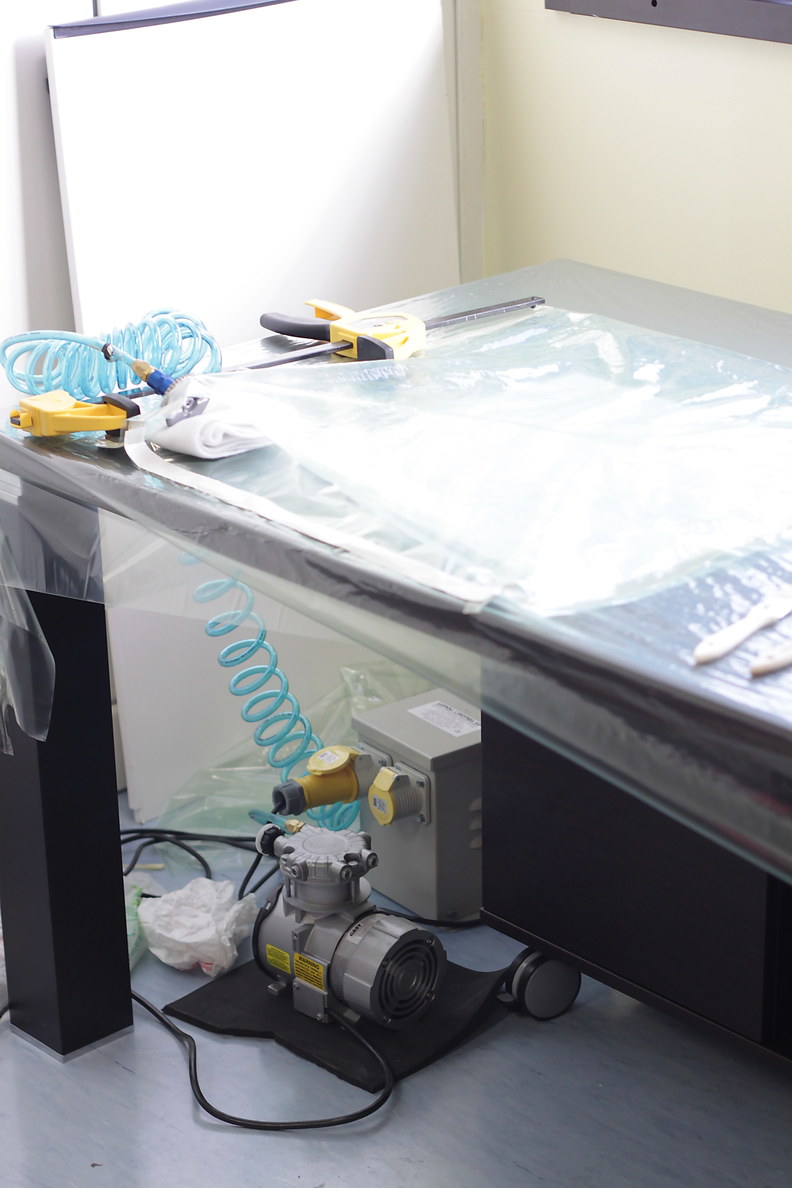
Try to finish within the 30 minutes, then pull the vacuum. If you wait too long and the viscosity of the resin is too high, carefully use a hair dryer (or if you feel like living dangerously, a heat gun) to locally increase the temperature of the resin in specific areas to get the resin to flow more easily.
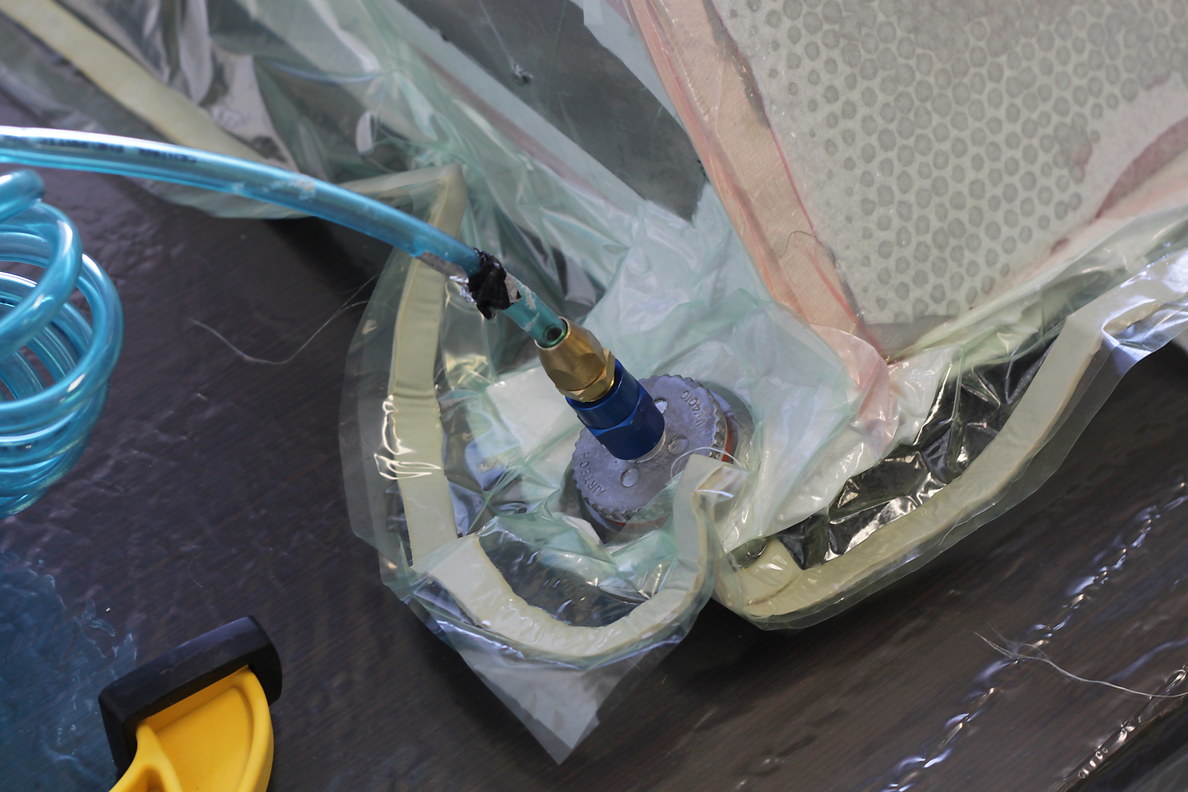
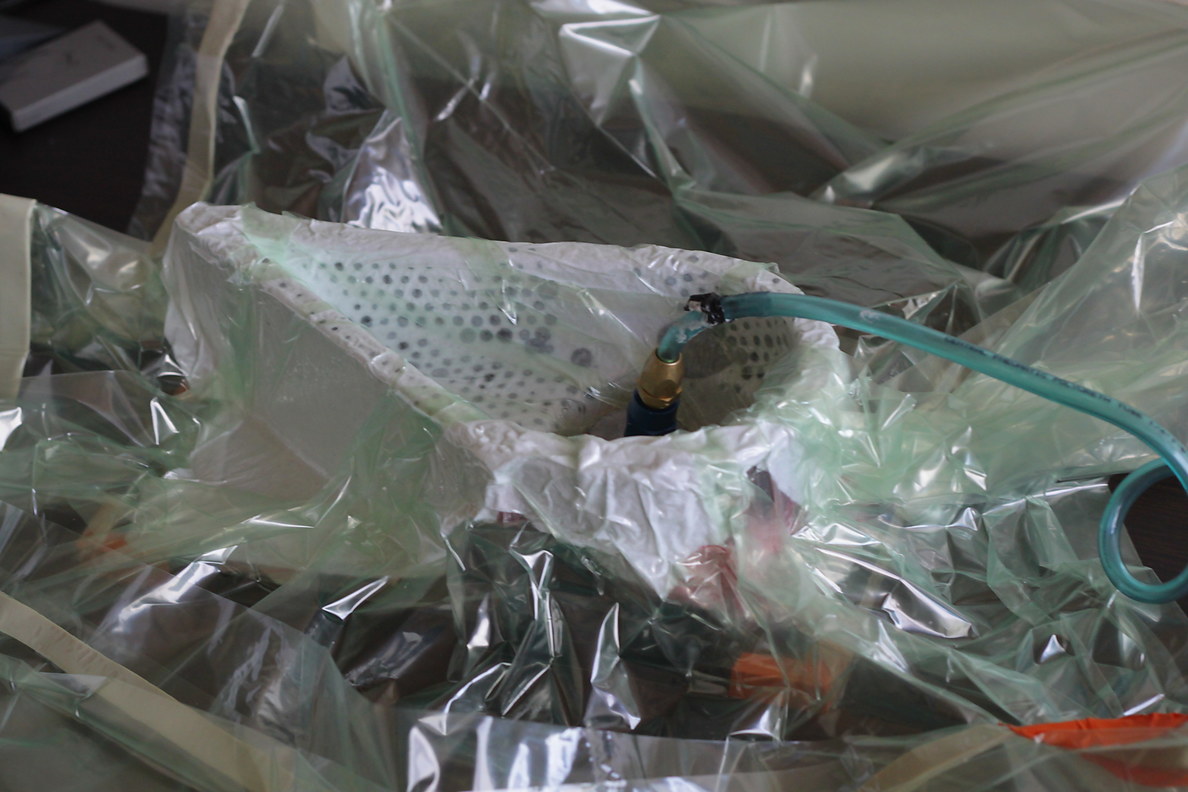
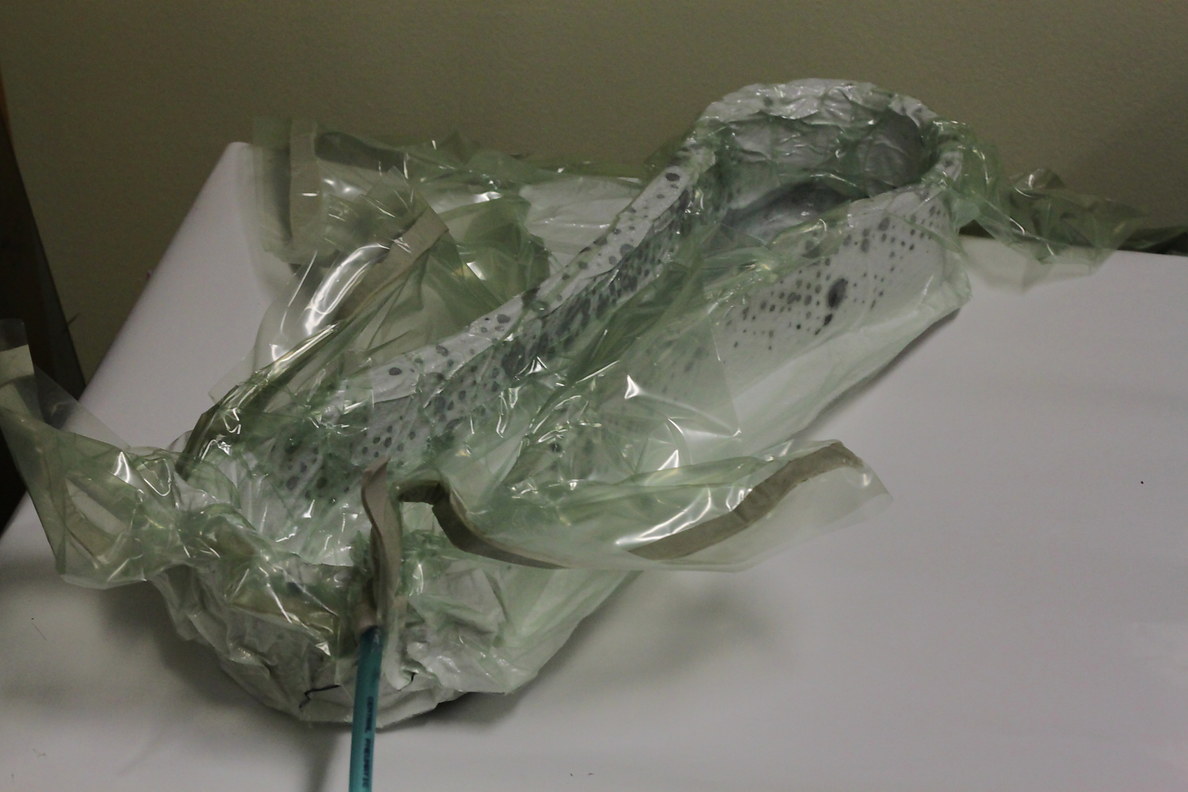
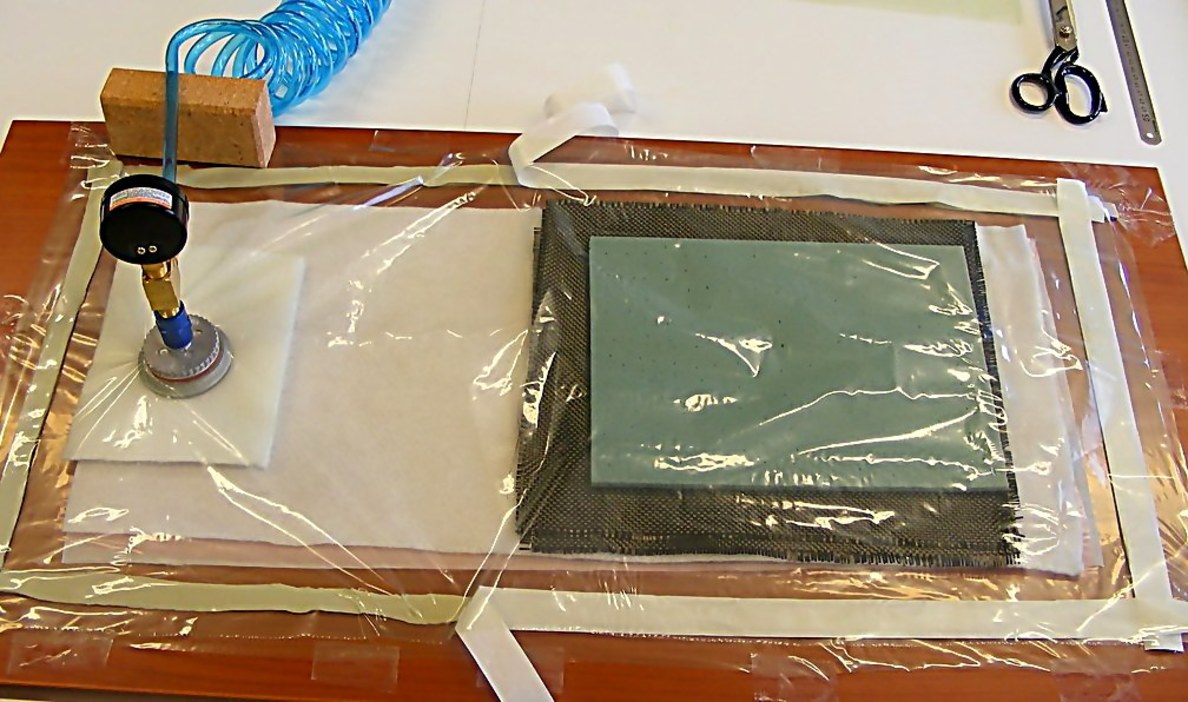
Vacuum bagging usually has three layers between the fibers and the vacuum bag itself. The innermost is a “peel ply” made of non-stick vinyl, which you use directly on top of the fiberglass when you intend to bond something else to it at a later stage. The peel ply leaves a matte surface on the part, which is good for adhesion of subsequent layers. Then there is the “breather ply”, which is a smooth plastic that has tiny holes in it through which the resin flows. Finally, the next outermost layer is thick cotton or felt “bleeder ply” which absorbs the excess resin, and then the vacuum bag itself. As the vacuum pumps down, you will see a bunch of dots in the bleeder ply as the resin flows through tiny holes in the breather ply.
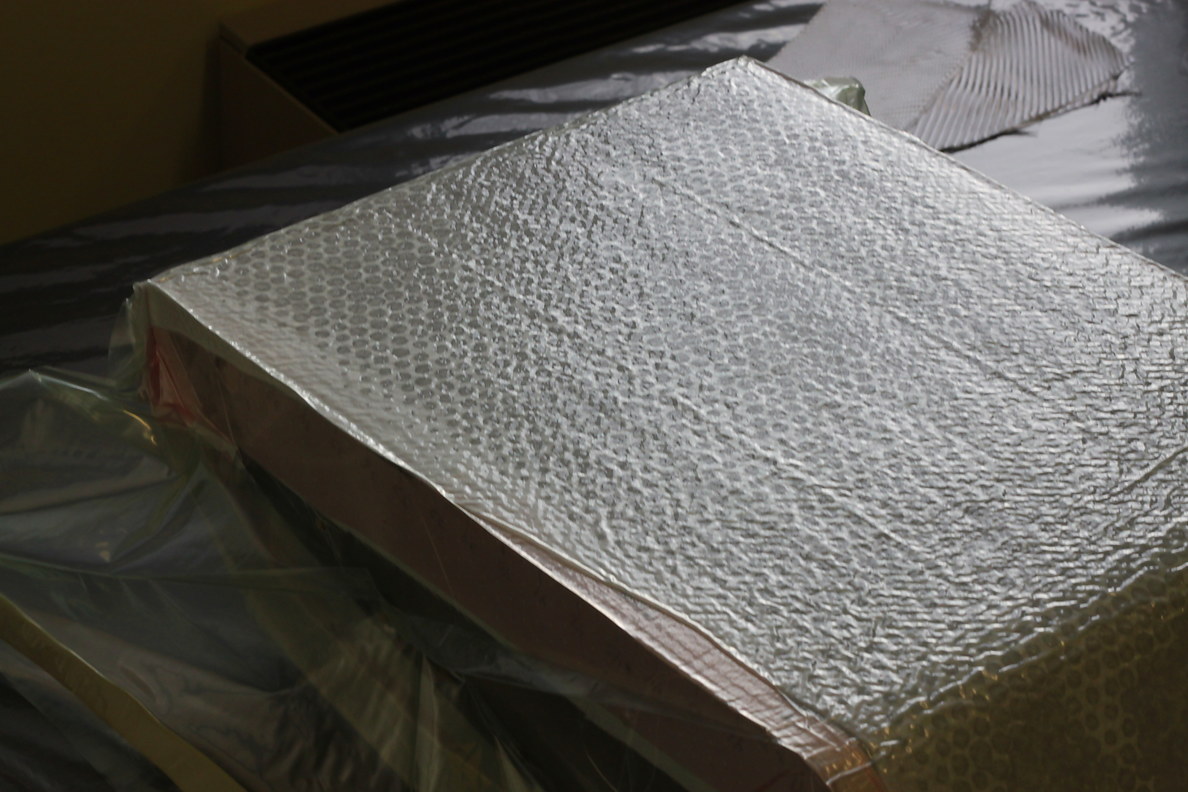
The whole thing is pretty funny looking at this point:
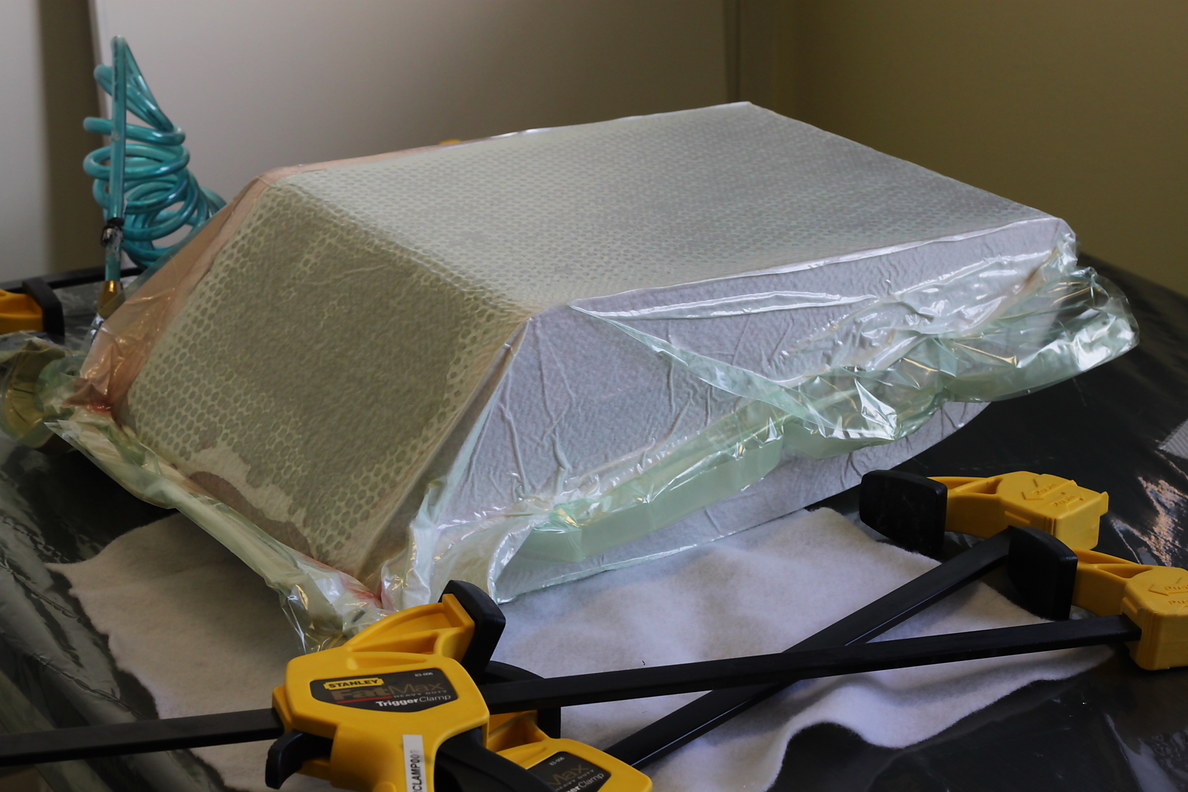
As I waited for the body to cure under vacuum for for 4-6 hours, and then another 20 before “unbagging” the part, I also started to work on the exterior surface mold for the shank:
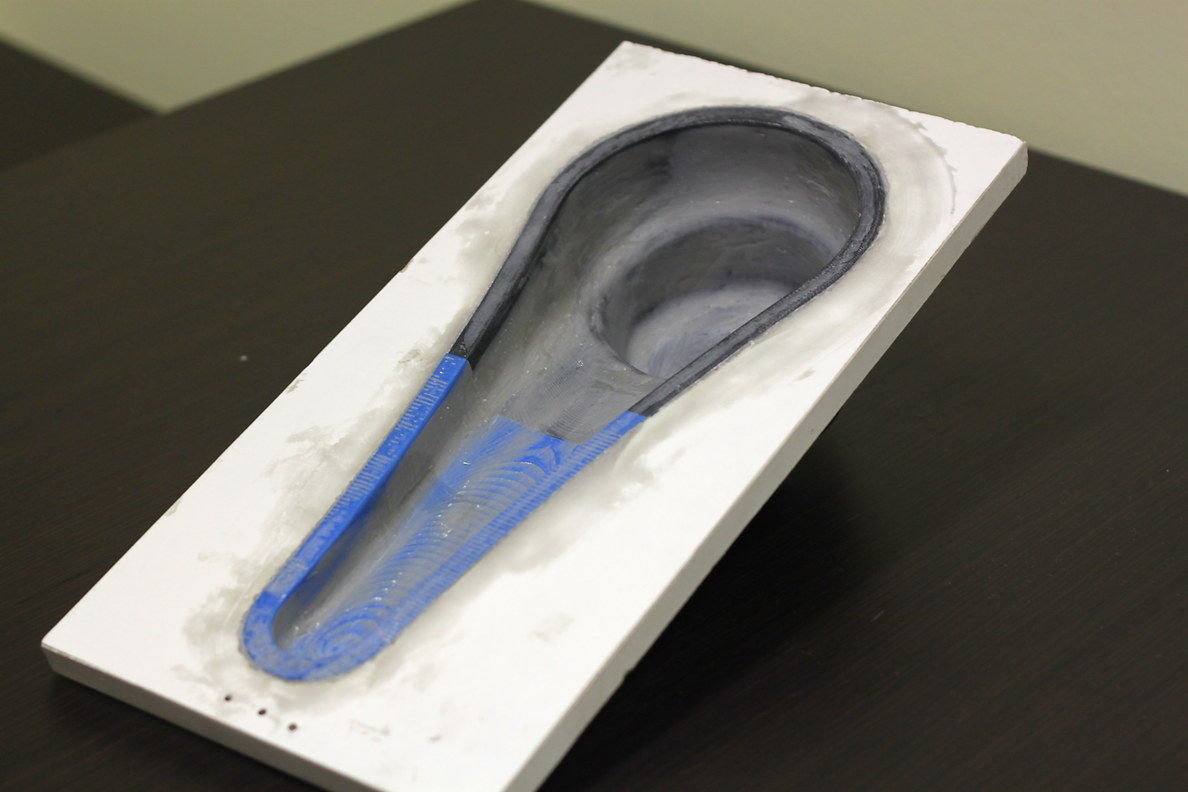
The gray paste is automotive bondo, which you should apply on with a minimum thickness needed to fill any gaps, and then sand as smooth as possible. Bondo dries fairly quickly and can help you fill gaps in the 3D printing texture that would otherwise show up on your molded part.
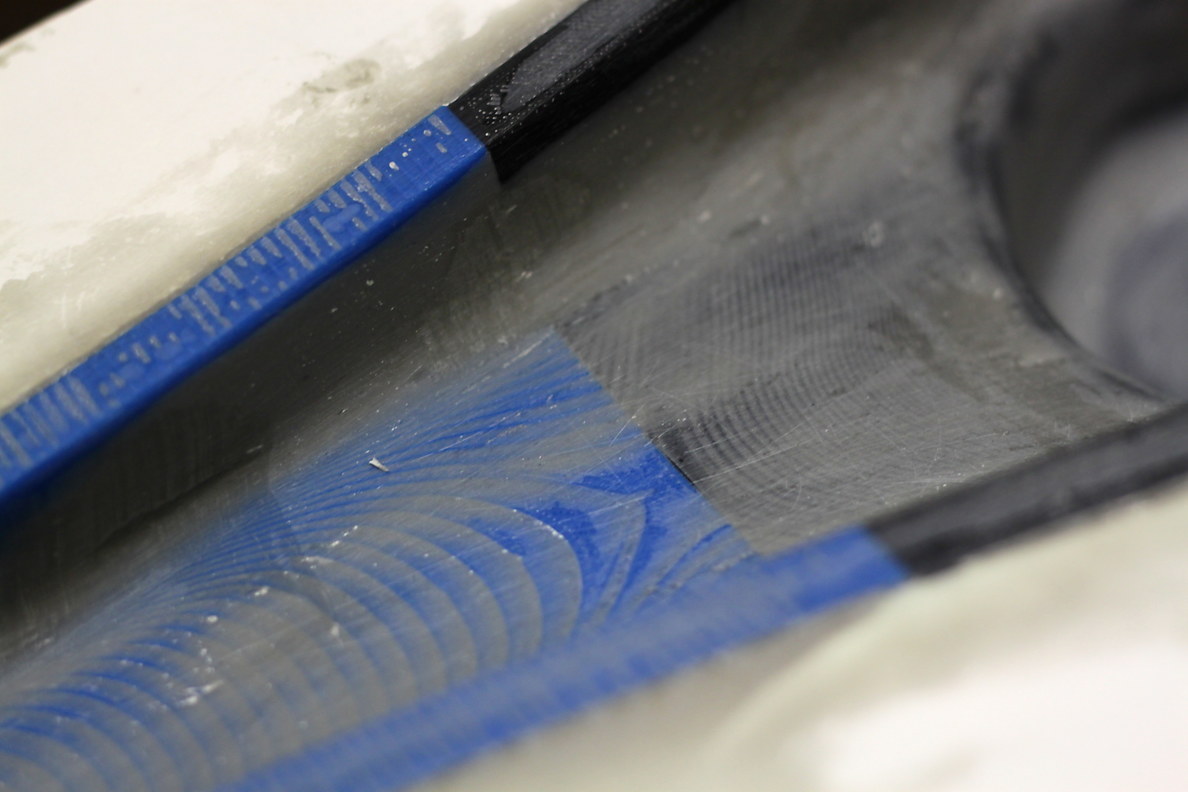
The last step (not shown here, but you’ll see soon) is to paint the mold with a glossy black color.
Day 6:
This is what the body part looks like after unbagging, removing the breather ply and bleeder ply, and just having the peel ply:
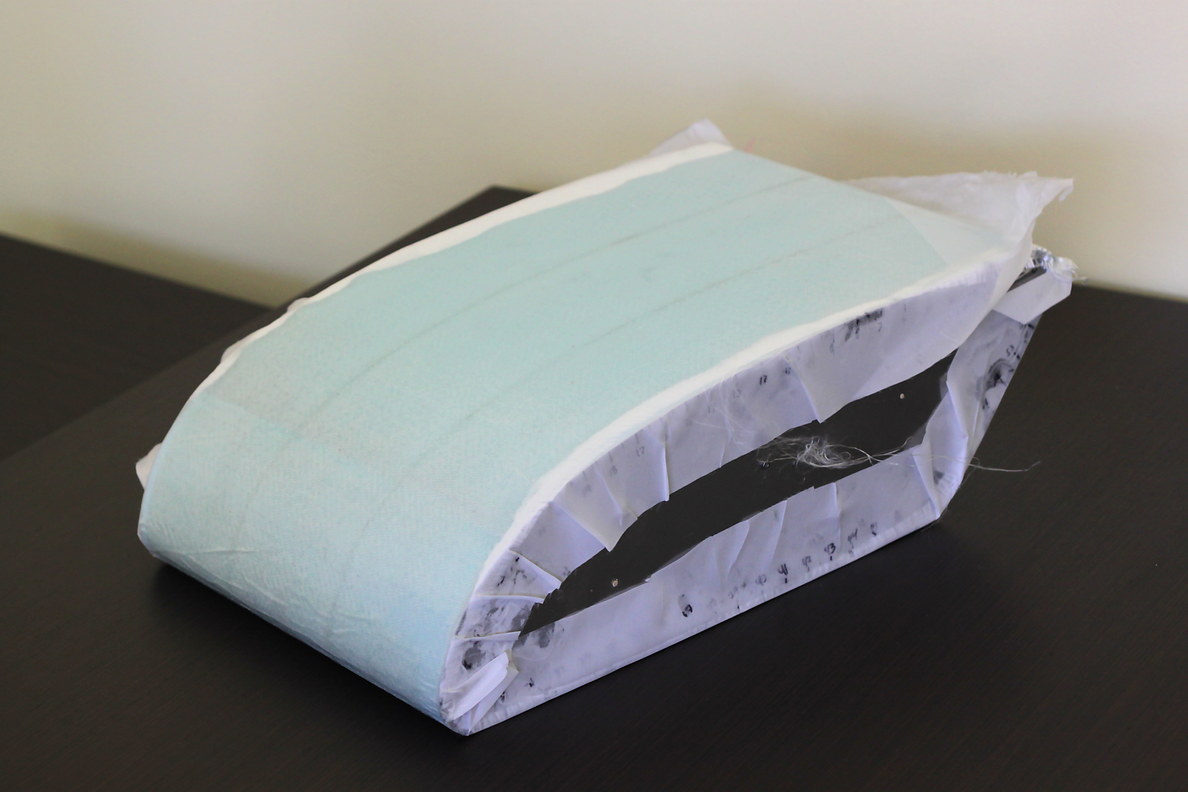
As you remove the peel ply, you may see blue sparks and static electricity. This is normal, but I can’t explain why.
After removing the peel ply and trimming the fiberglass with a sharp knife, I had this:
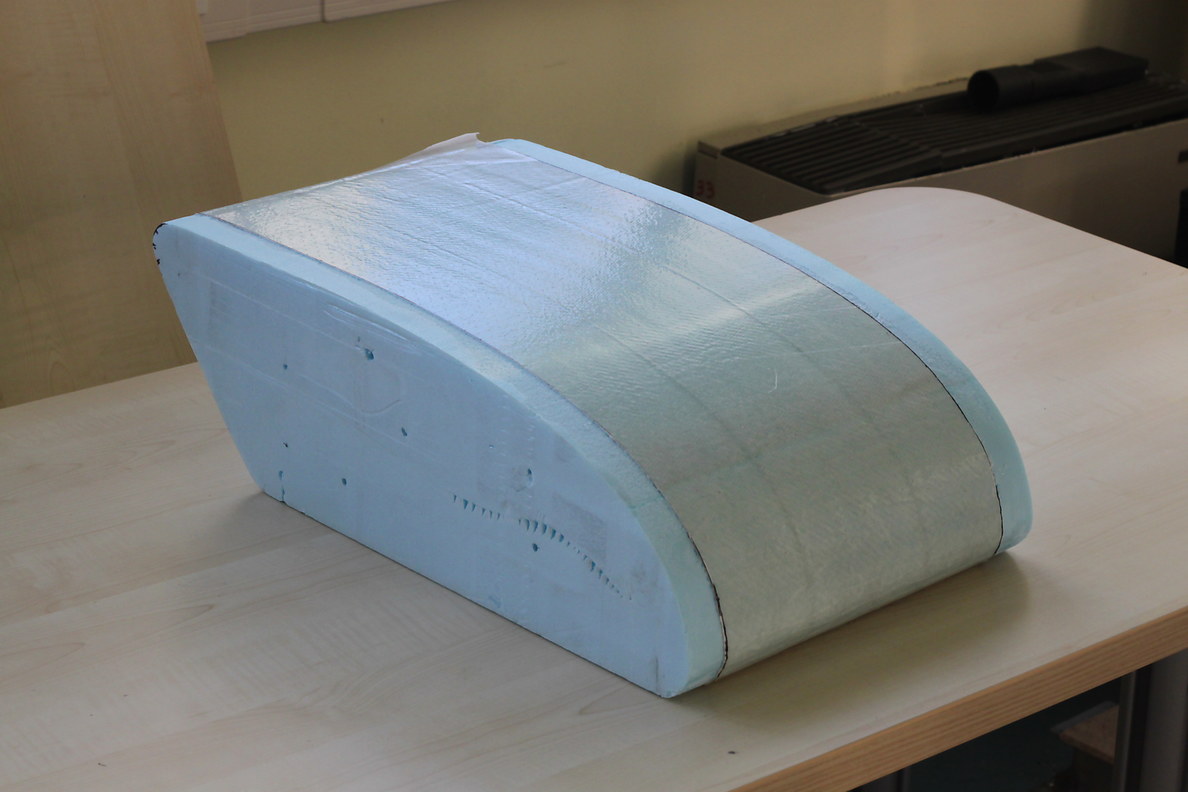
Now it’s time to do the same trick again with the hot wire, and remove the interior foam of the body part…
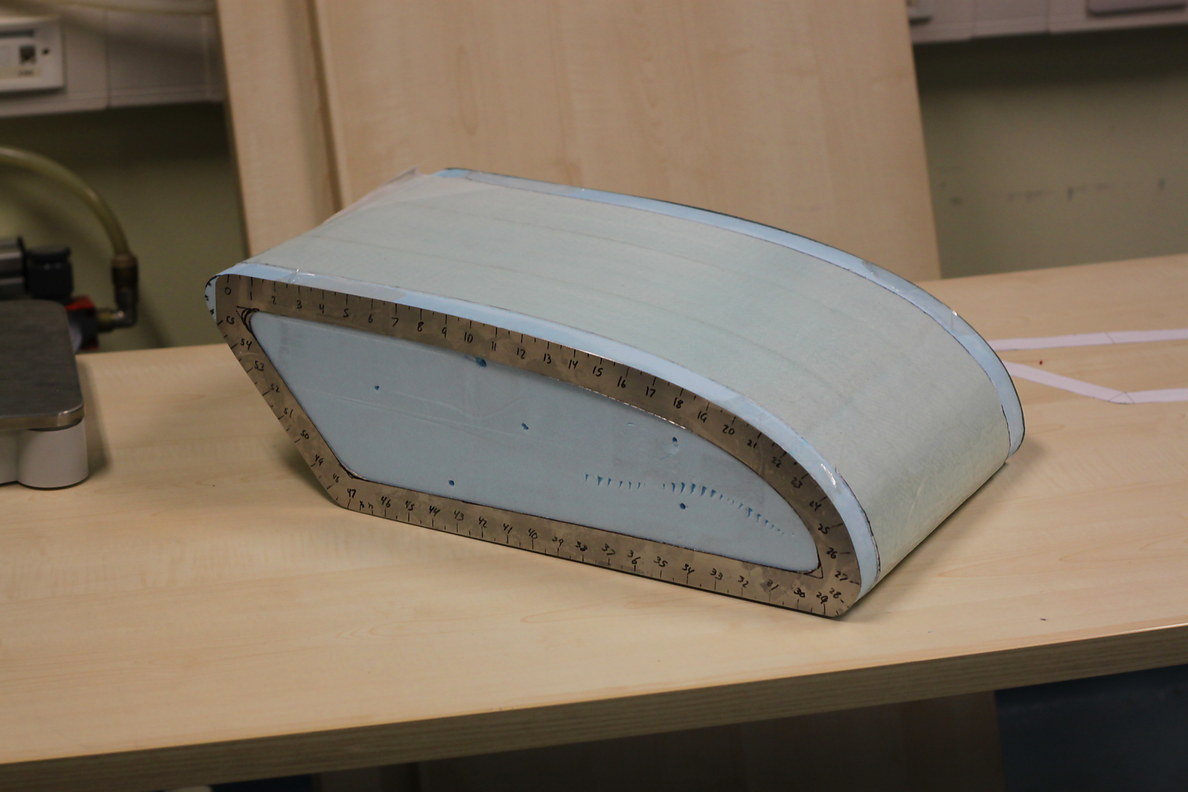
Tada!
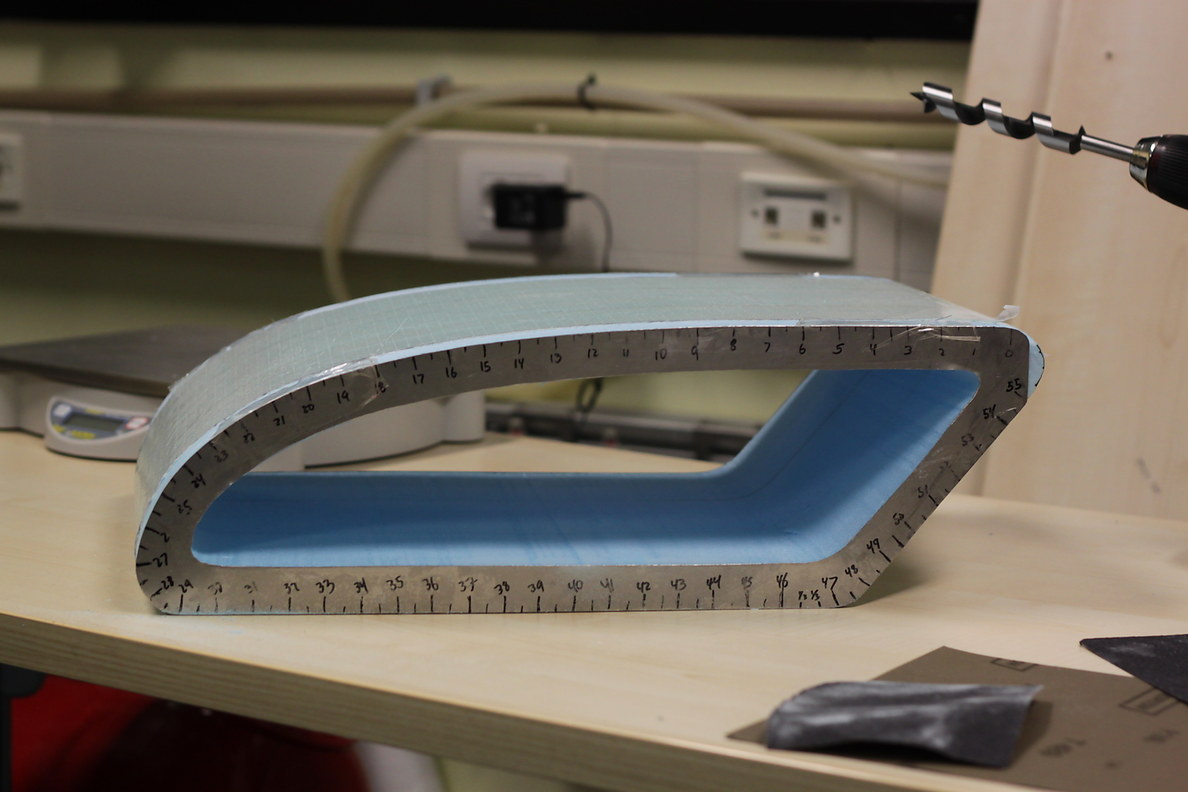
The weight is pretty good considering the size of the part. If I had it to do over again, I would have gone twice as thin with the foam, had I wished. Probably 1cm would have been sufficient instead of the 2cm that I left here.
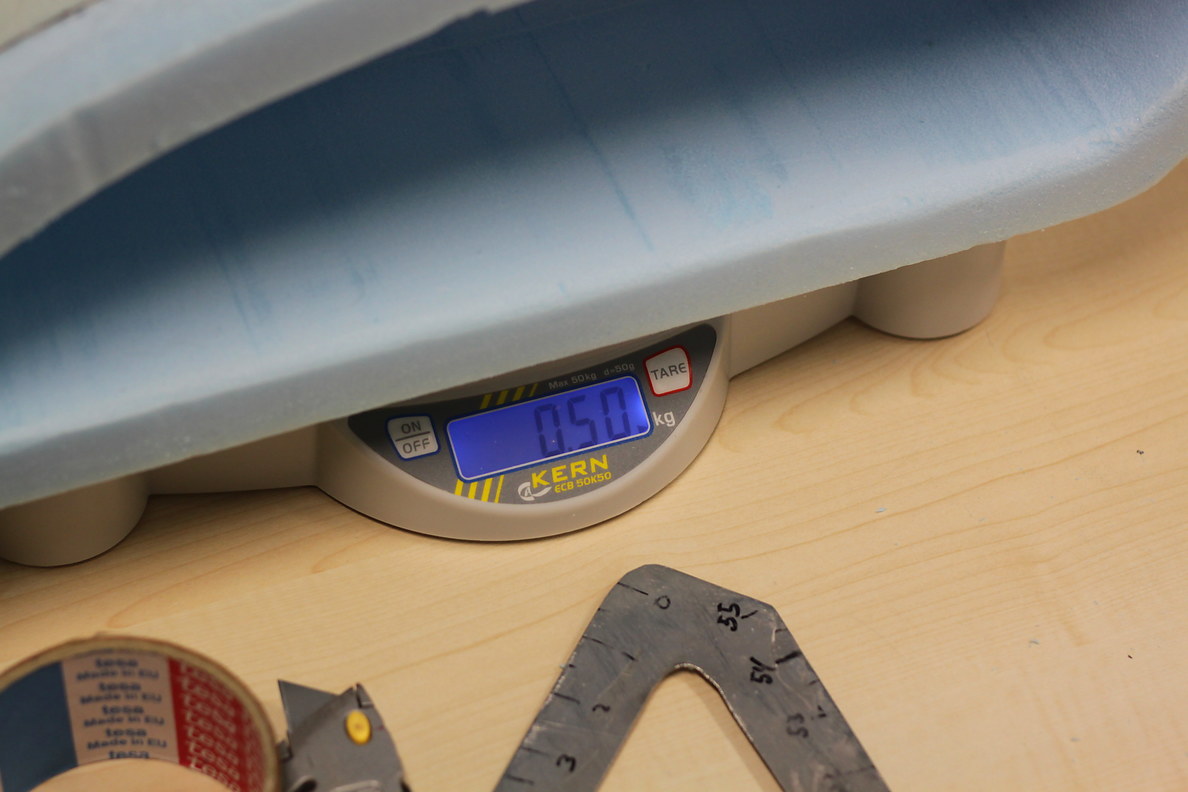
At this point, I also glued on a back side to the foam box that is being made:
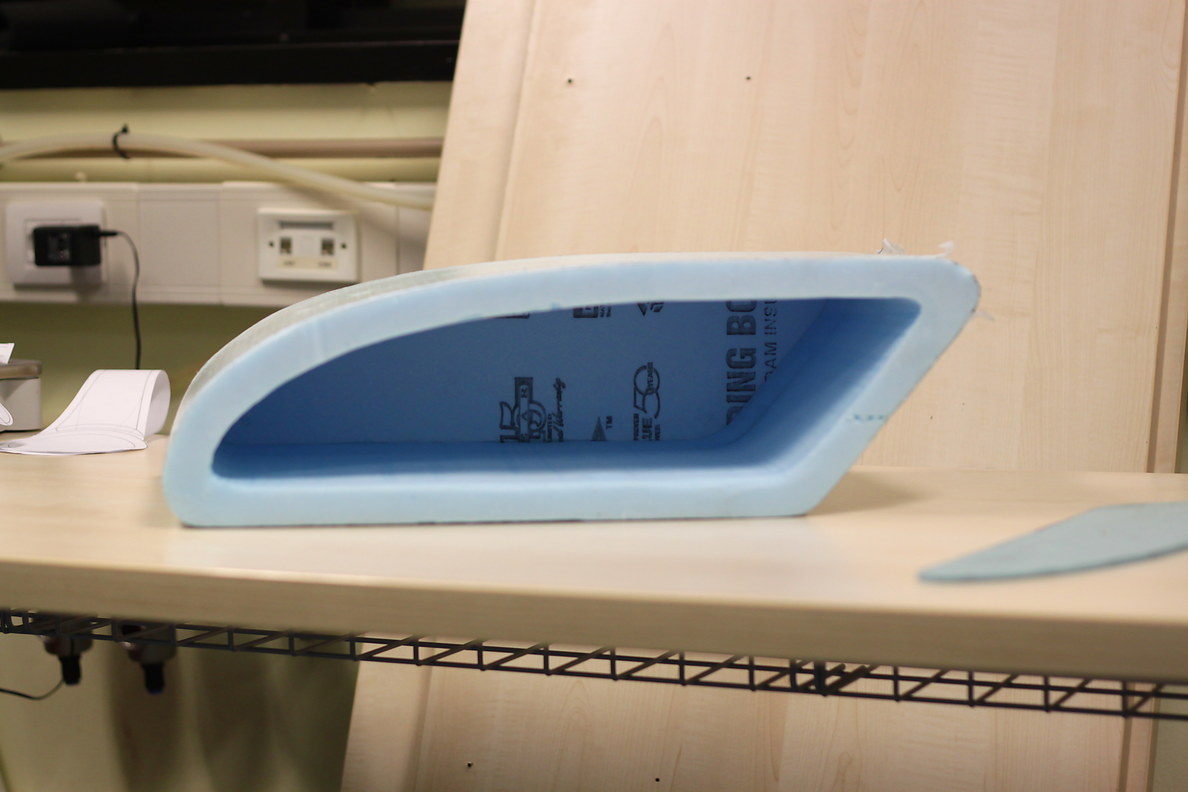
After the glue dried, I rounded the corner with some sandpaper. Foam is a real easy thing to work with.
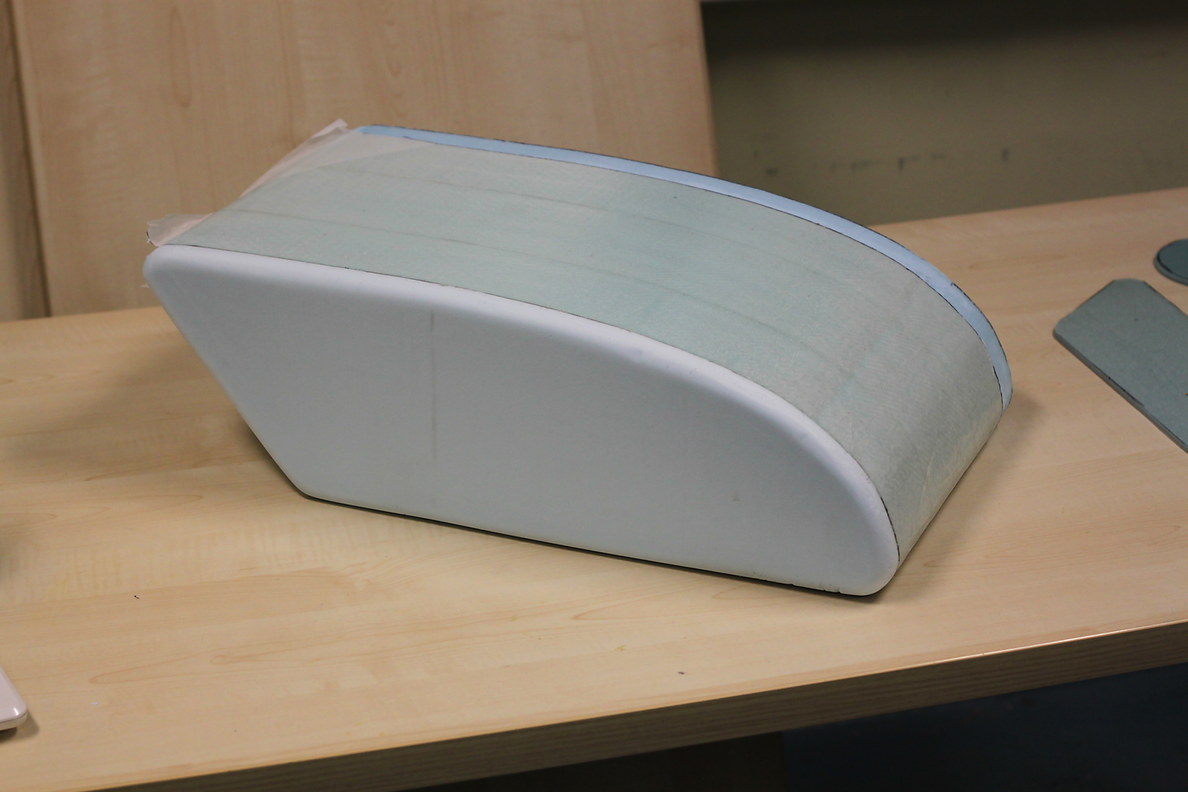
Day 7:
I don’t have as many photos as I should for this day, but here I’m assembling the the 3D printed mold for the thigh.
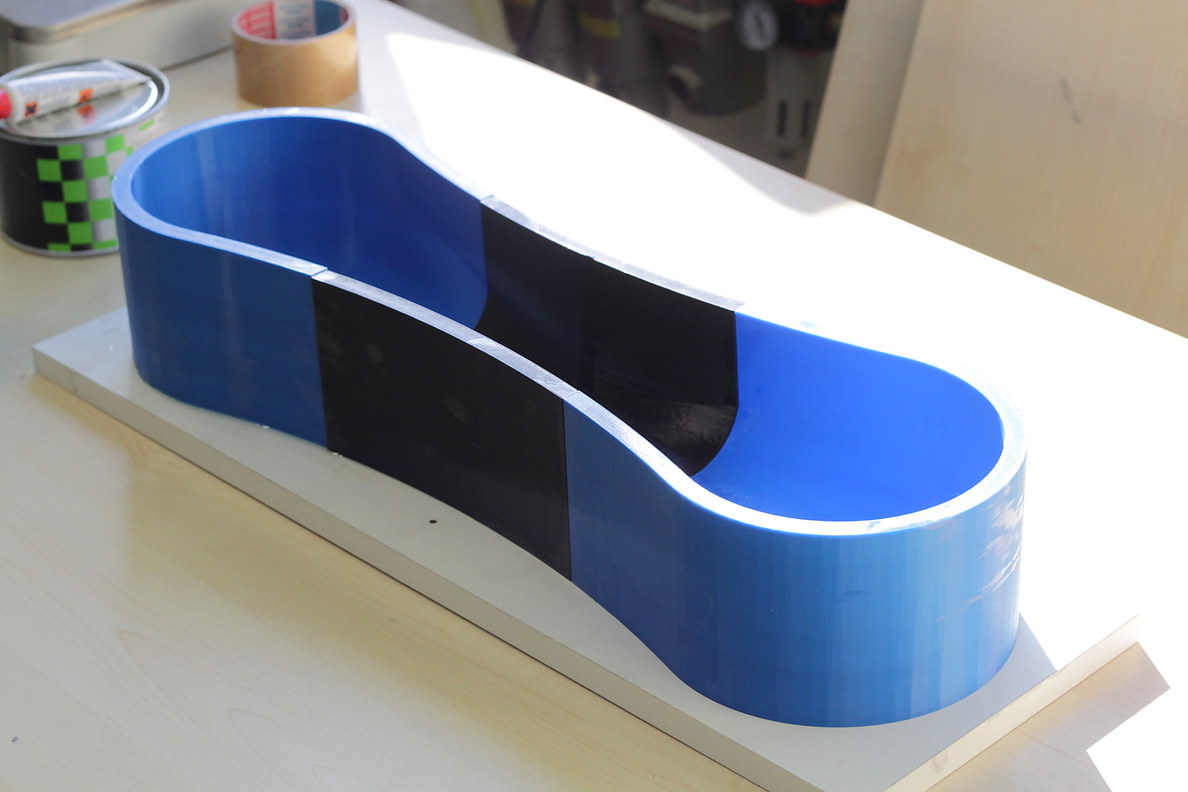
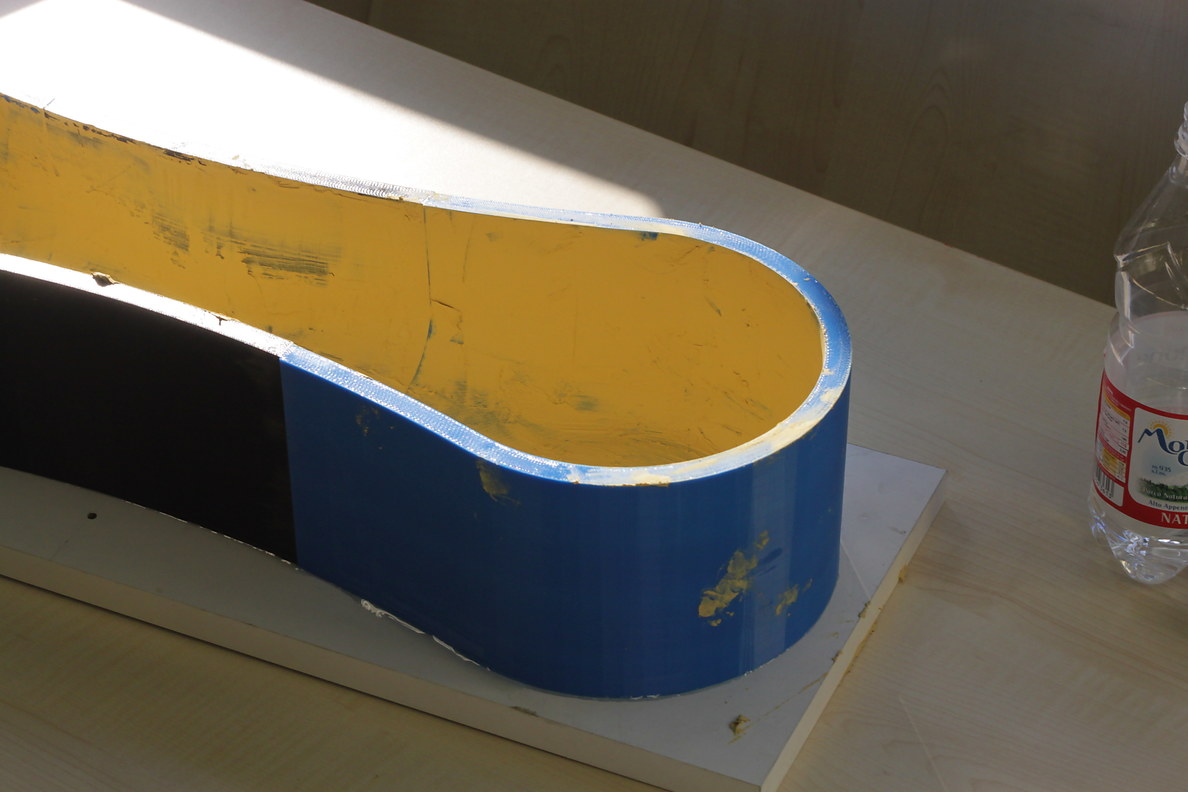
Once again, I covered the inside of the mold with bondo. In this case, I used a yellow bondo rather than gray, for no particular reason. In this photo, it is not sanded yet.
Most of the structures in this robot are open boxes, so I made the “box lids” out of foam, and sandwiched them between two sheets of fiberglass on a sheet of glass, and then pumped a vacuum on them to make very flat, lightweight pieces. Here’s what the foam looks like, but I don’t have any photos of the parts themselves:
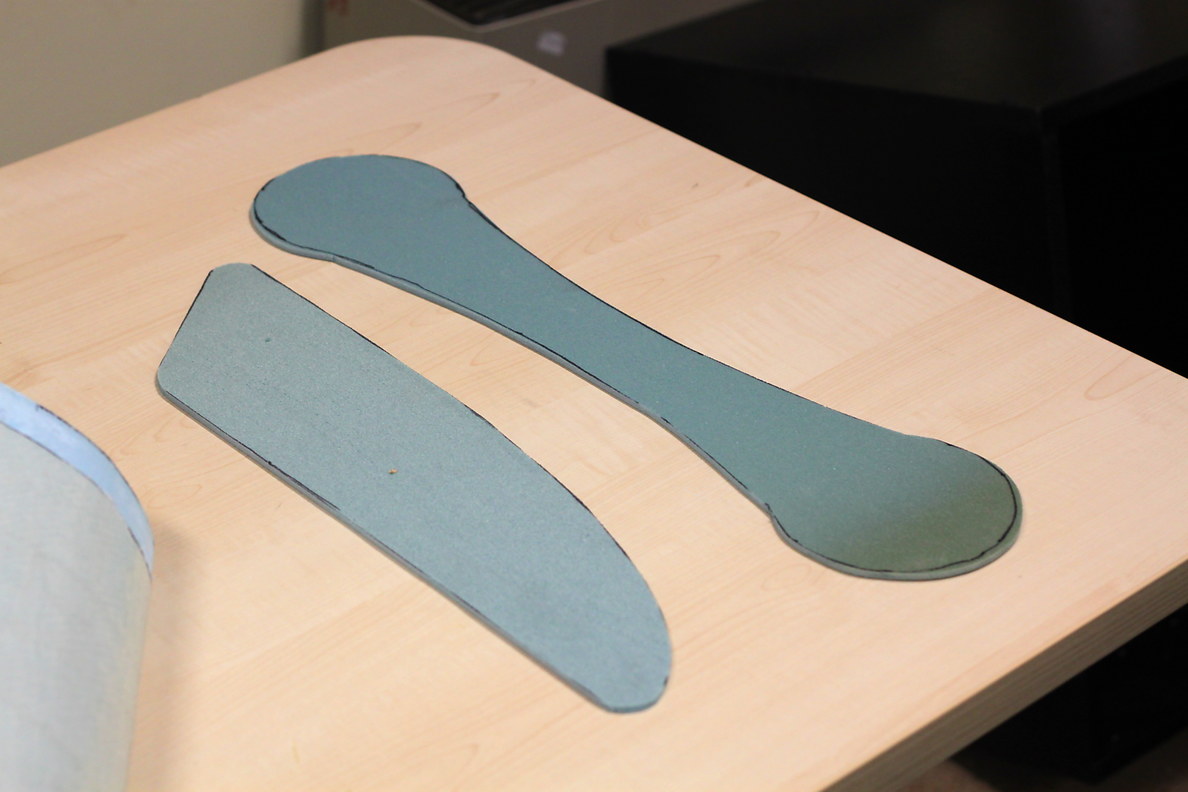
Not shown today, I also did the vacuum bagged layup of the shank, which we will see tomorrow.
Very importantly, I probably spent most of the day waxing, waxing, and re-waxing the painted black surfaces of the mold. Some people take this to a religious level and do it a half dozen times or more, and it is indeed religiously important for big molds that have never been used before. But for small molds, three times is usually enough for me. Epoxy will stick to any poorly waxed thing like the world’s strongest leech, and your part will be ruined.
Day 8:
We now can see the first carbon fiber part to pop out of the mold. The molded surface will have a fairly shiny and smooth texture to it where it contacted the mold.
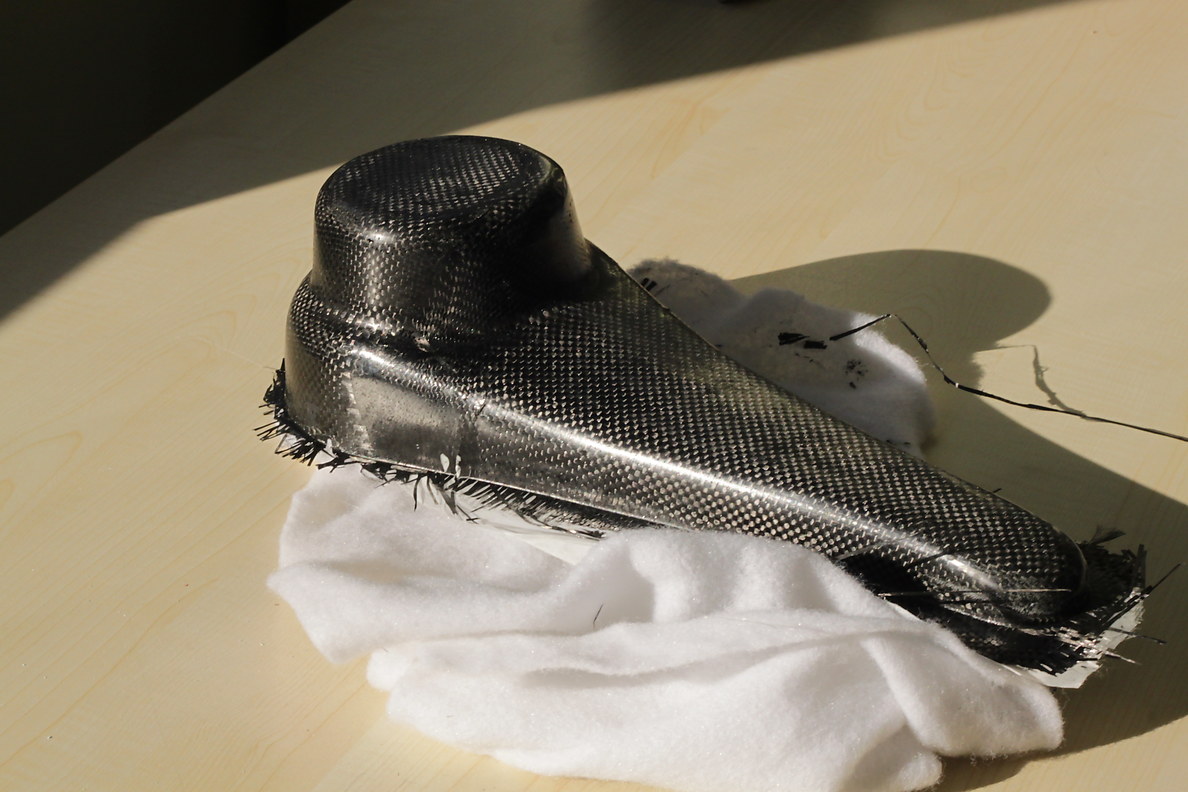
While releasing the shank’s outer surface from the mold, I broke the mold. Good thing I’m only making one of these! Maybe I should have waxed more than 3x? Also note how I painted it black before waxing to better see bumps, imperfections, and the wax.
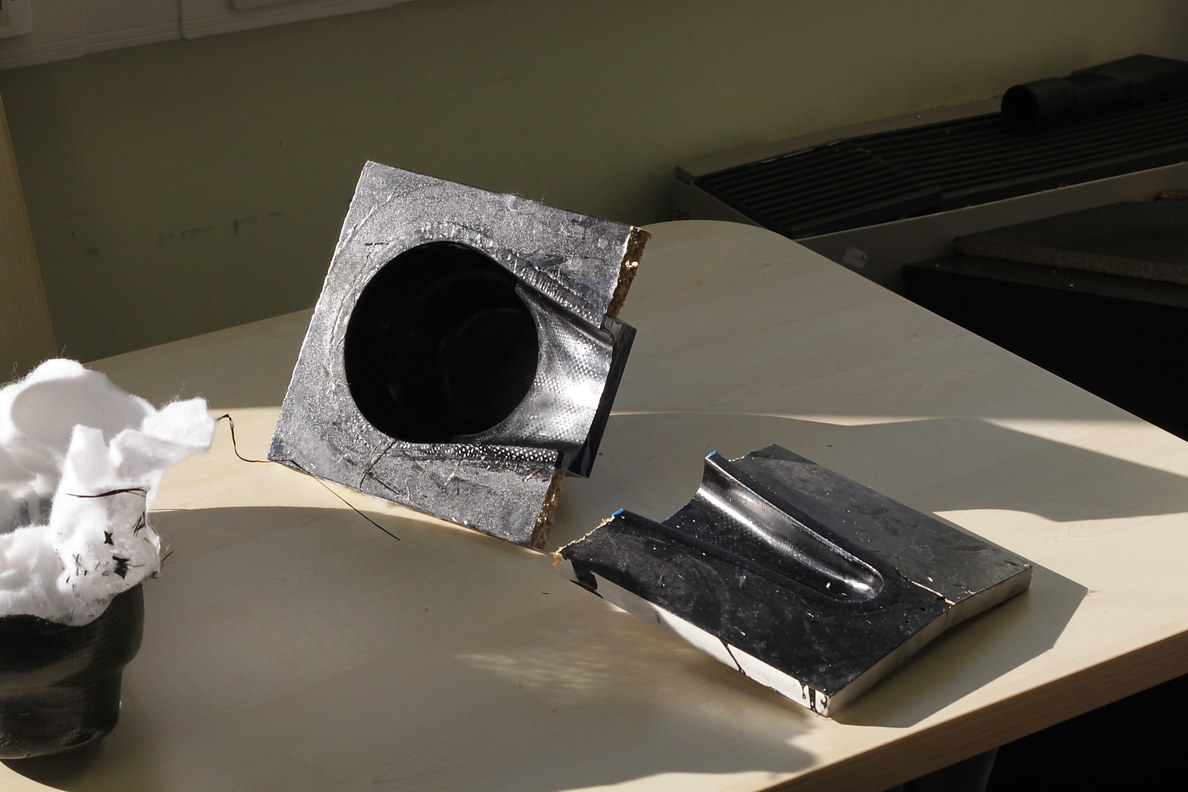
You can see the texture of the carbon fiber weave left on the mold, as it was pushed into the mold by the fiberglass.
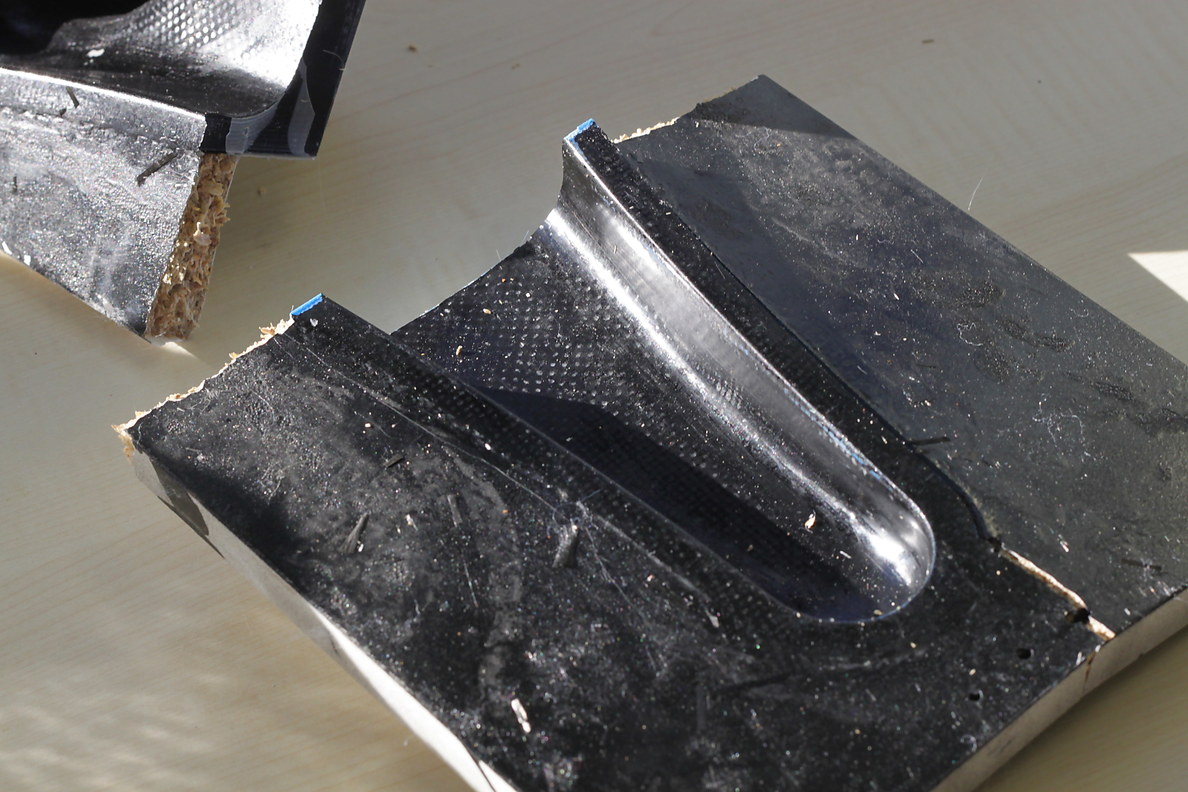
The next thing is to trim the edge with a sharp knife, and wipe off any wax on the surface. Because this is a two-mold part, all wax needs to be removed so that another layer of carbon fiber can bond with the outside surface around the parting line.
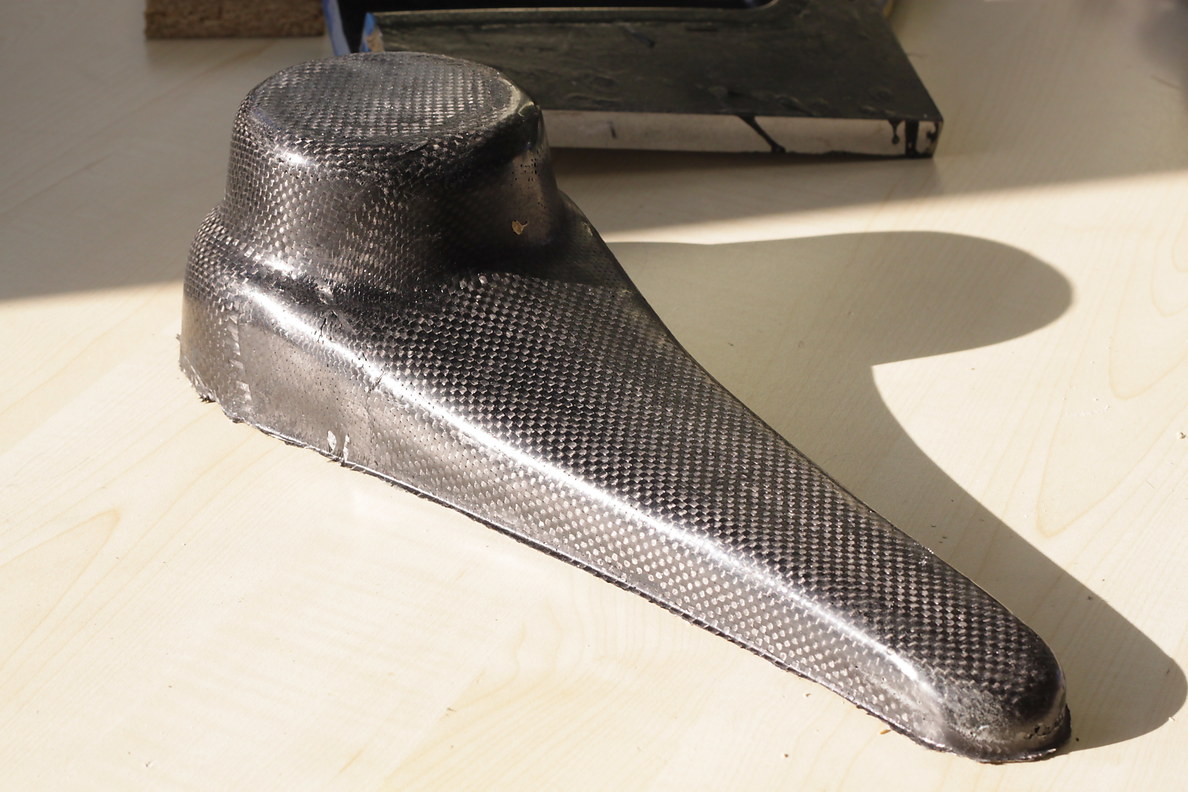
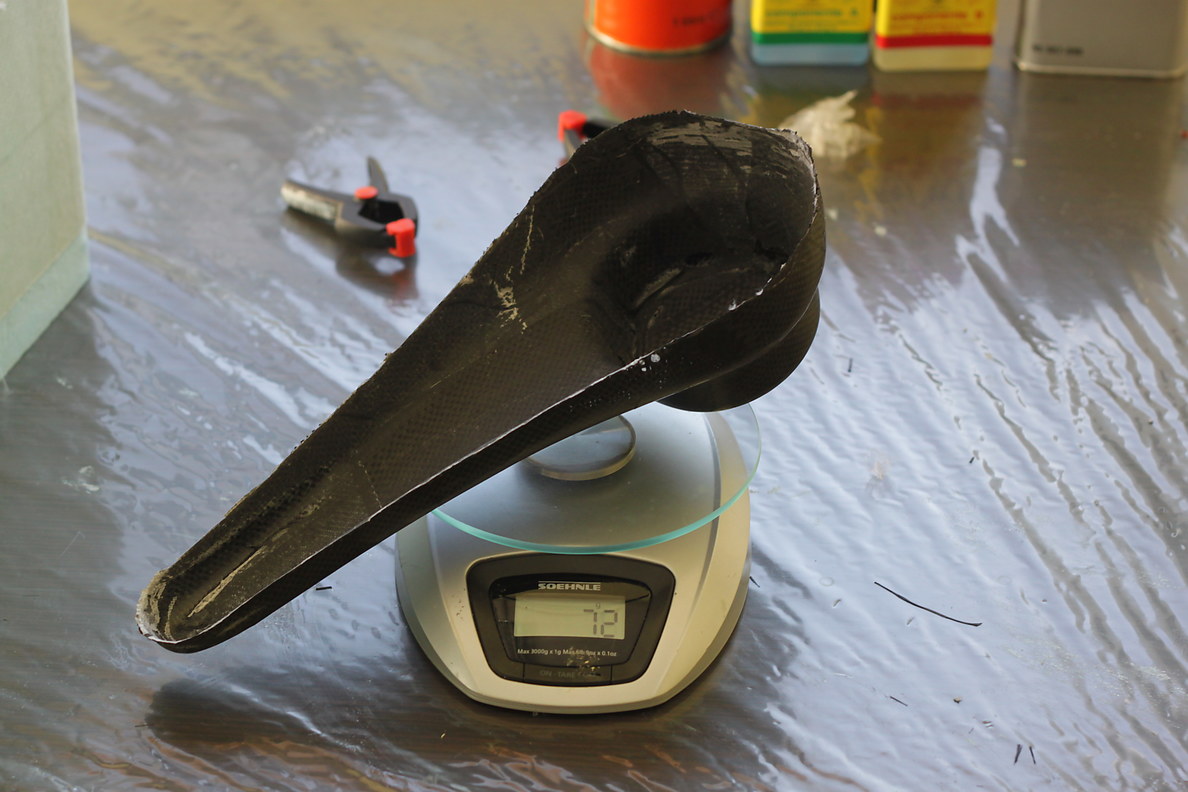
The weight of the outer layer is really pretty light. Note the matte texture of the inside – a result of the peel ply.
The next thing to do will be to fill the gap between the outside surface and inside surface with expanding urethane foam. The next few frames show how the outer skin will fit over the plug.
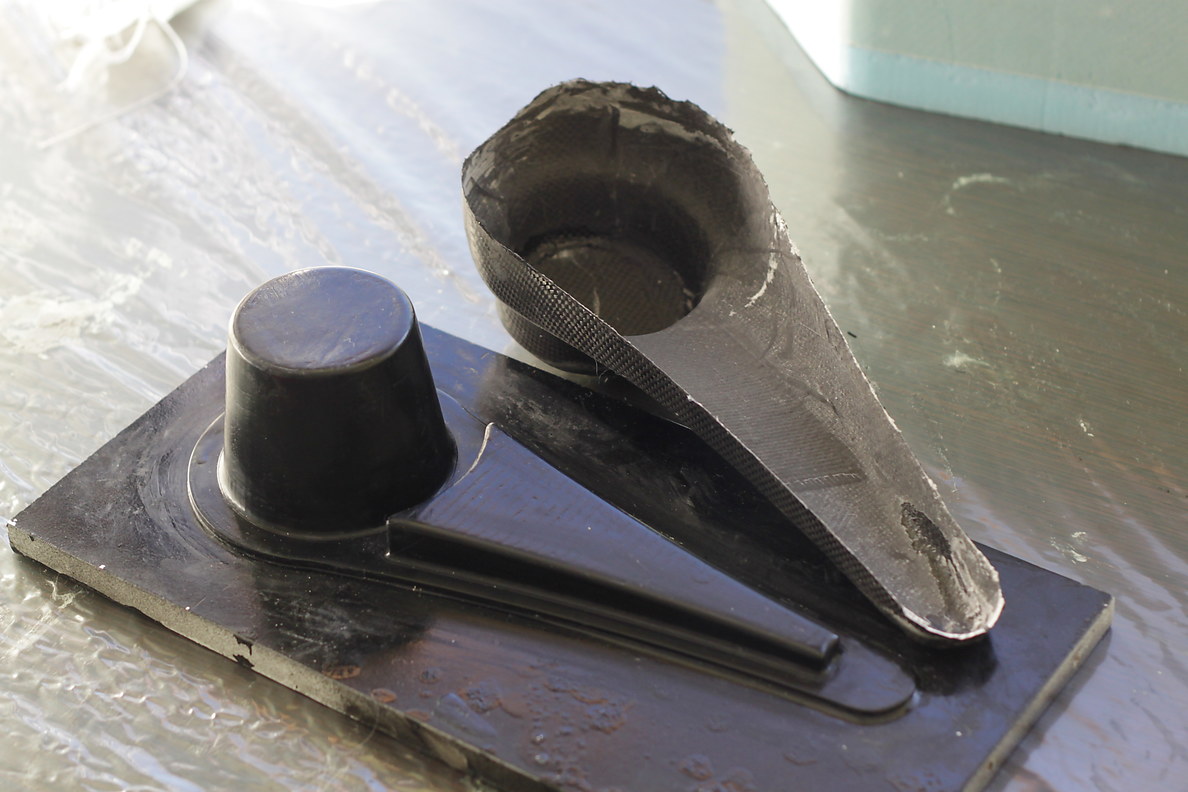
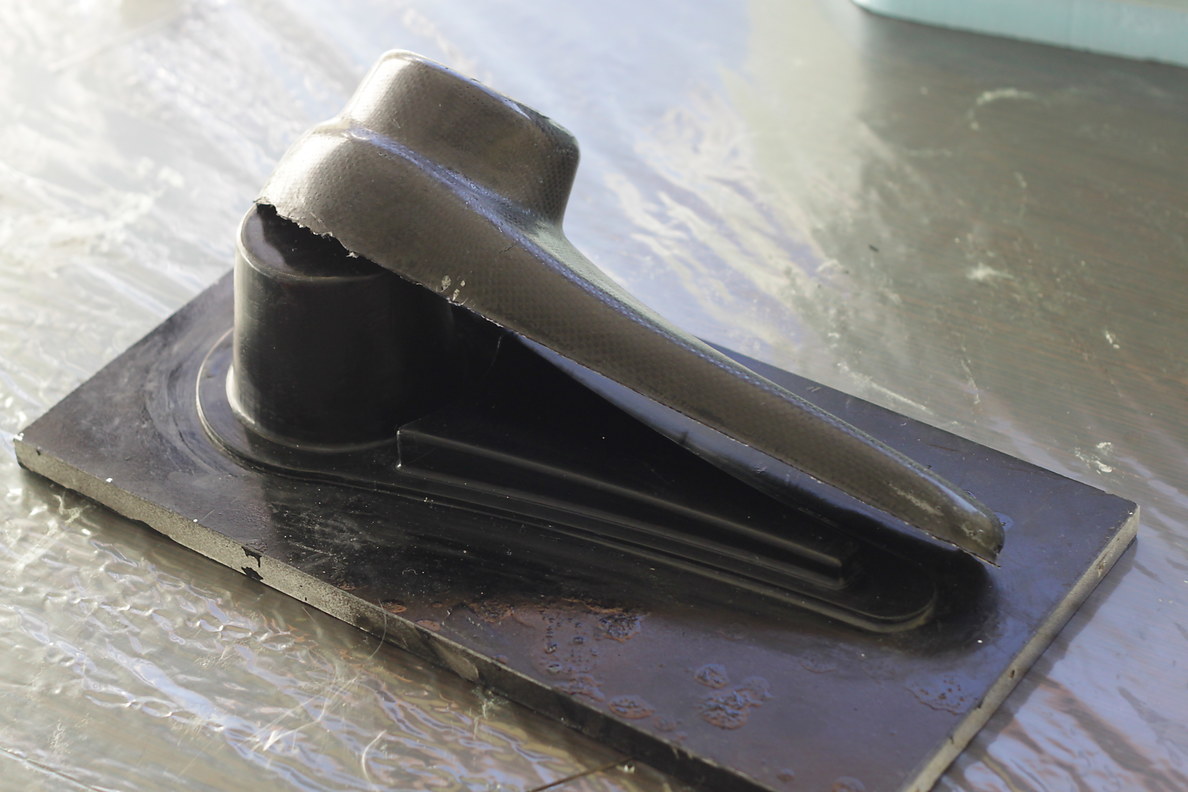
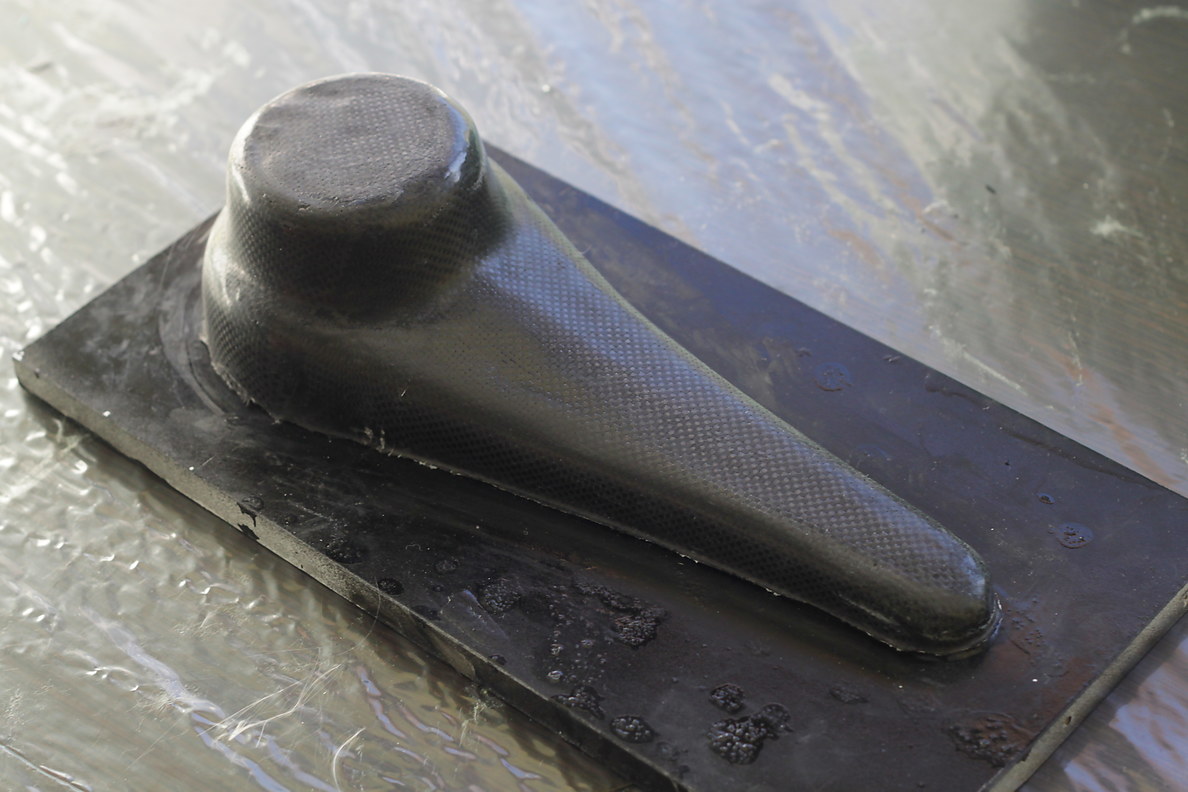
Time to fill the inside with polyurethane foam… (I will regret this tomorrow!)
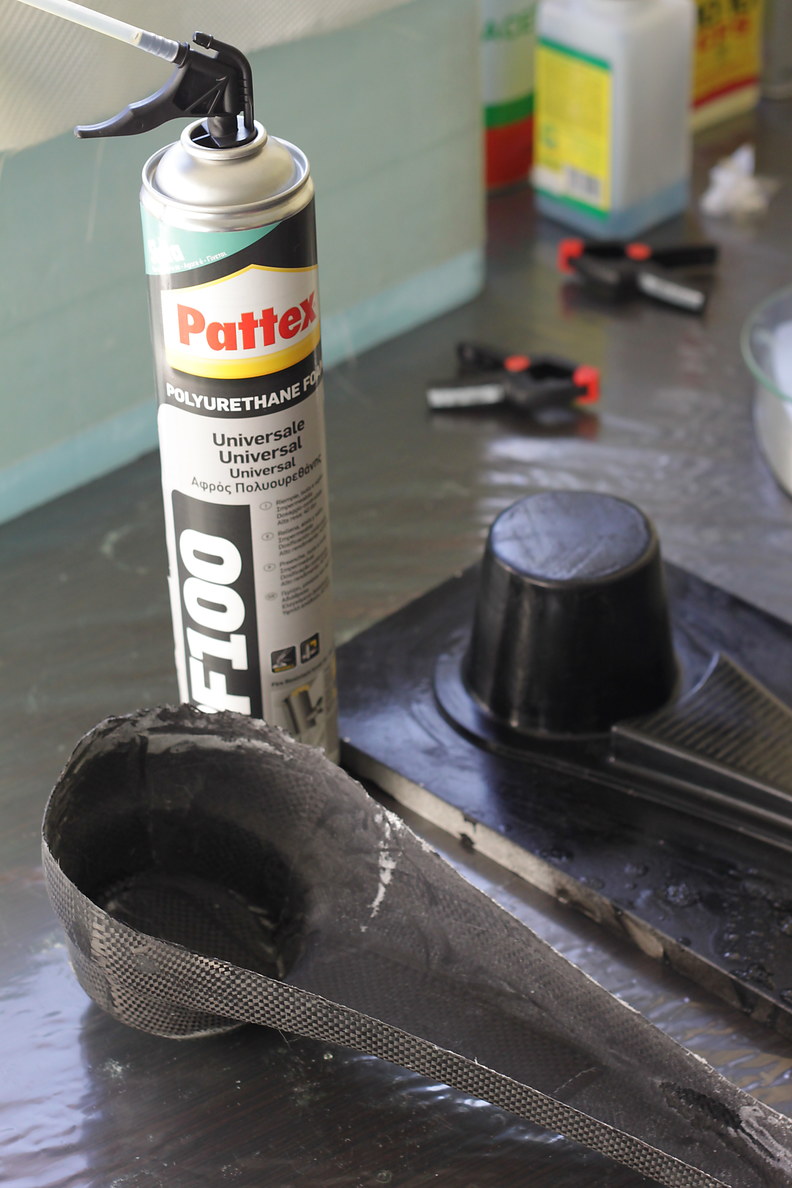
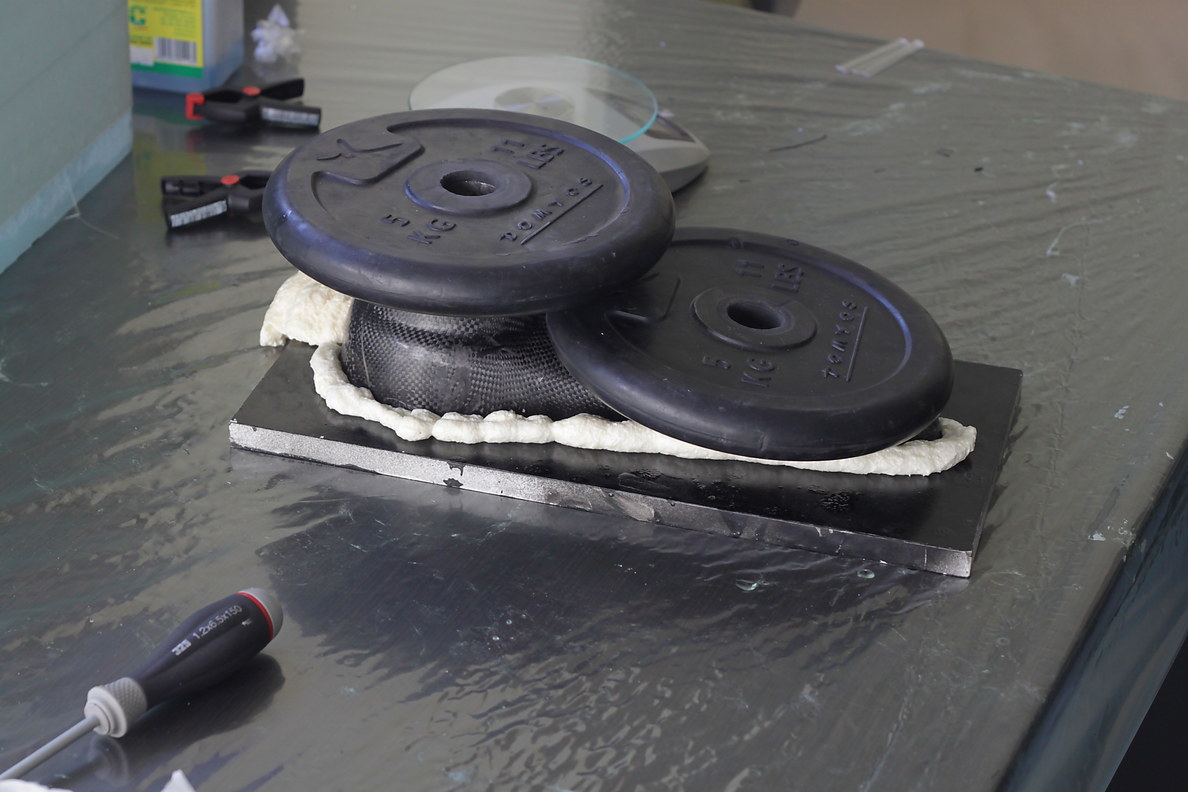
I spent the rest of the day painting the interior of the thigh mold, and waxing a sheet of glass for use with the covering plates:
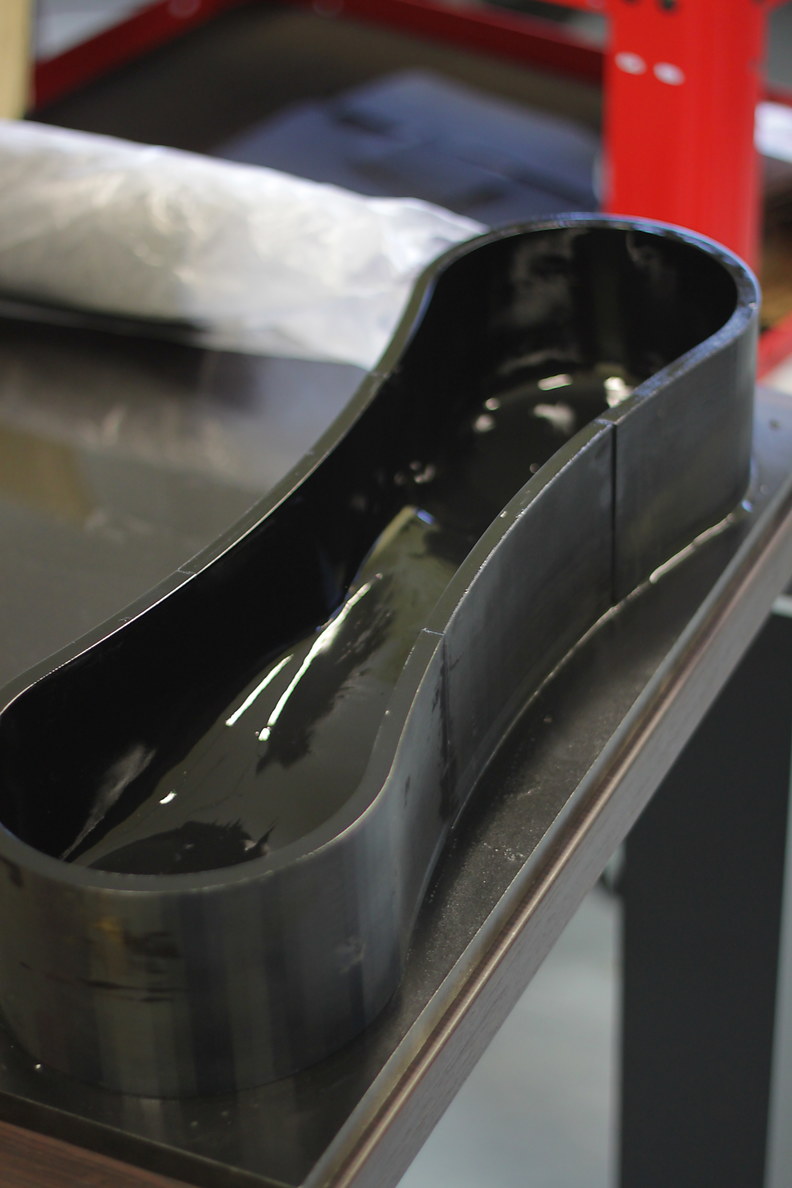

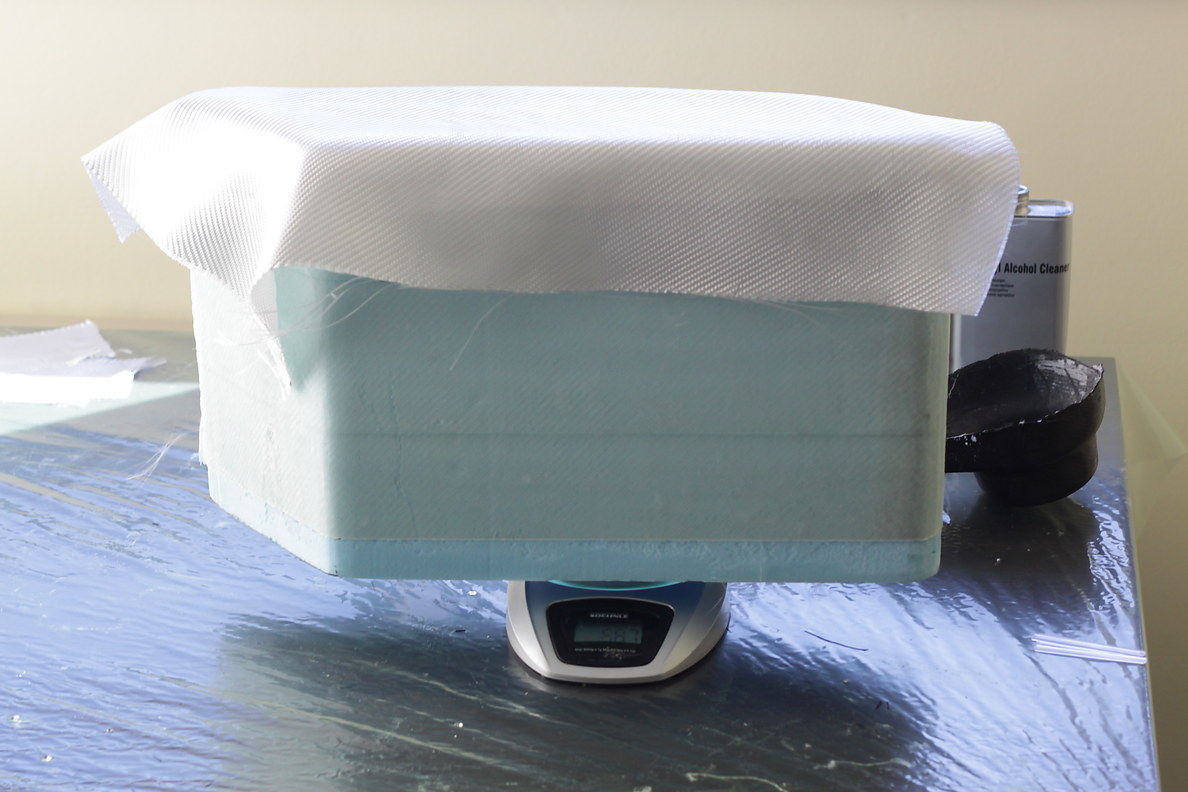
I also did the layup of the fiberglass layer on the outside of the body box:
Day 9:
The day dawned bright and exciting. Look at this great composite part, with a foam core all perfectly shaped.
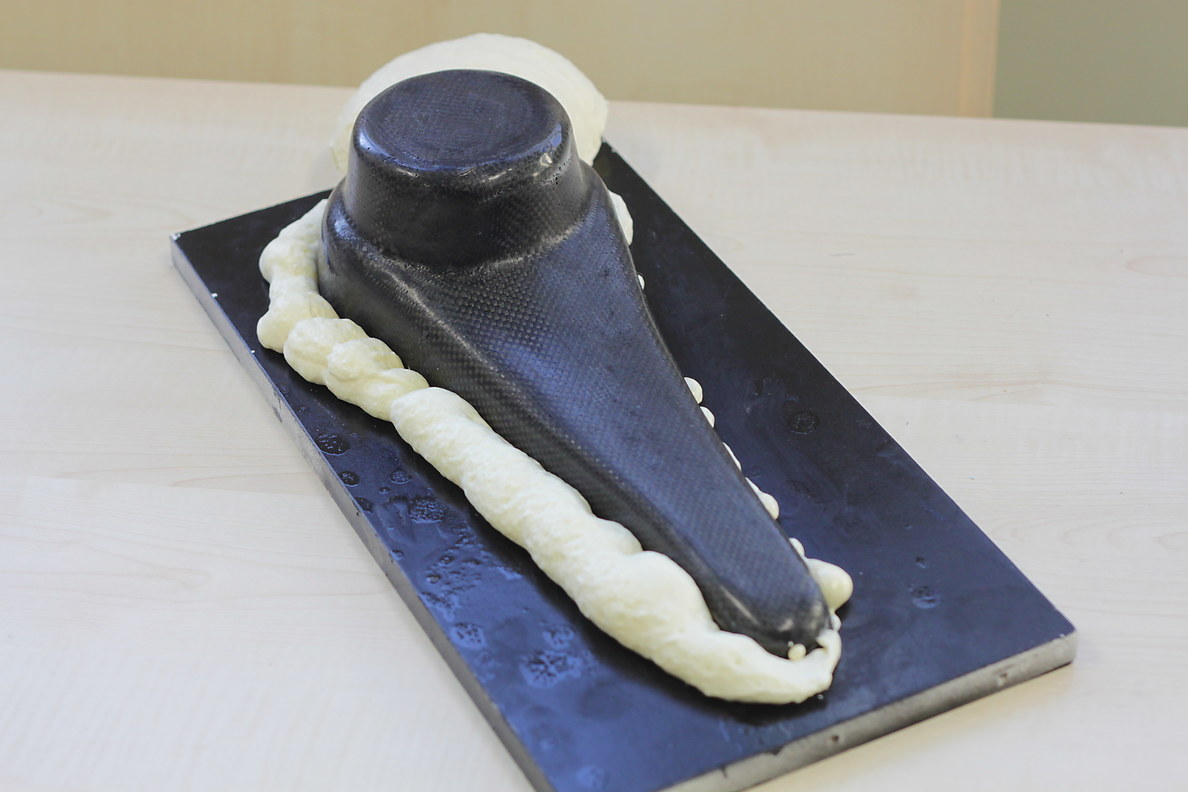
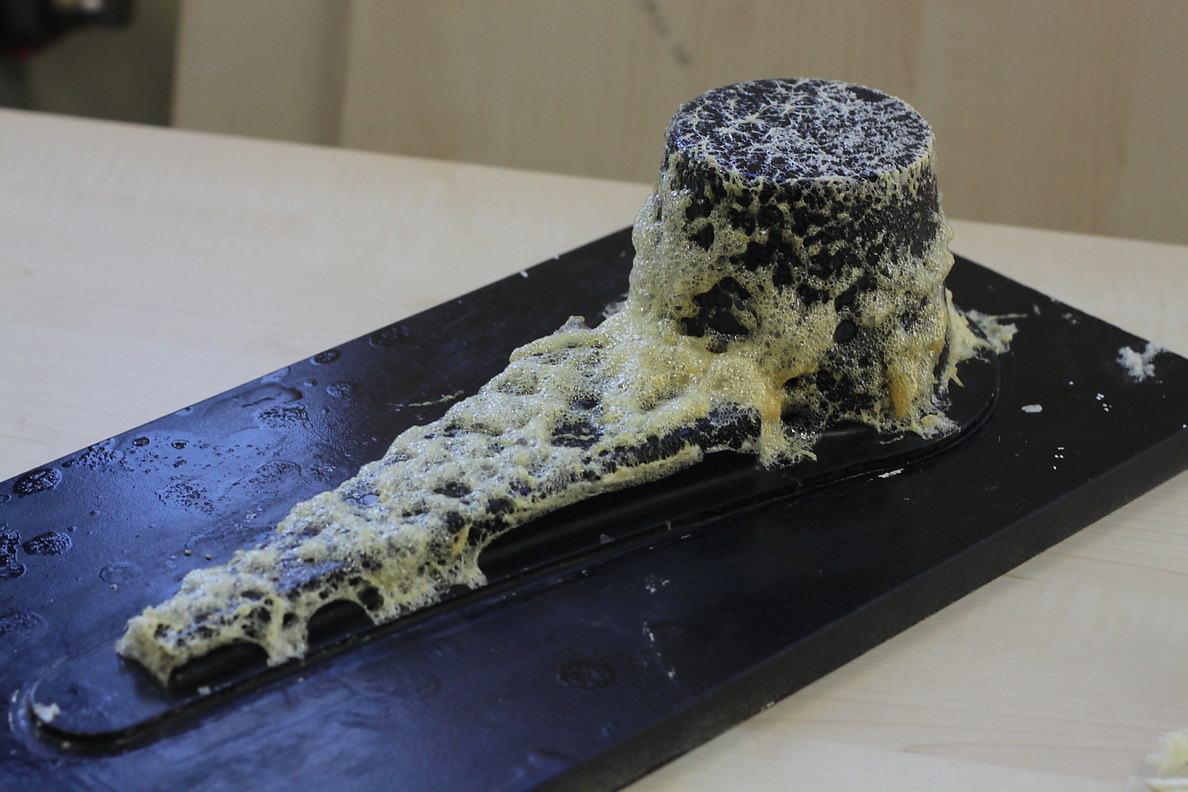
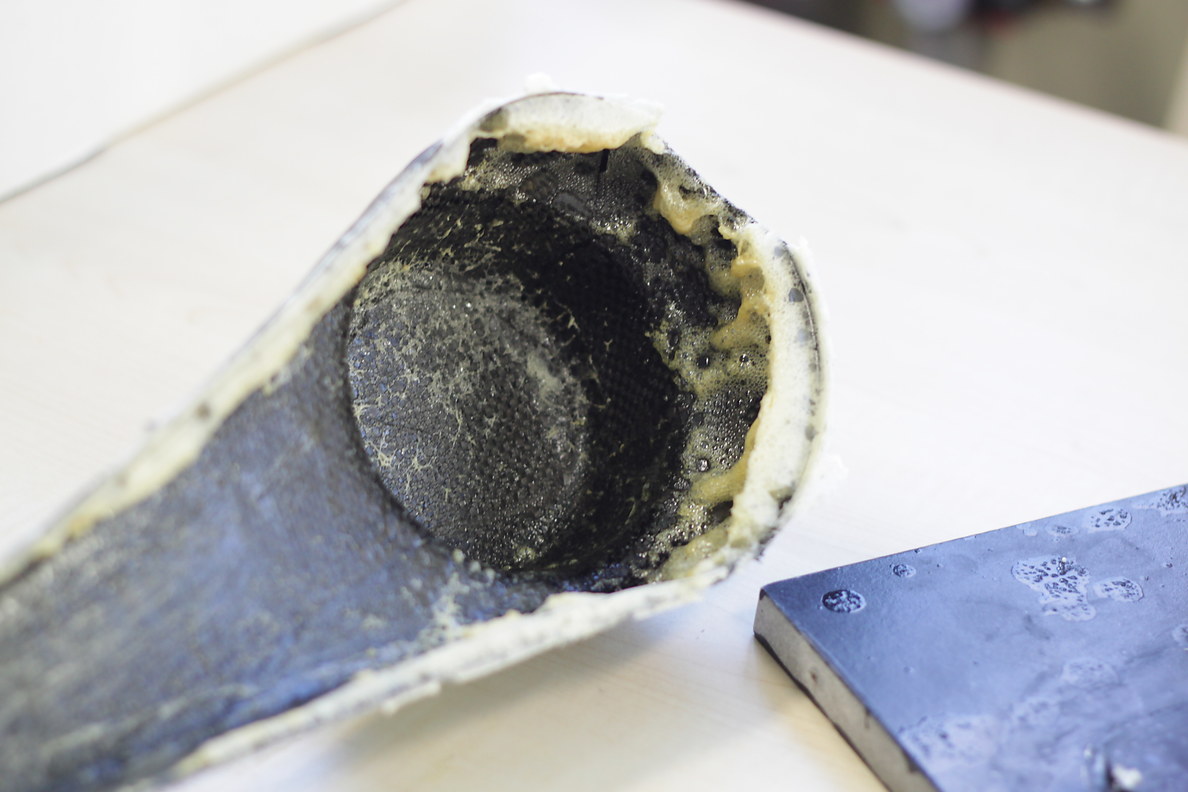
Oh no! The urethane foam didn’t cure! I guess in my excitement I forgot that a 1-part expanding foam relies on oxygen to cure, so it won’t dry out in an enclosed space like this mold.
Discouraged by that dumb mistake, I ordered some different urethane foam, and spent the rest of the day waxing the thigh mold:
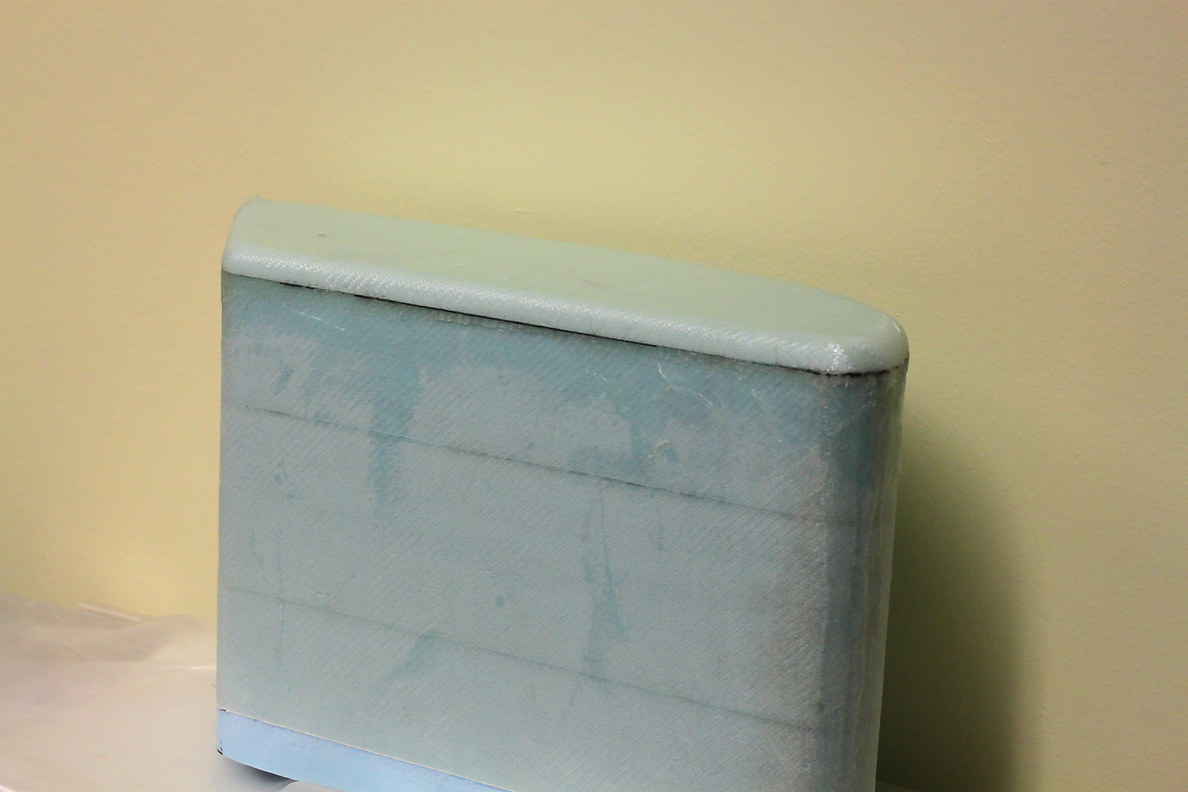
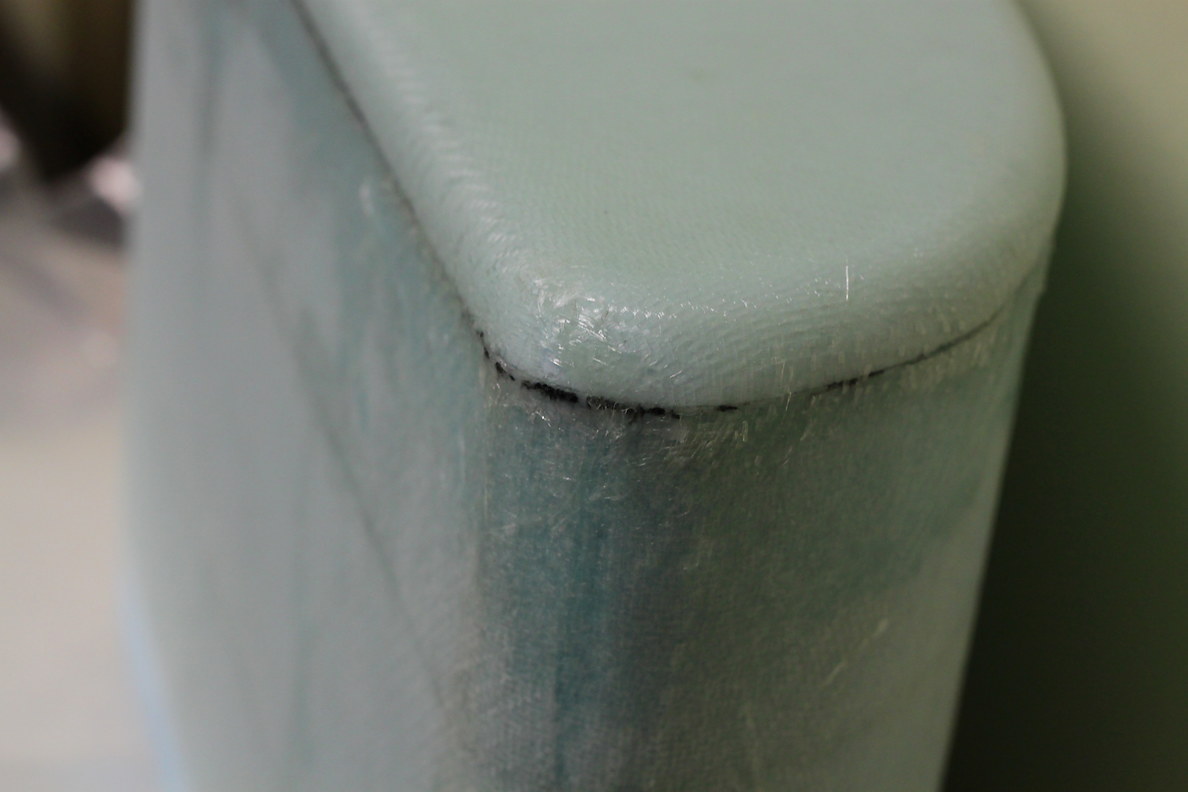
On the bright side, the body part fiberglass is coming along well.
Day 10:
Time for some carbon fiber! Carbon fiber is easier to cut than fiberglass because it’s stiffer and more brittle. I have it here between two sheets of plastic to keep it clean and dust-free.
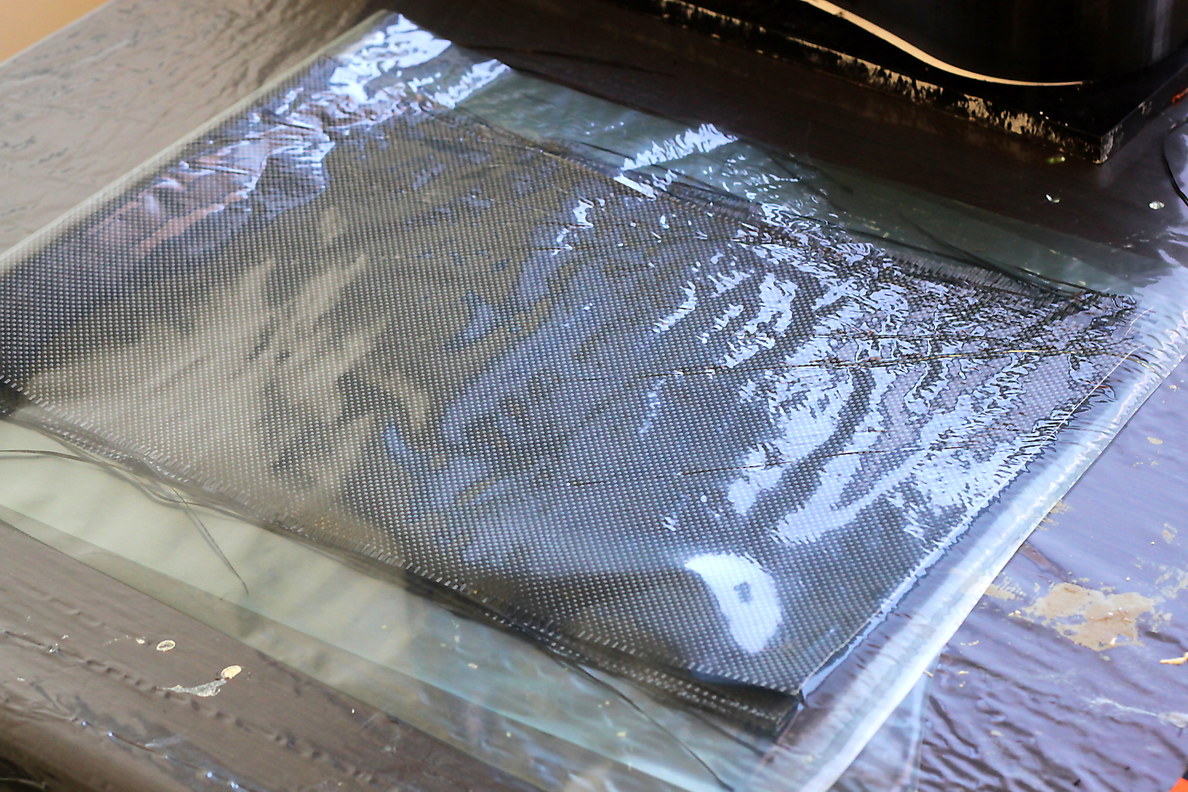
The carbon fiber layup of the thigh looks a little weird before it is de-molded, though.
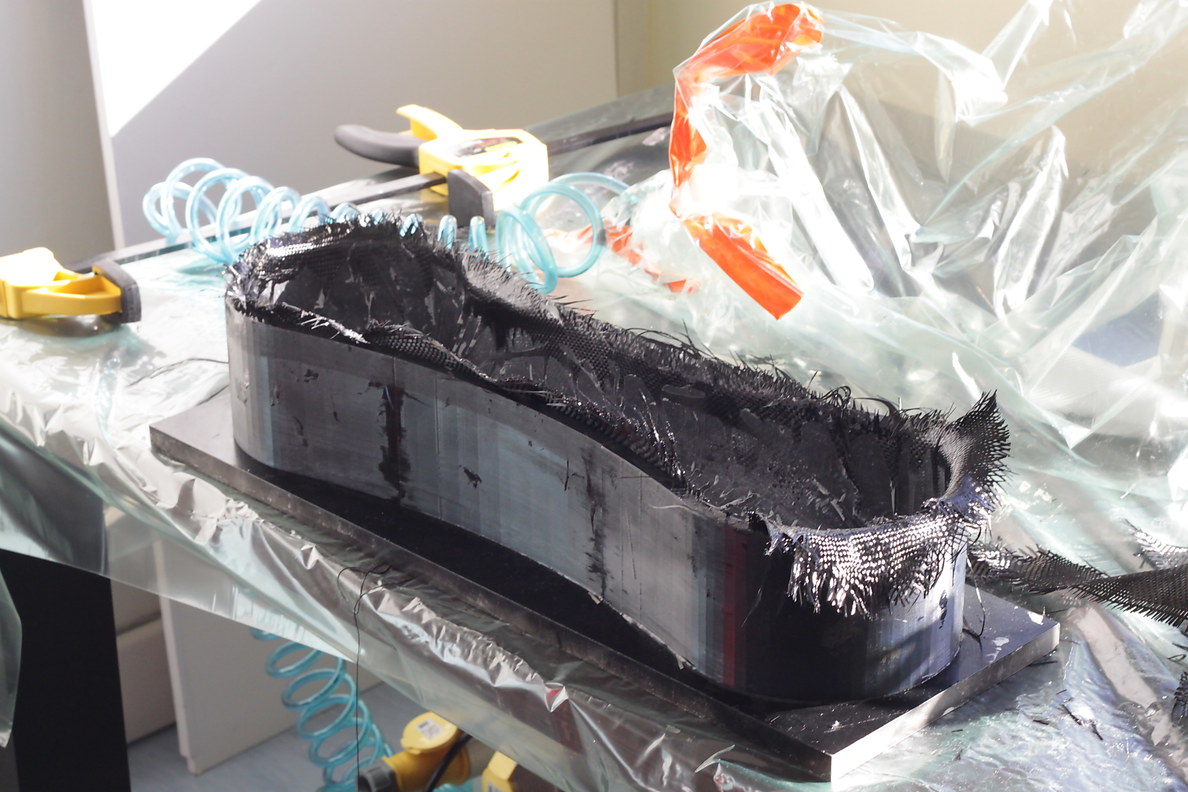
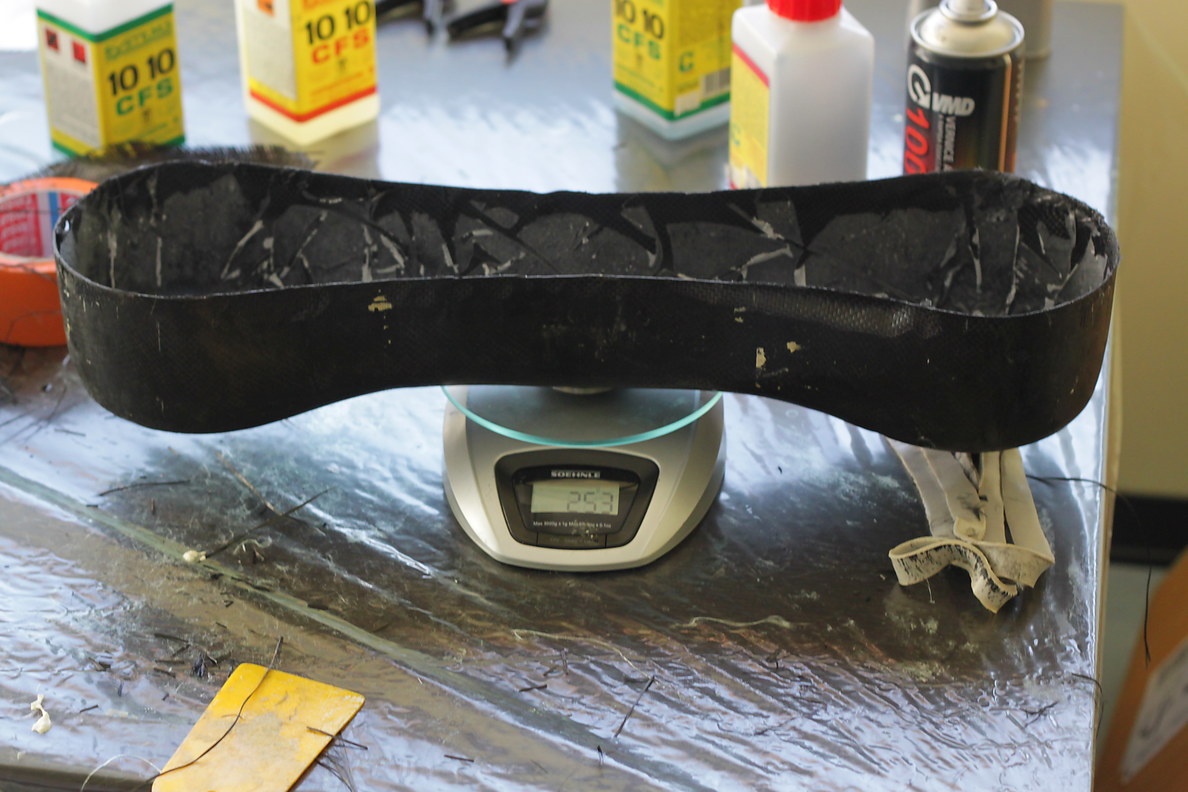
After trimming, it is looking better, but the outside texture is pretty dry, like I didn’t use as much resin as I should have. There should be a smoother texture on the mold-side of the carbon fiber. The only way to fix this is to go back and apply more resin to the outside with a paintbrush, and then sand it smooth later. It’s much more time-consuming than if I had simply used the right amount of resin the first time.
The robot is starting to take shape!
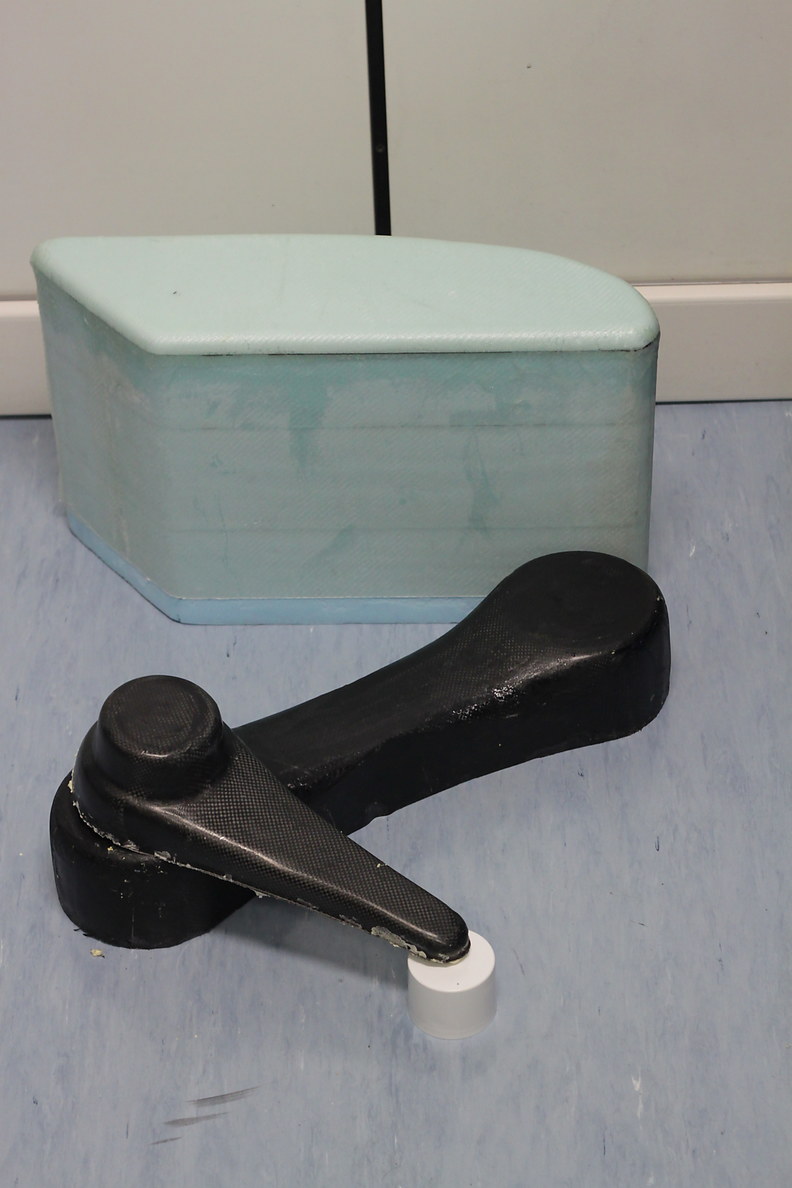
There’s one more part we have to make today: the hip-joint attachment for the body. I haven’t shown photos of this part yet, but it’s made the same way as everything else thus far.
I also did some trimming of the body of the robot, to cut the foam away from the edge fo the fiberglass and make a “lip” internally that the box lid will fit into.
Day 12:
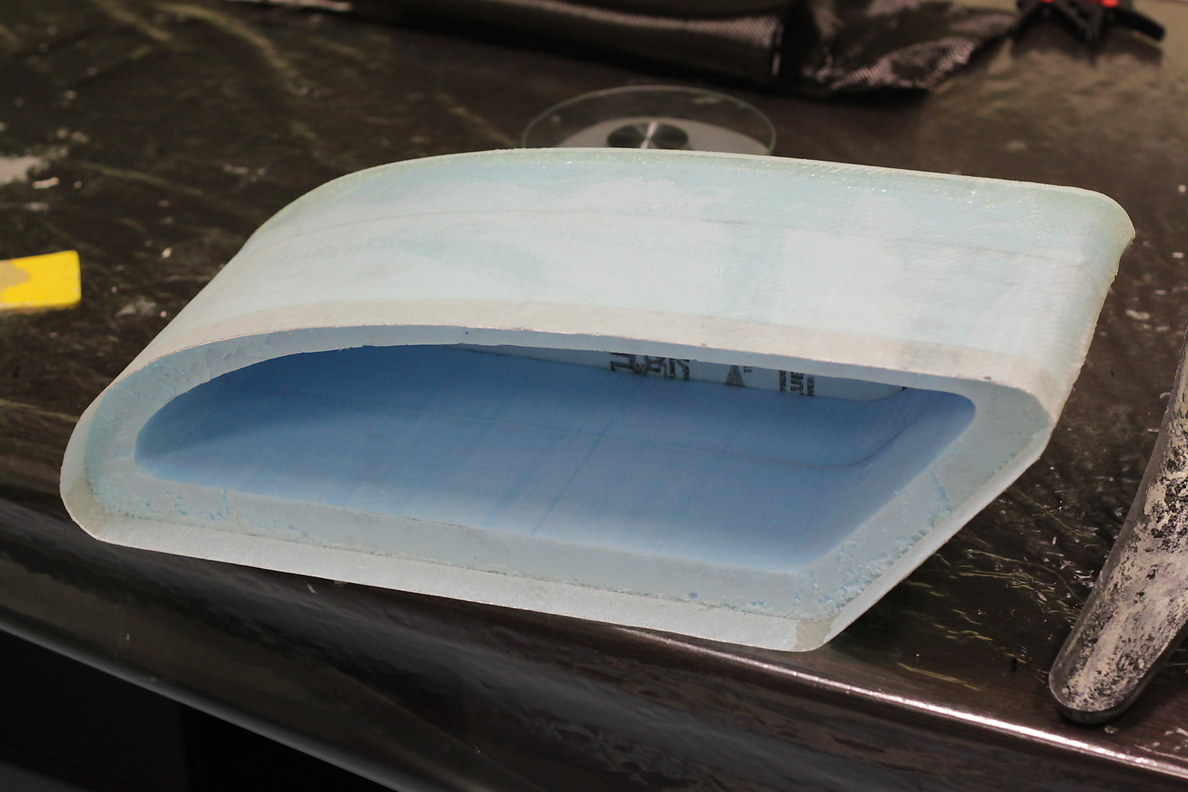
The hip joint attachement demolded very well, but there surface texture isn’t very good yet.
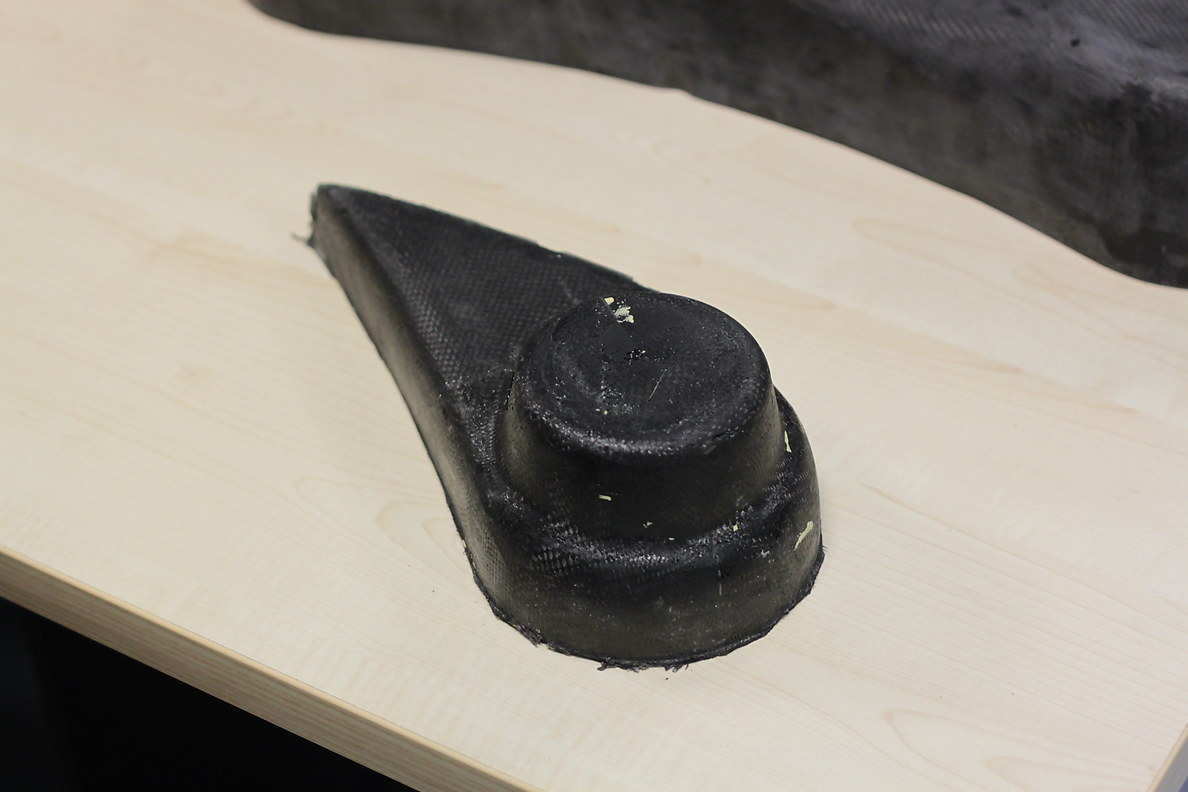
Adding that to the robot now gives it a more or less complete on the outside surface:
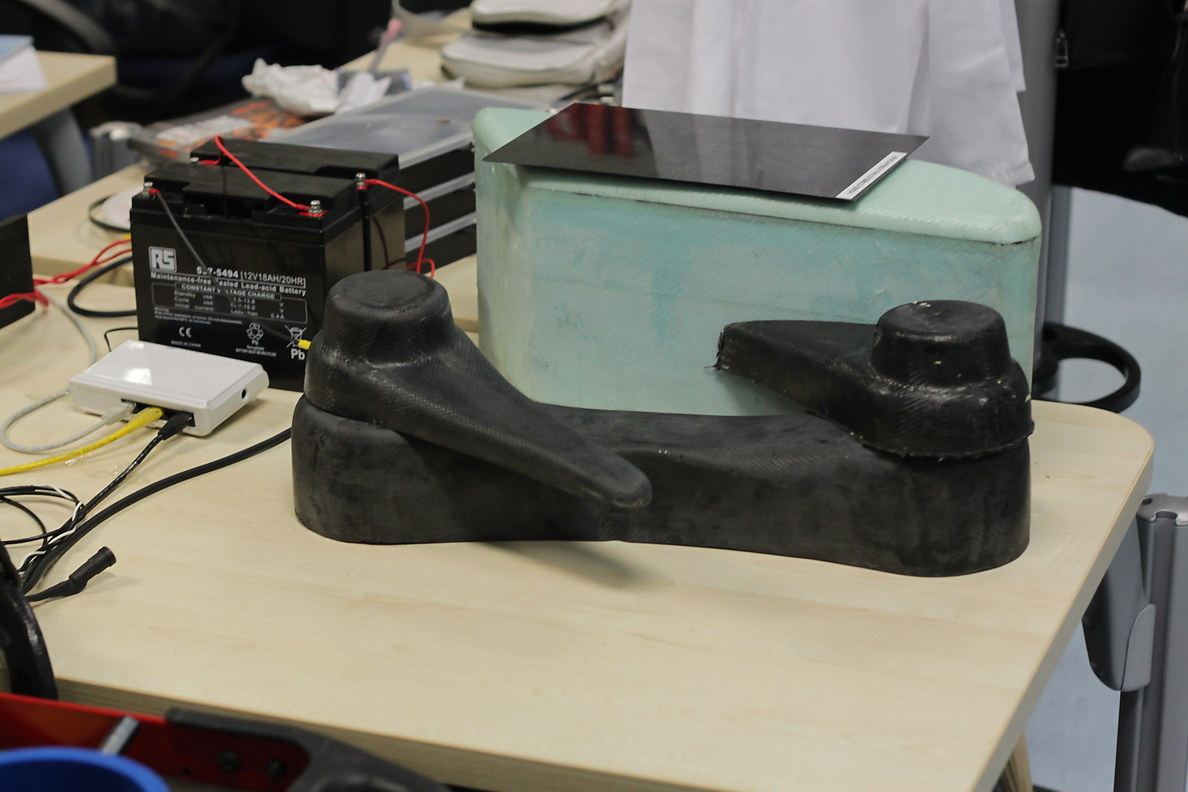
Day 14:
Let’s try applying urethane foam again. Here I’ve got some two-part expanding foam. Because it’s two-part epoxy, it can cure without any oxygen, and is suitable for use in a mold cavity.
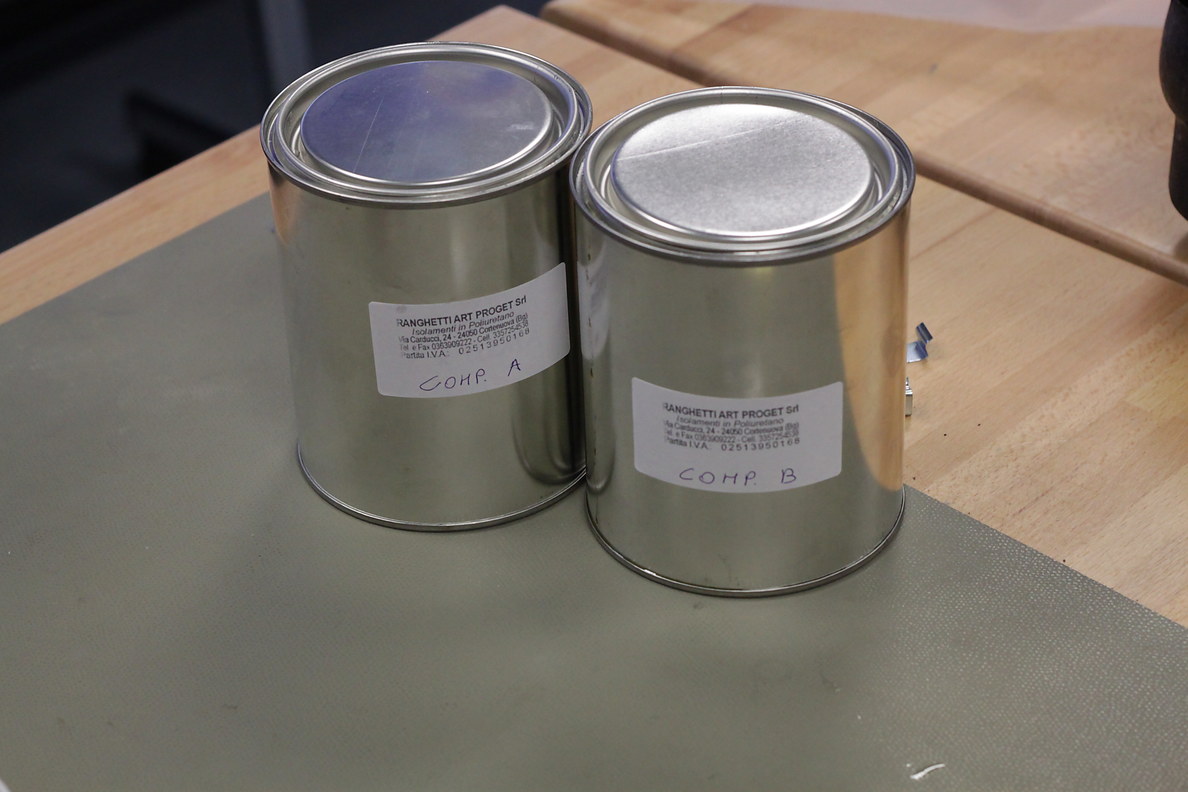
Even so, a test is probably a wise idea….
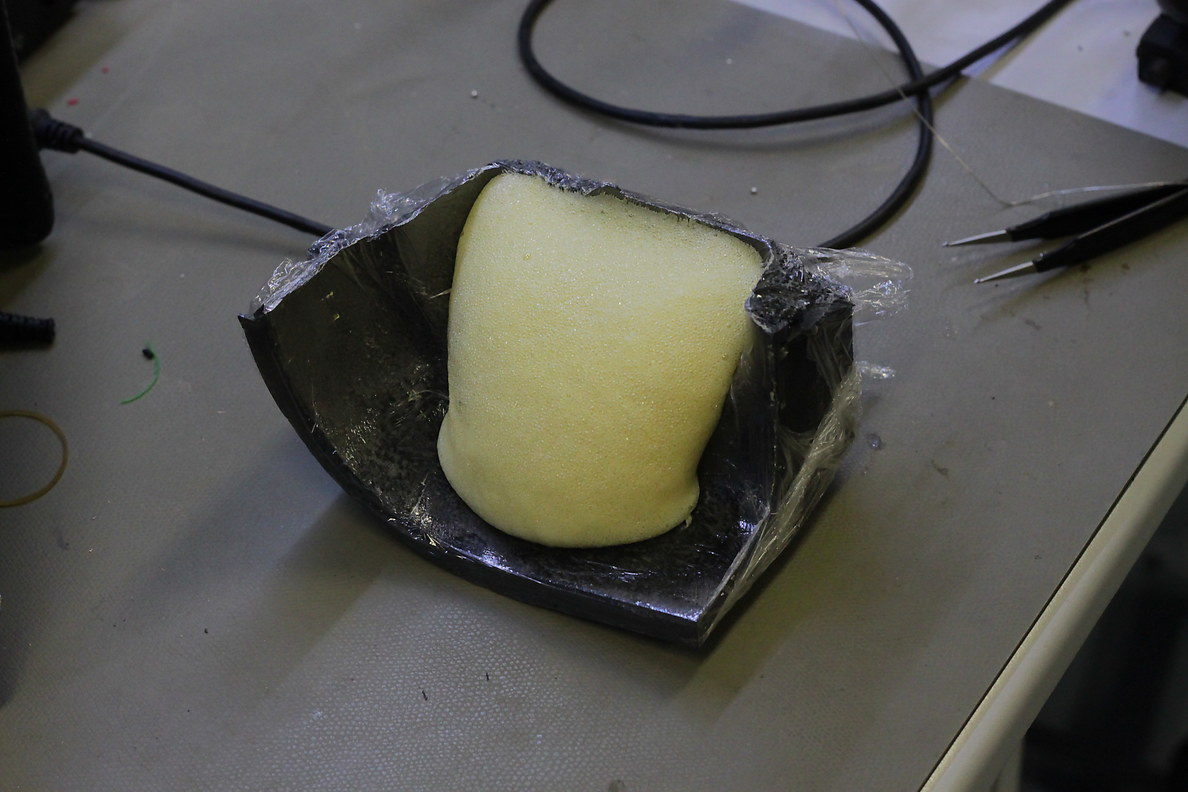
Since the test went well, jumped in with both feet and put the shank on its plug:
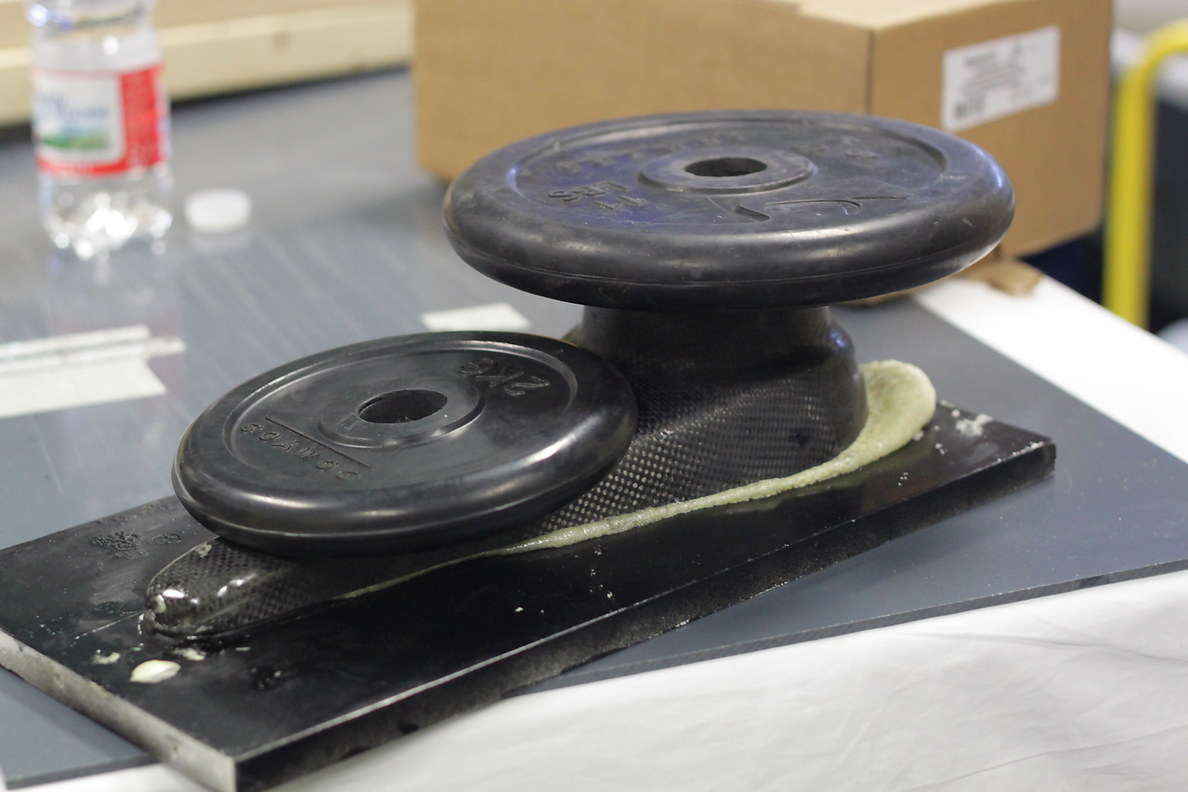
And likewise for the hip-attachement piece (not shown) and the thigh:
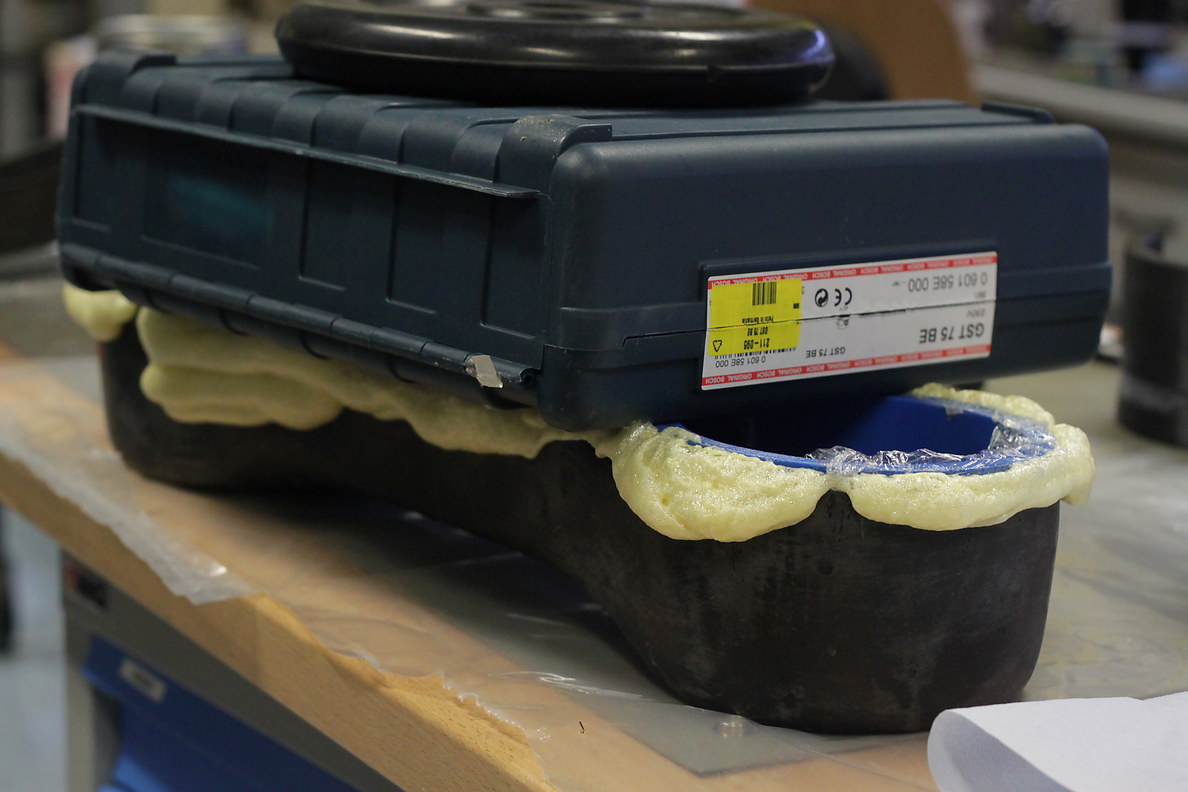
Day 15:
This time the foam cured perfectly, and I was able to gently wiggle the foam off of plug.
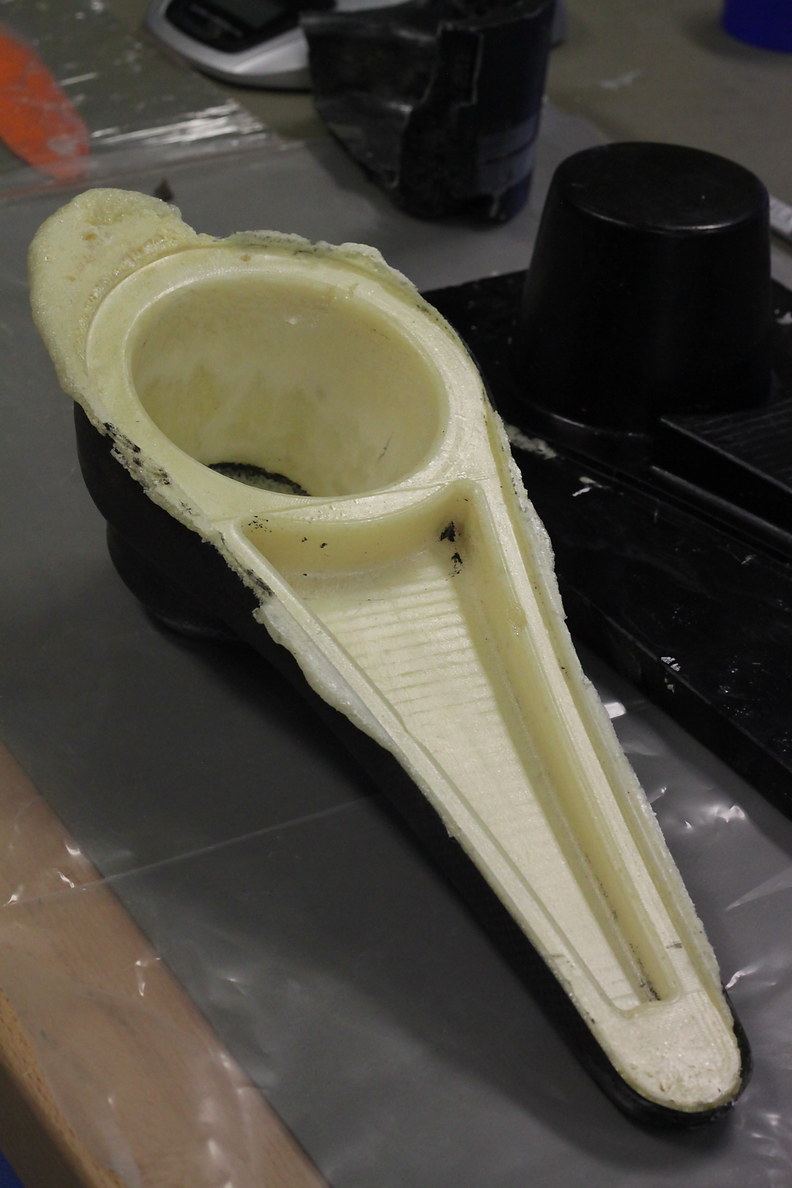
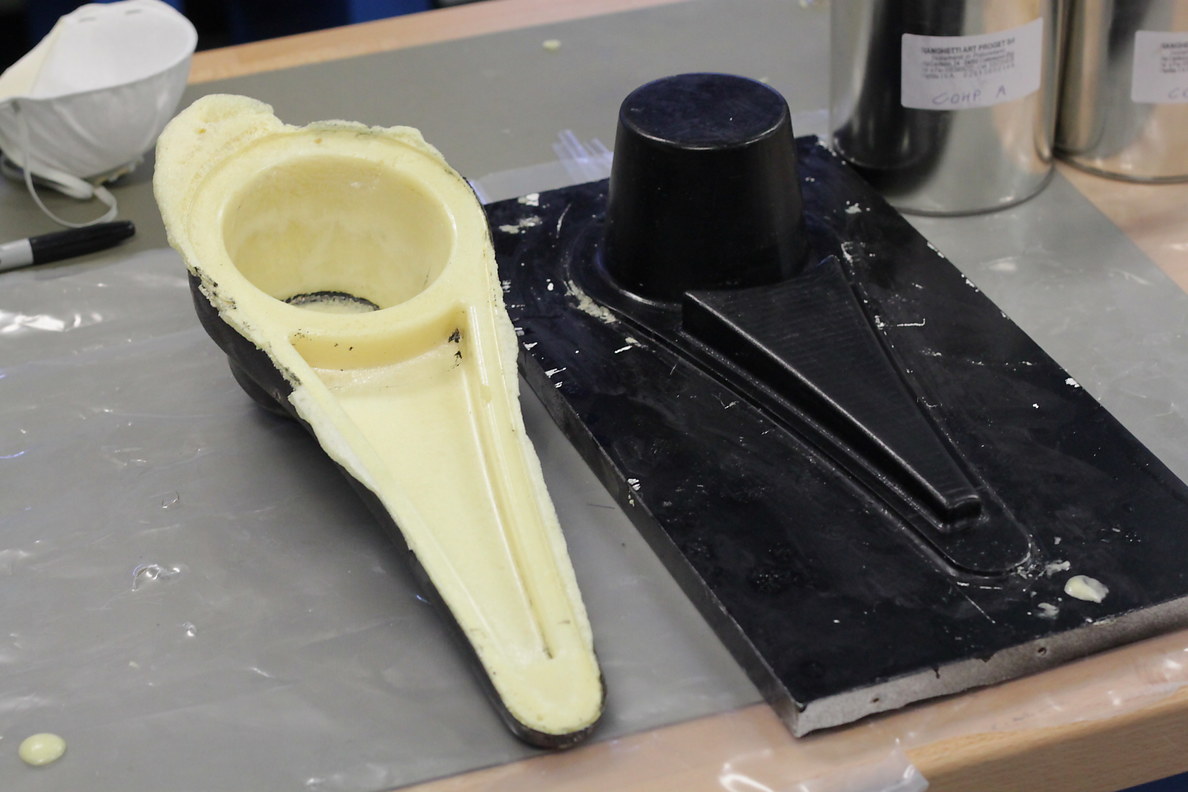
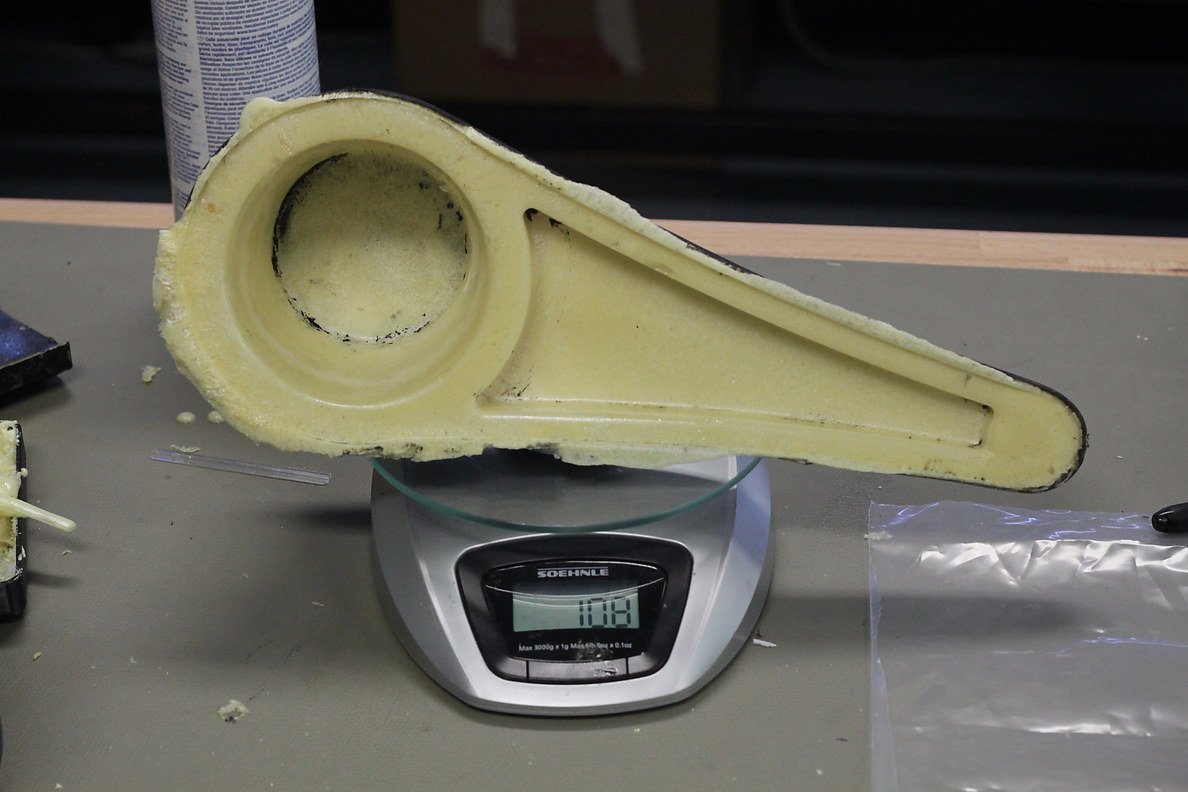
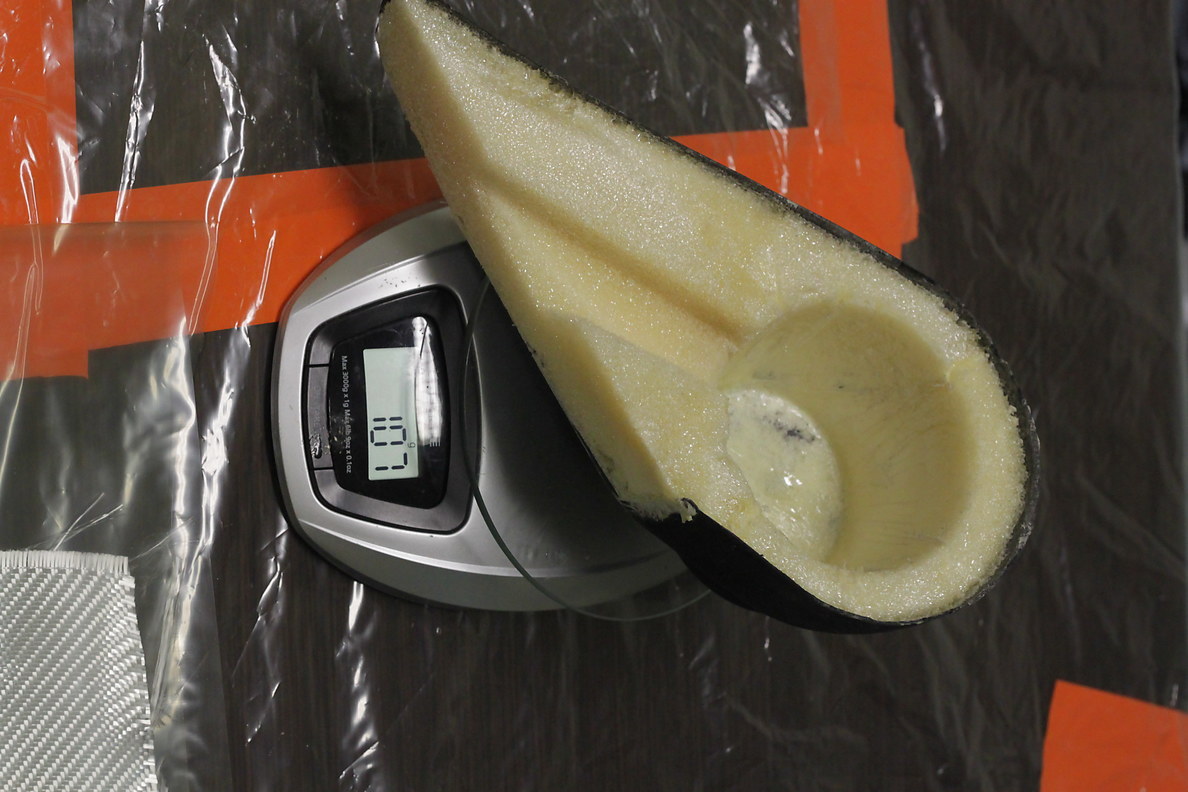
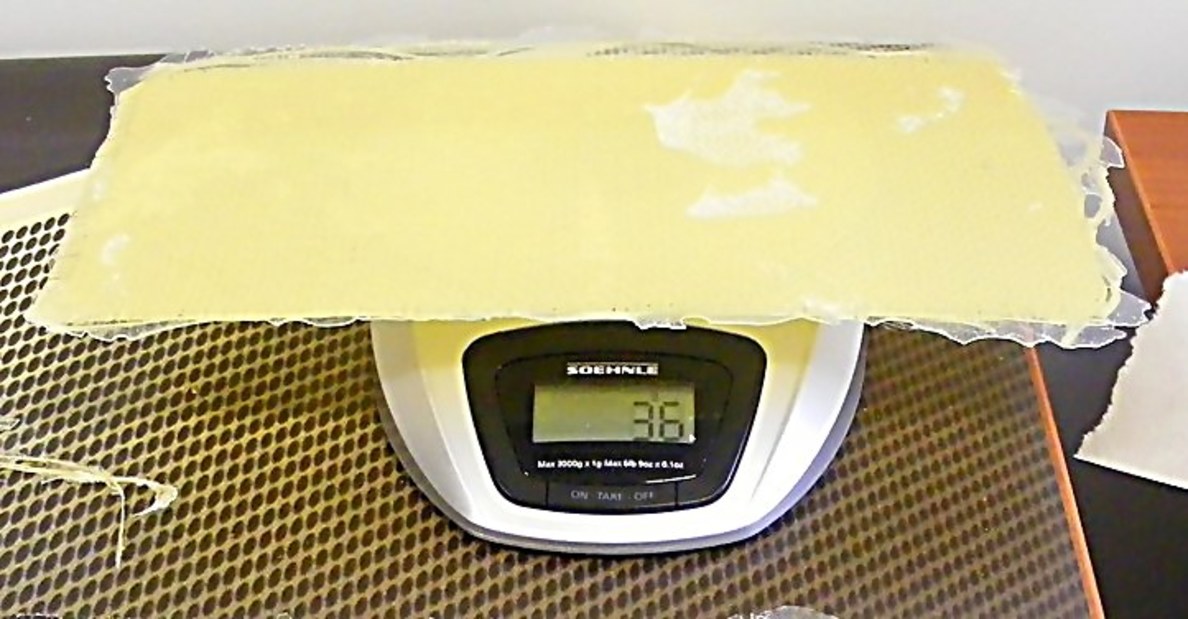
Adding the foam only added 108-72g = 36g of mass, yet made the part already much stiffer. When we add the inside layer of fiberglass to the foam, it is going to become incredibly stiff. Let’s just imagine that I did that…
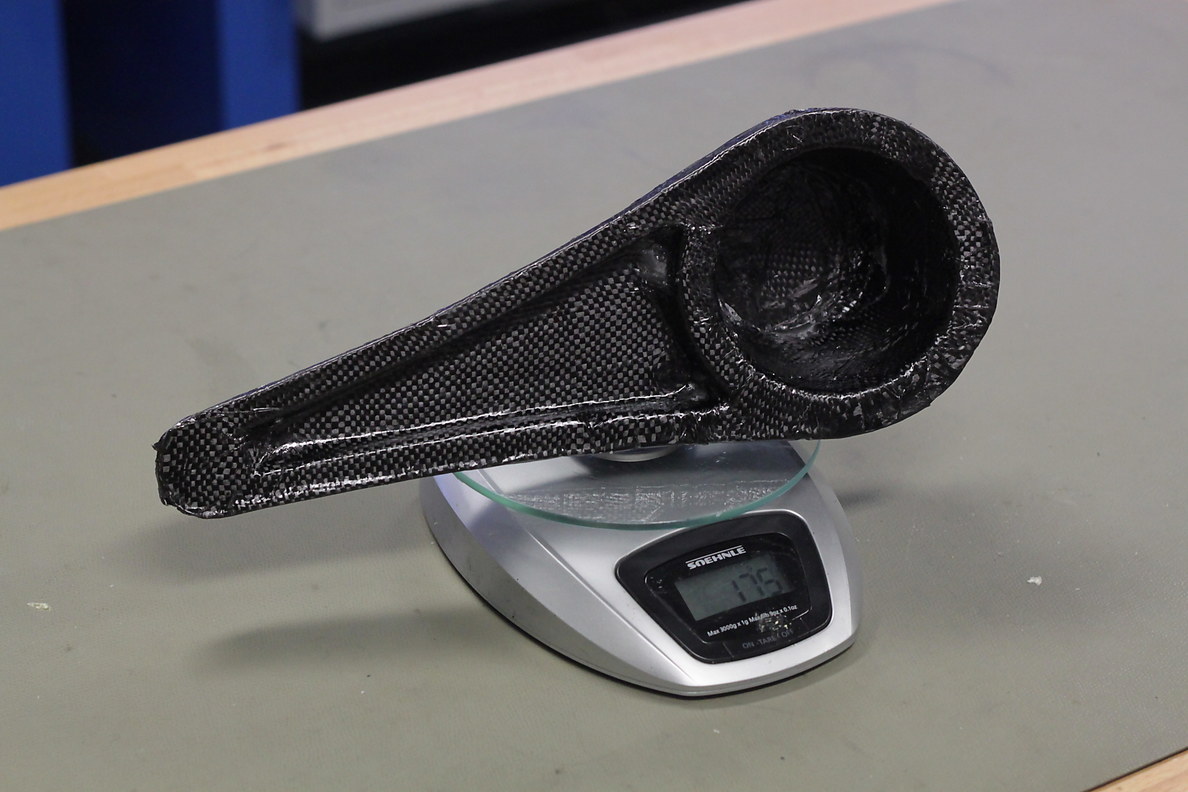
Although it was only a single ply of carbon fiber, unlike the two plies on the outside surface, the inside layer added another 175g - 108g = 67g. This is probably mostly due to the weight of the resin, since I did not use a vacuum bag, and the 5-layer thick reinforcements I put on the large end for a metal piece that will be bolted on.
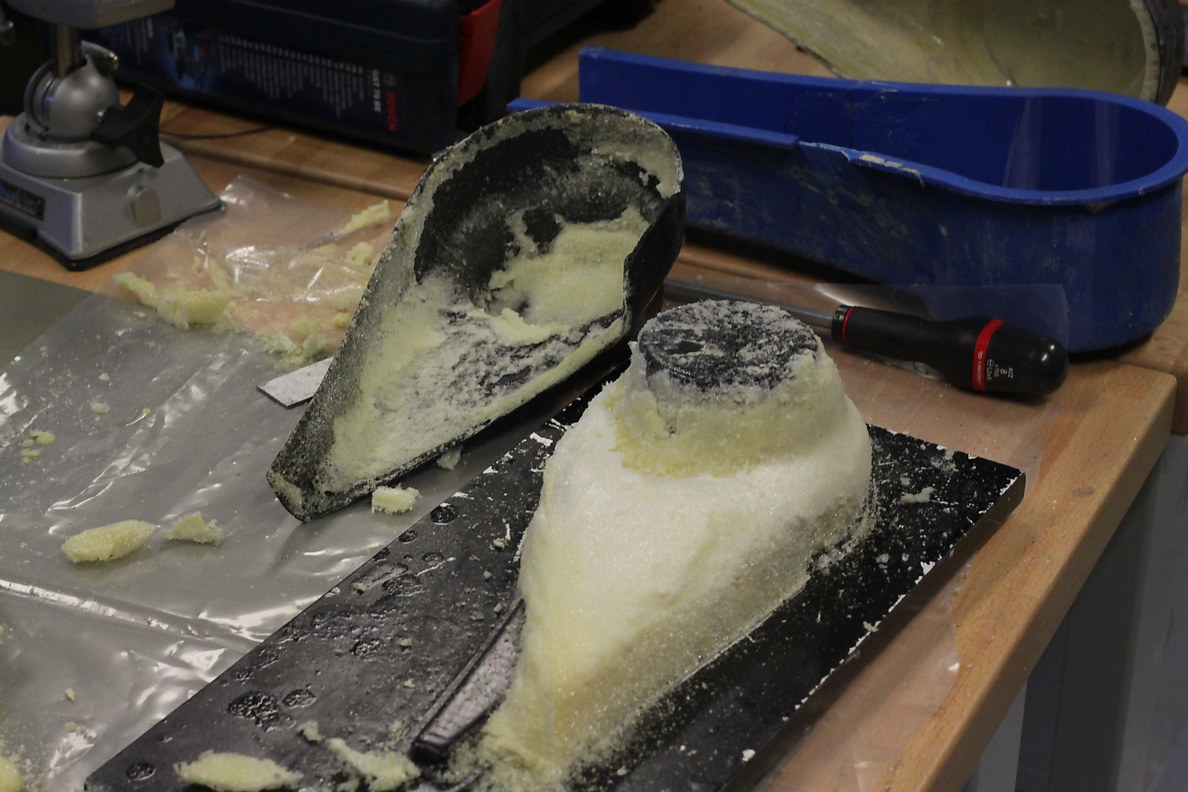
A little more bad news today as well. Apparently, I got sloppy and didn’t wax the hip attachement plug enough.
Days 16 and 17:
Try, try again. At least this time I got the hip attachment foam to de-mold safely.
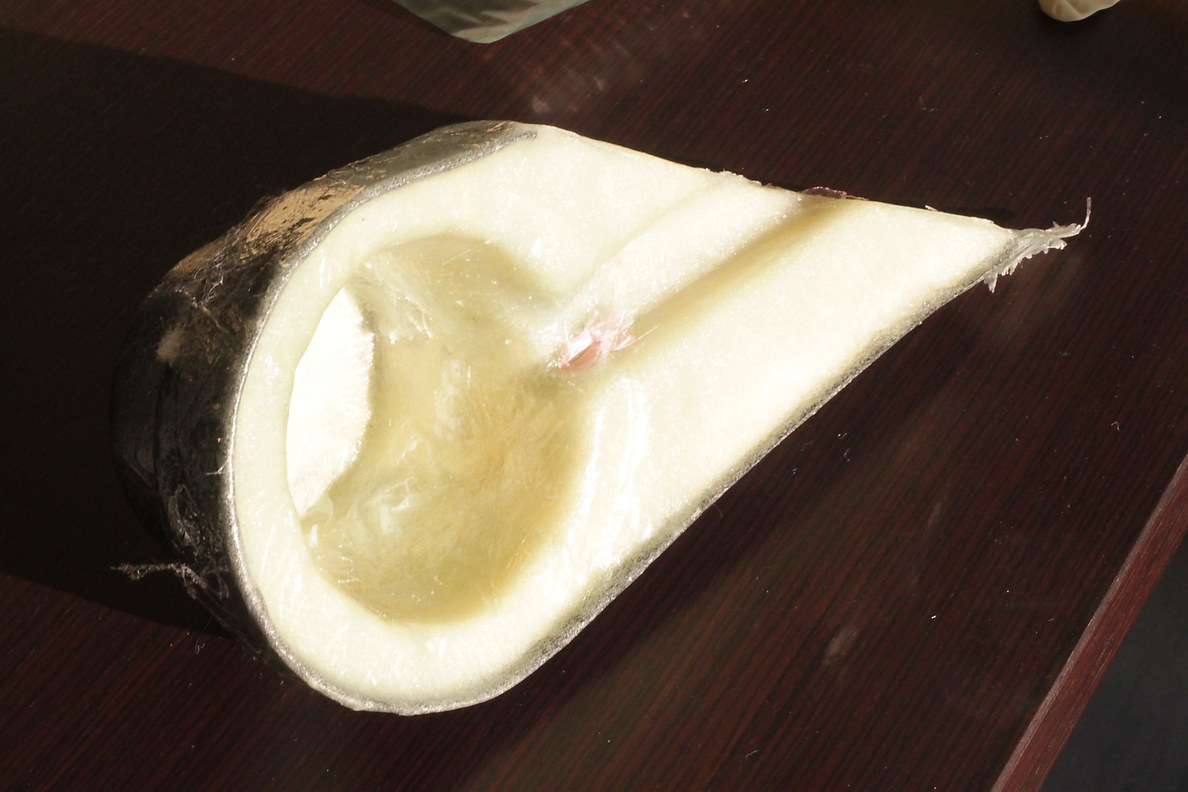
I applied some fiberglass cloth to the inside of this piece; fiberglass is pretty transparent when properly wetted out, so after curing, you can hardly see it:
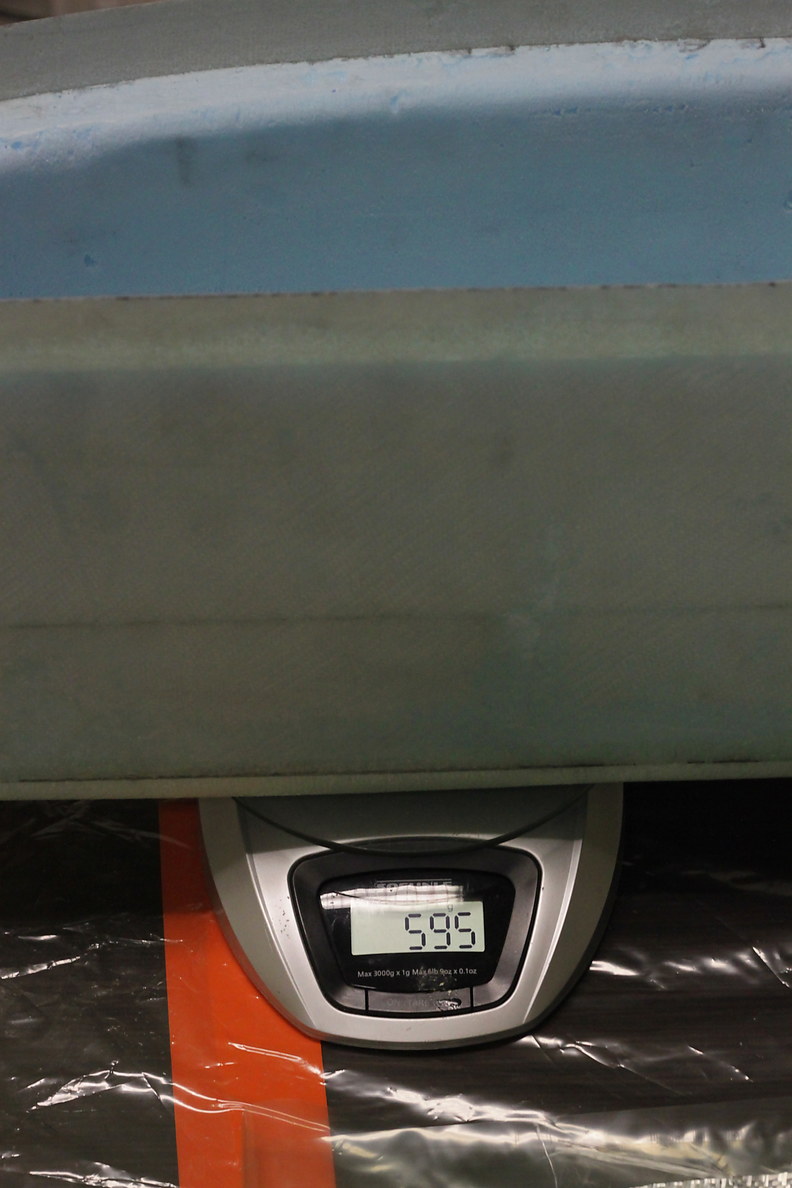
I also added fiberglass cloth to the inside of the body box. Starting mass was 595g…
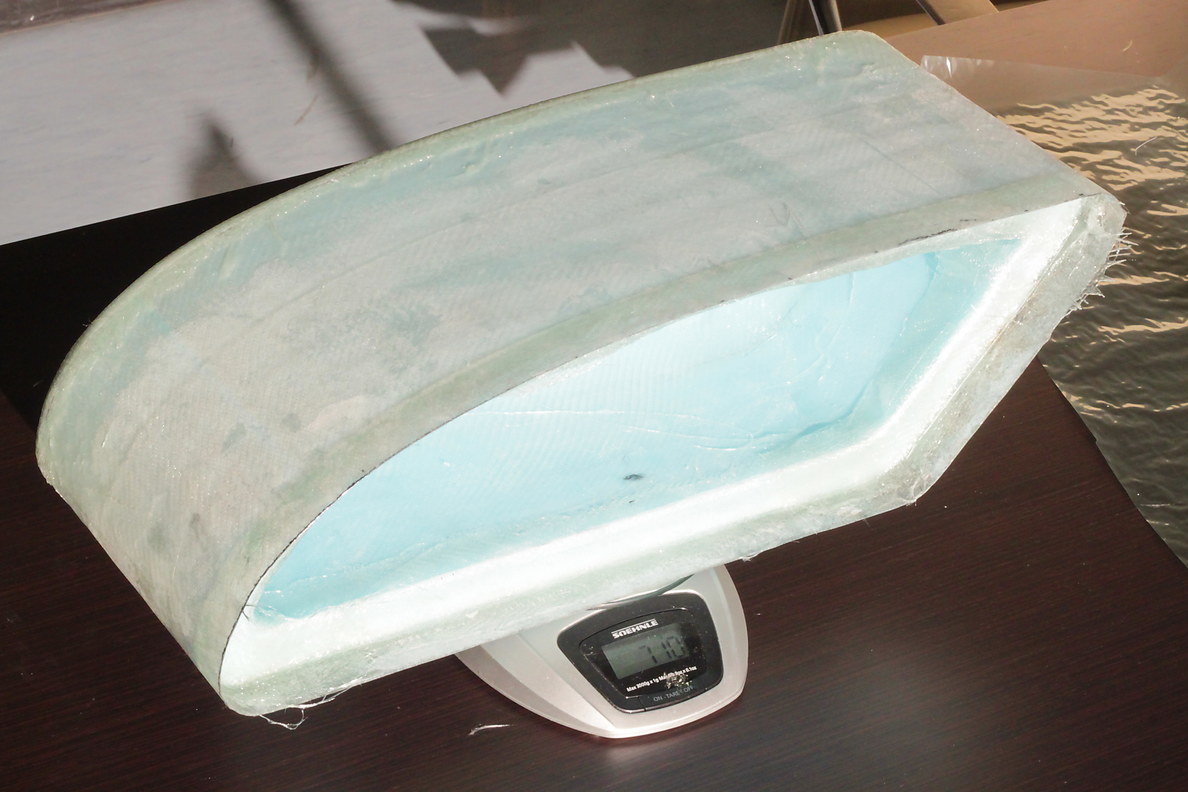
Adding the inside ply brought the mass up to 710g:
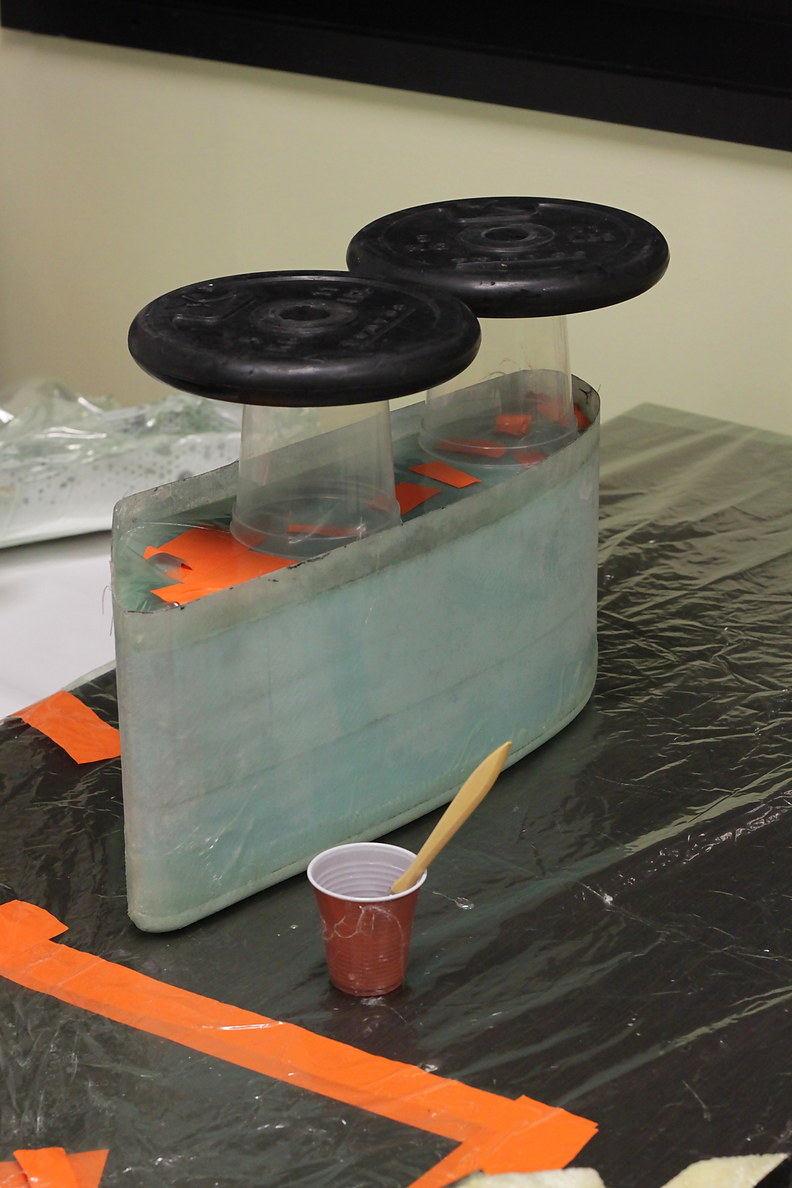
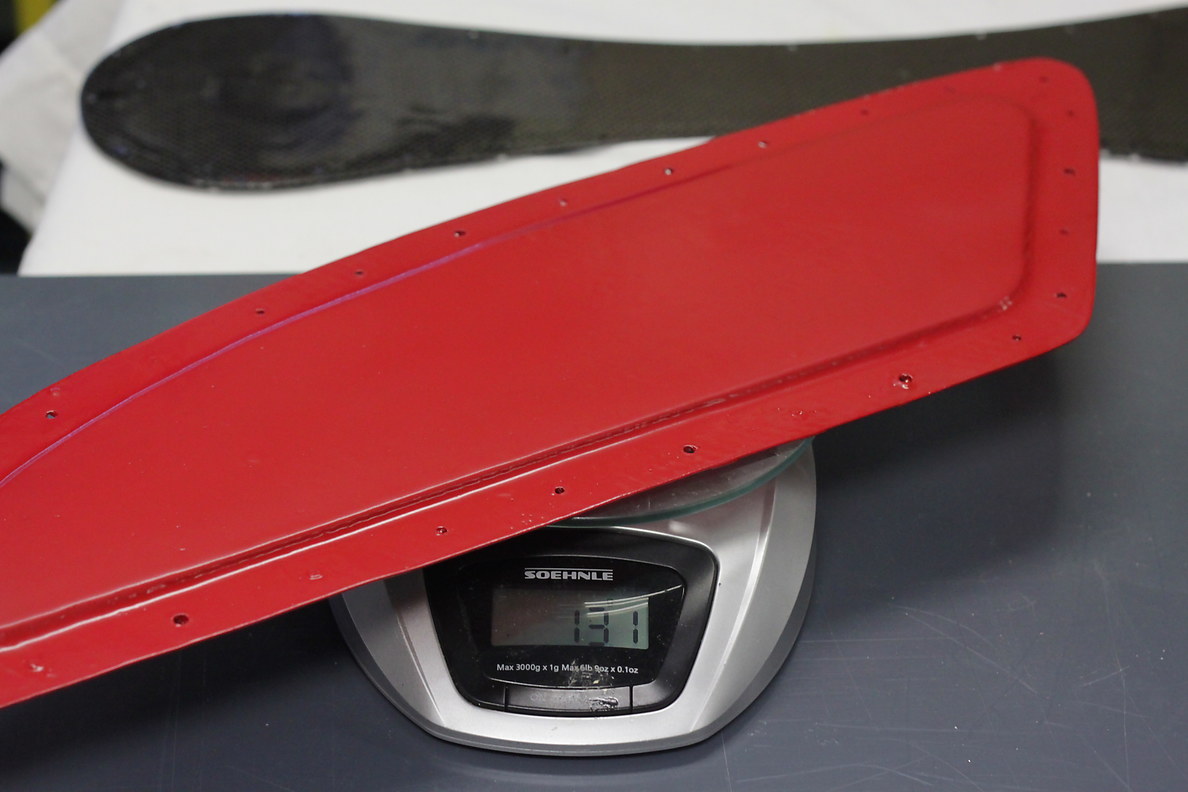
To back up a bit, when curing, I used the completed body lid, which weighs 134g…
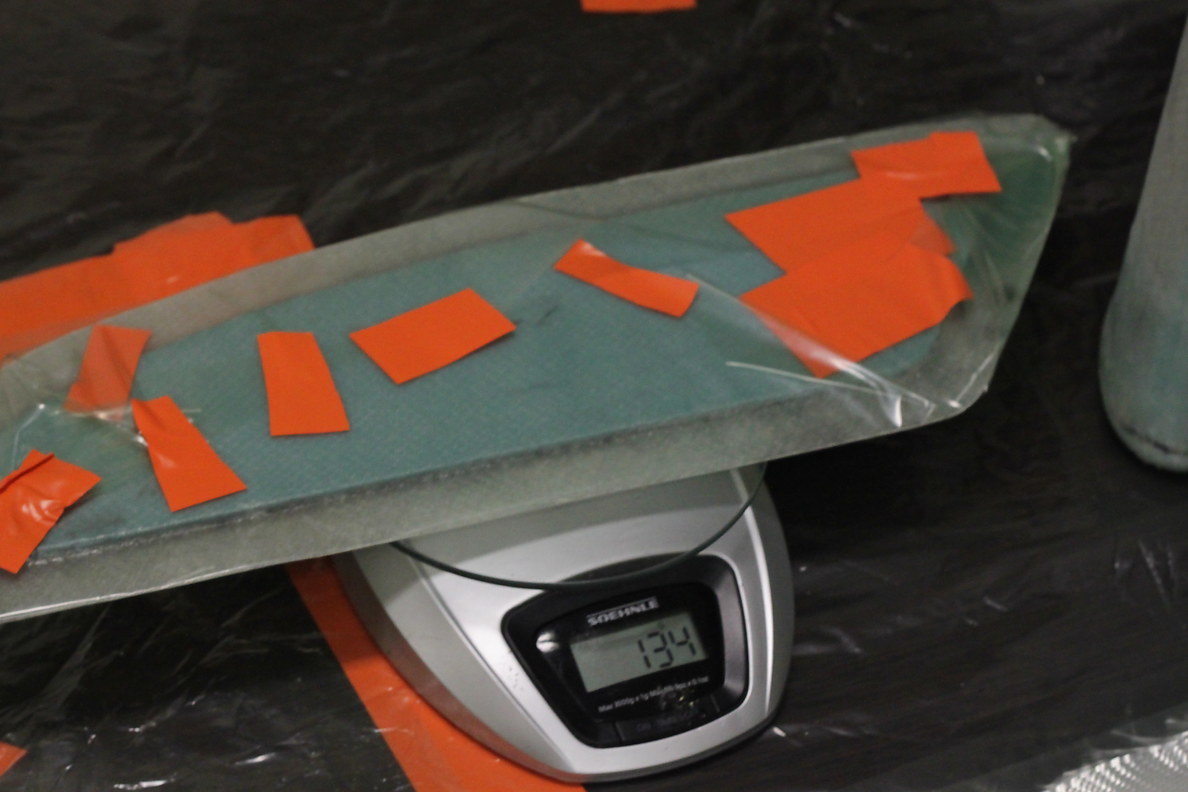
To make sure the piece would fit perfectly, I sandwiched the lid between two sheets of non-stick plastic and put weights on top while it cured.
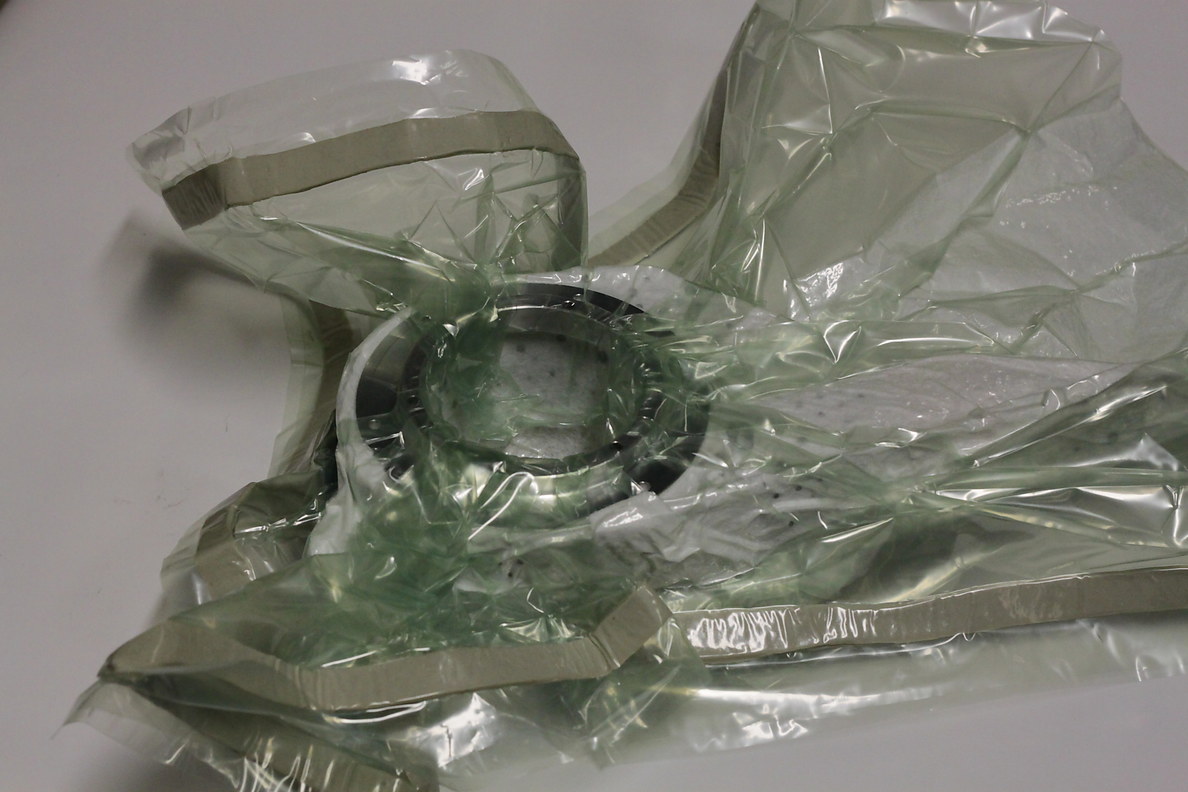
The hip attachement join needs a metal insert on it, so I added some extra fiberglass under it, and put the metal itself in the vacuum bag so it would be pushed in tight and fit perfectly.
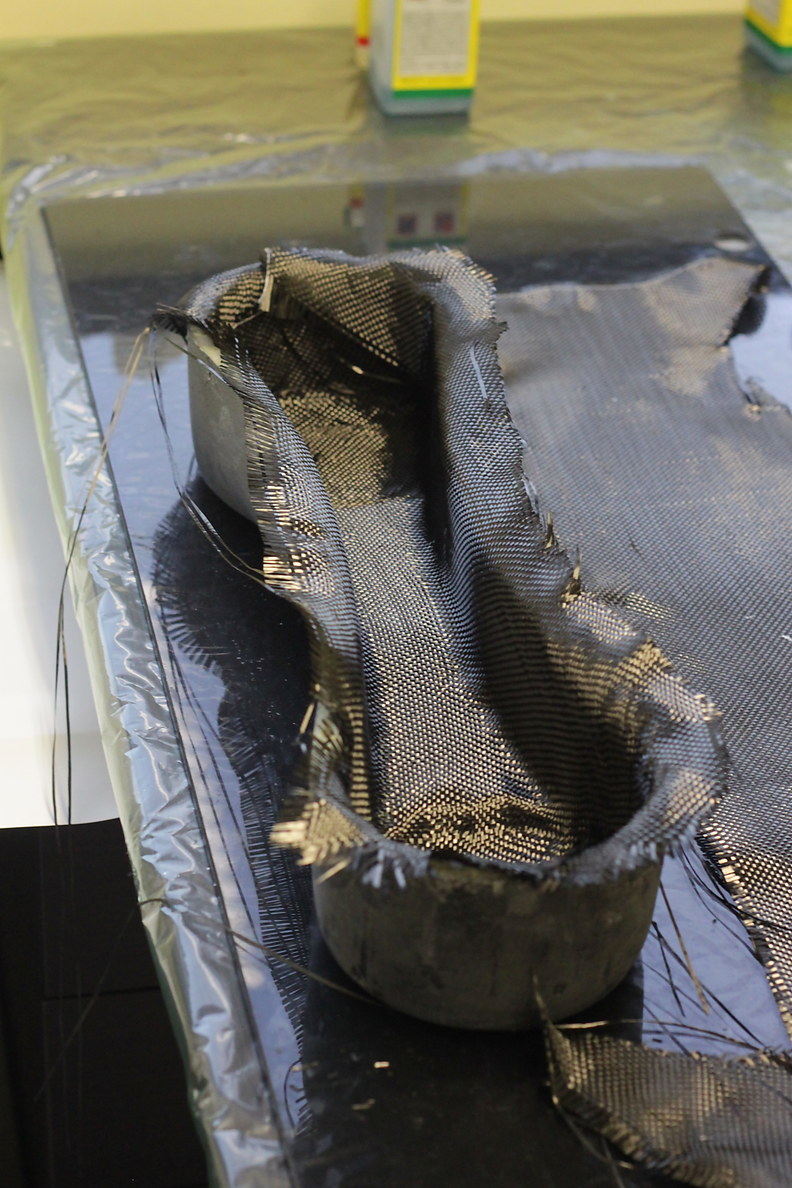
The last thing to do today is to apply a layer of carbon fiber to the inside of the thigh. This part was big enough I could use a vacuum bag.
Day 18
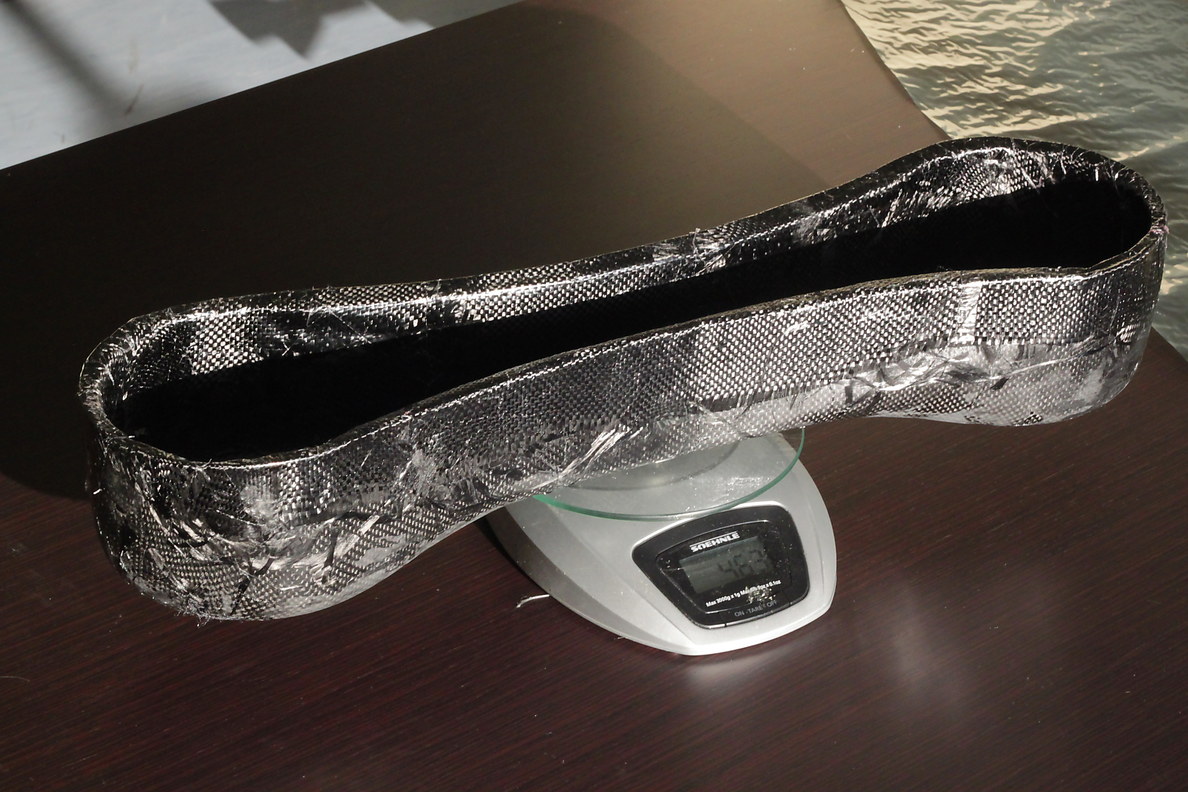
Things are really coming together! The nearly-finished thigh part weighs 463g now, and is incredibly rigid.
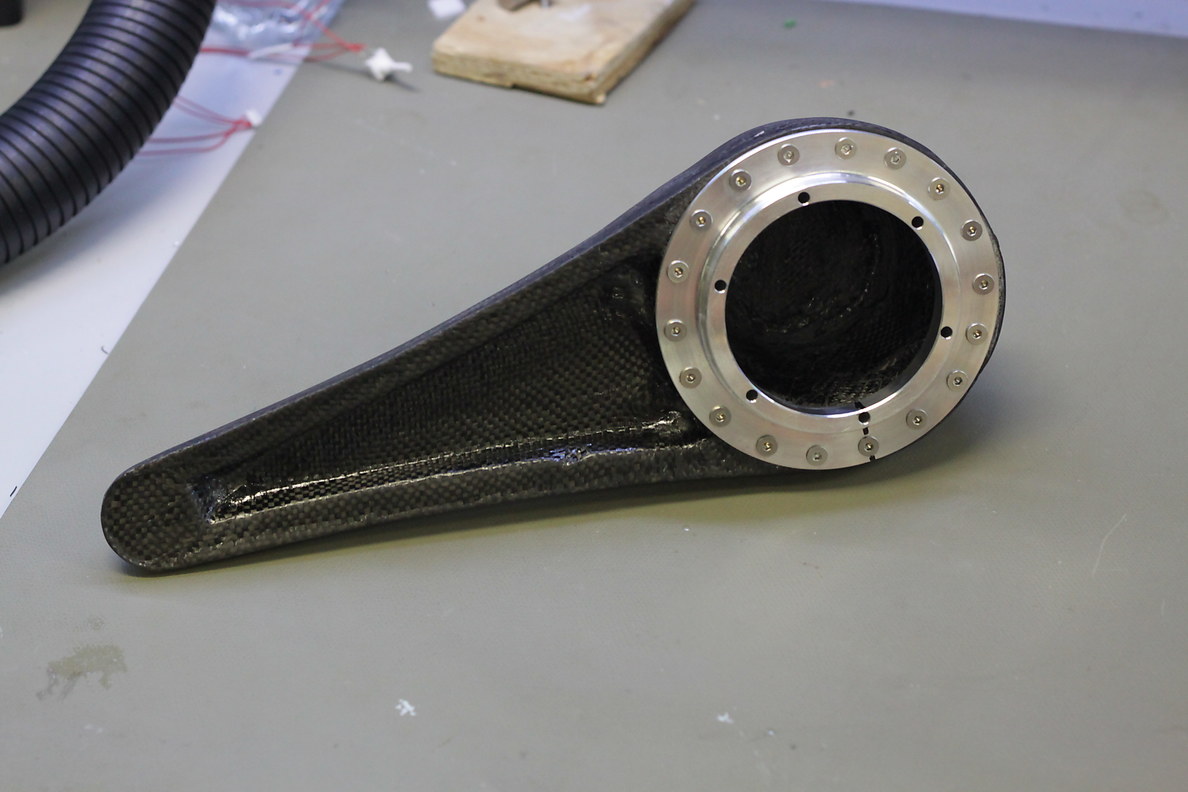
After a bit of sanding on the sharpe edges, and screwing on the metal mounting pieces onto the shank and hip attachment points, both of those pieces also look good.
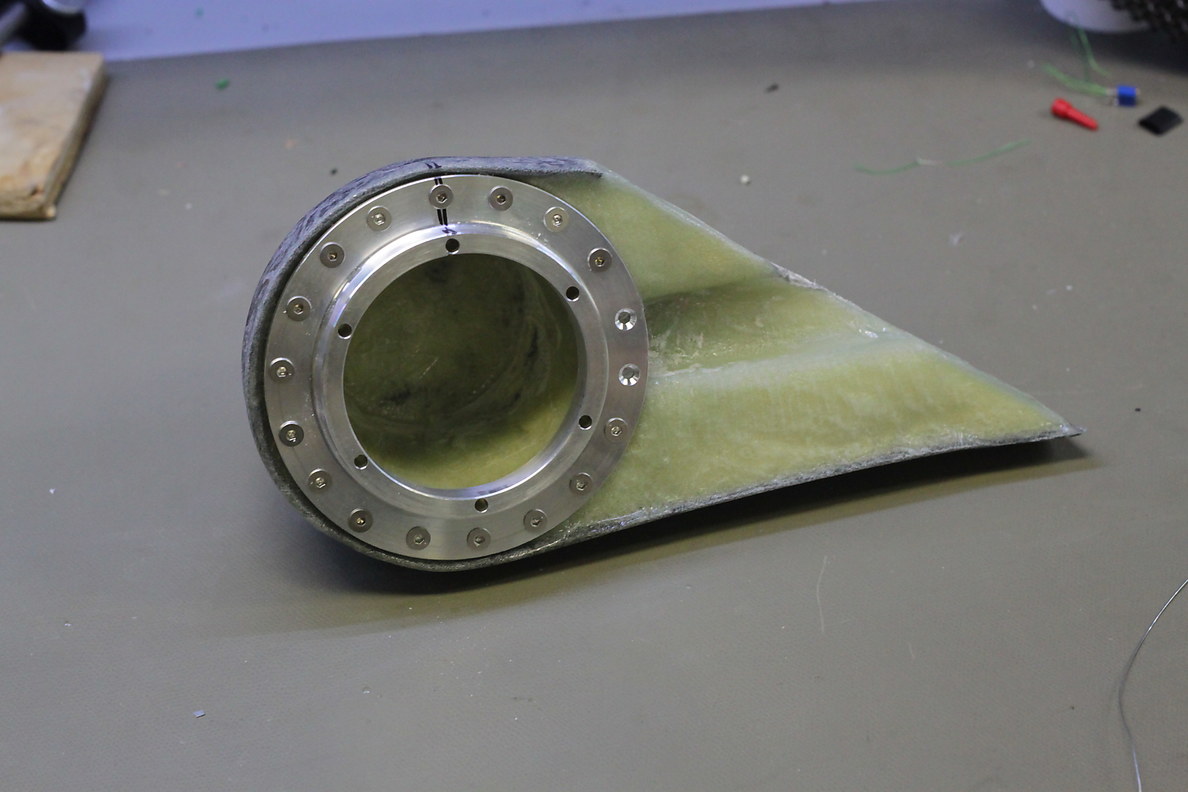
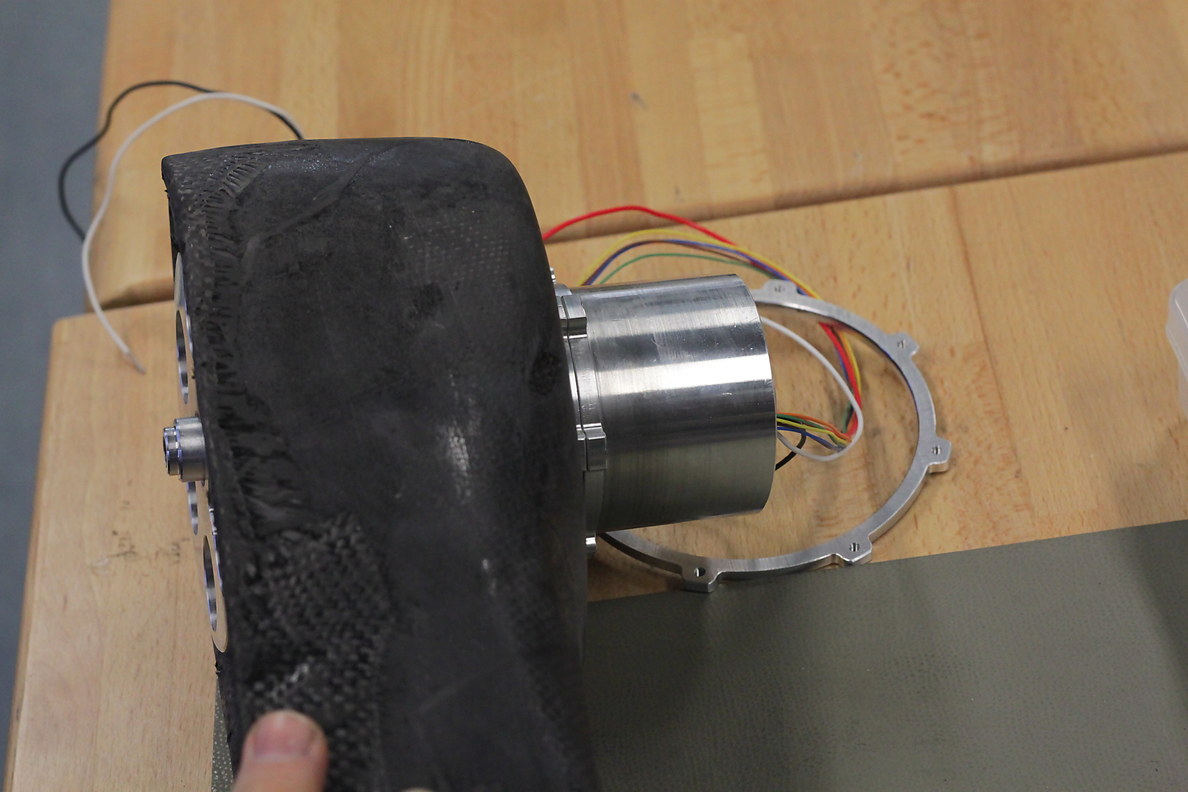
The motors fit beautifully in the thigh piece.
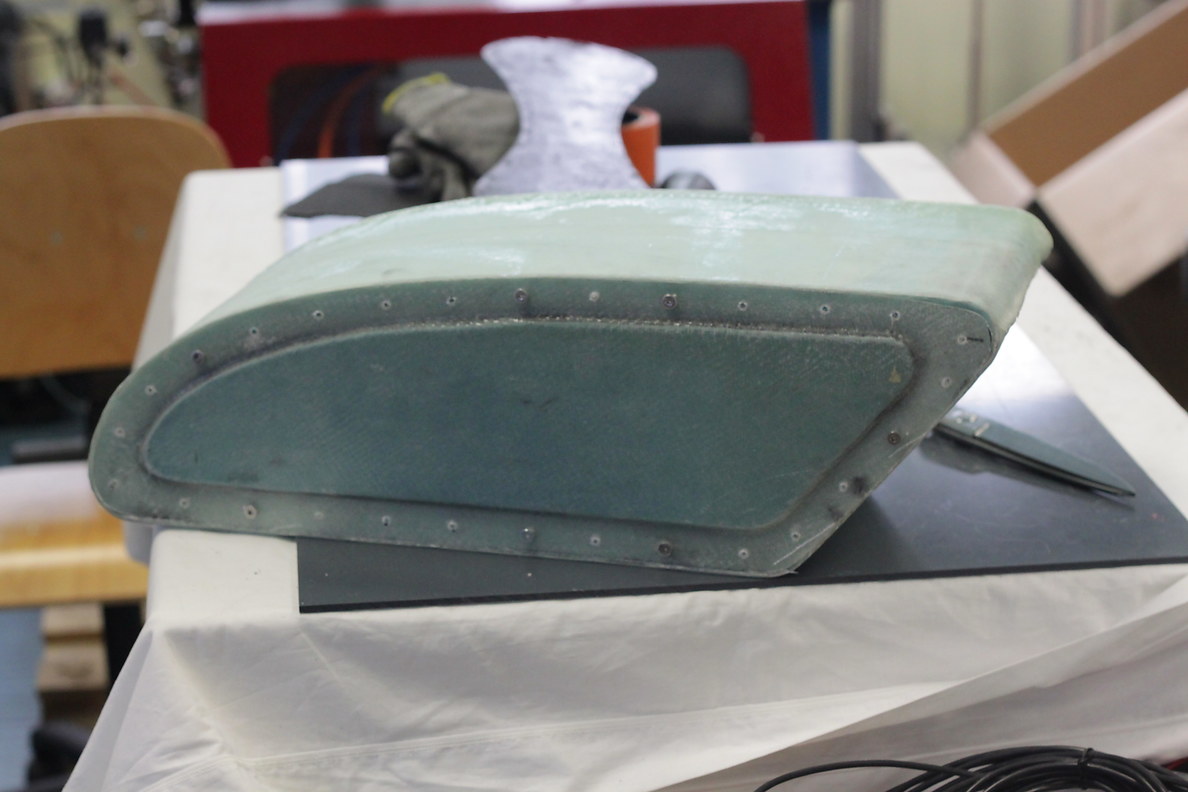
And after a little trimming, the body box lid also fits well.
Day 20
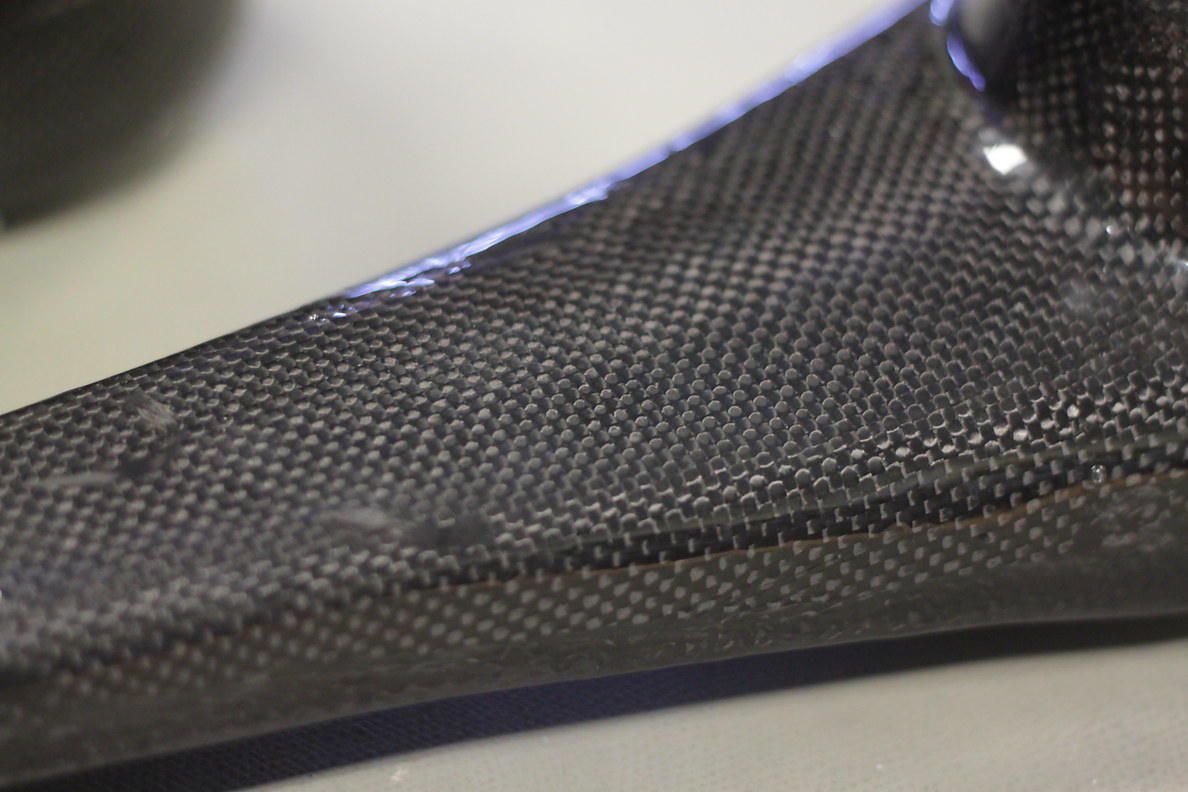
I added a touch-up coat of resin to the shank, and it looks good!
Similarly, a little extra epoxy made the thigh look good as well.
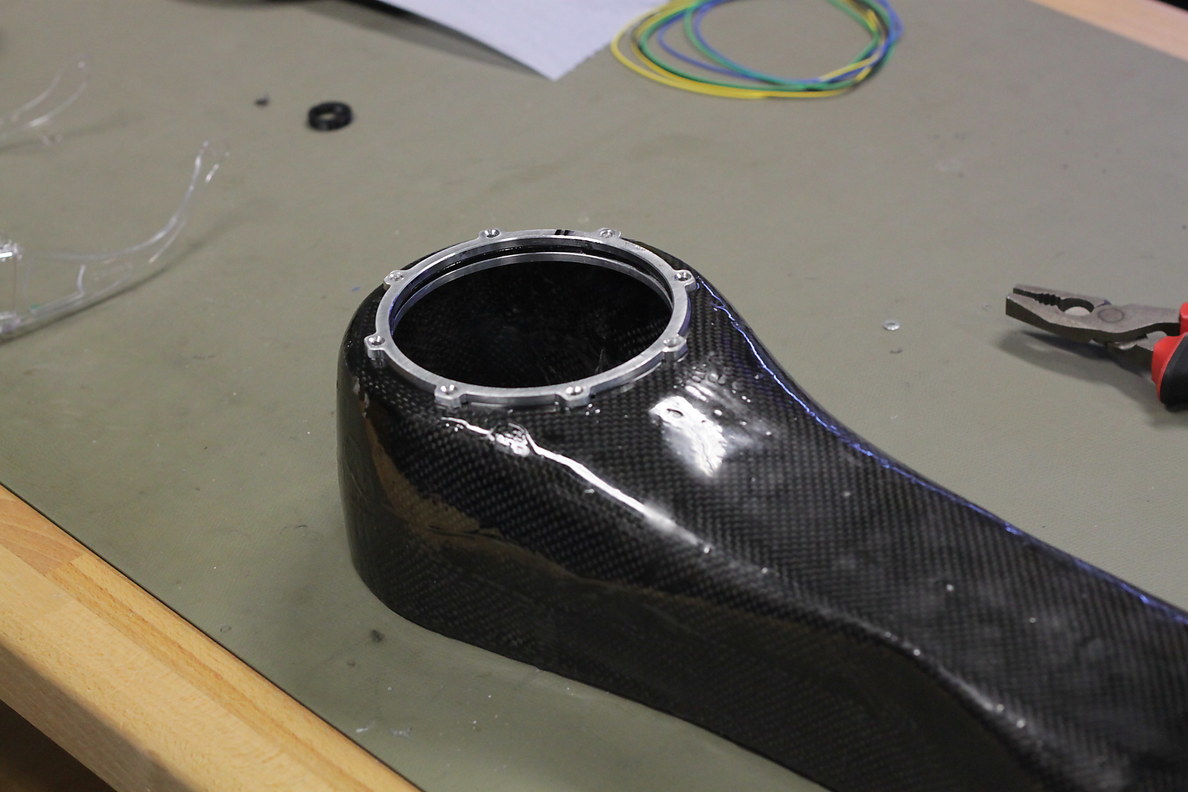
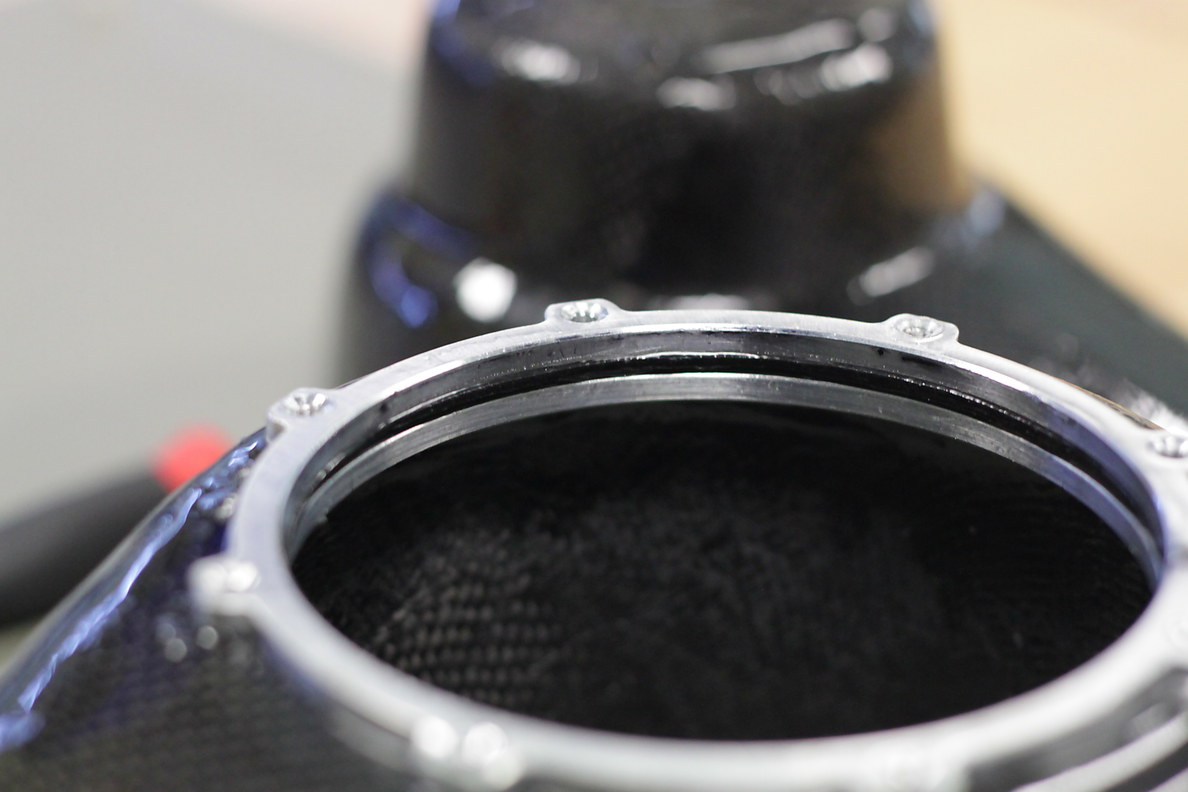
Because of the stress concentration that occurs where the metal bolts to the aluminum, I actually sandwiched the lip of the between two aluminum pieces:
(Not shown, but today I did the last fiberglassing to connect the hip attachment joint to the body. You’ll see the results tomorrow.)
Day 22
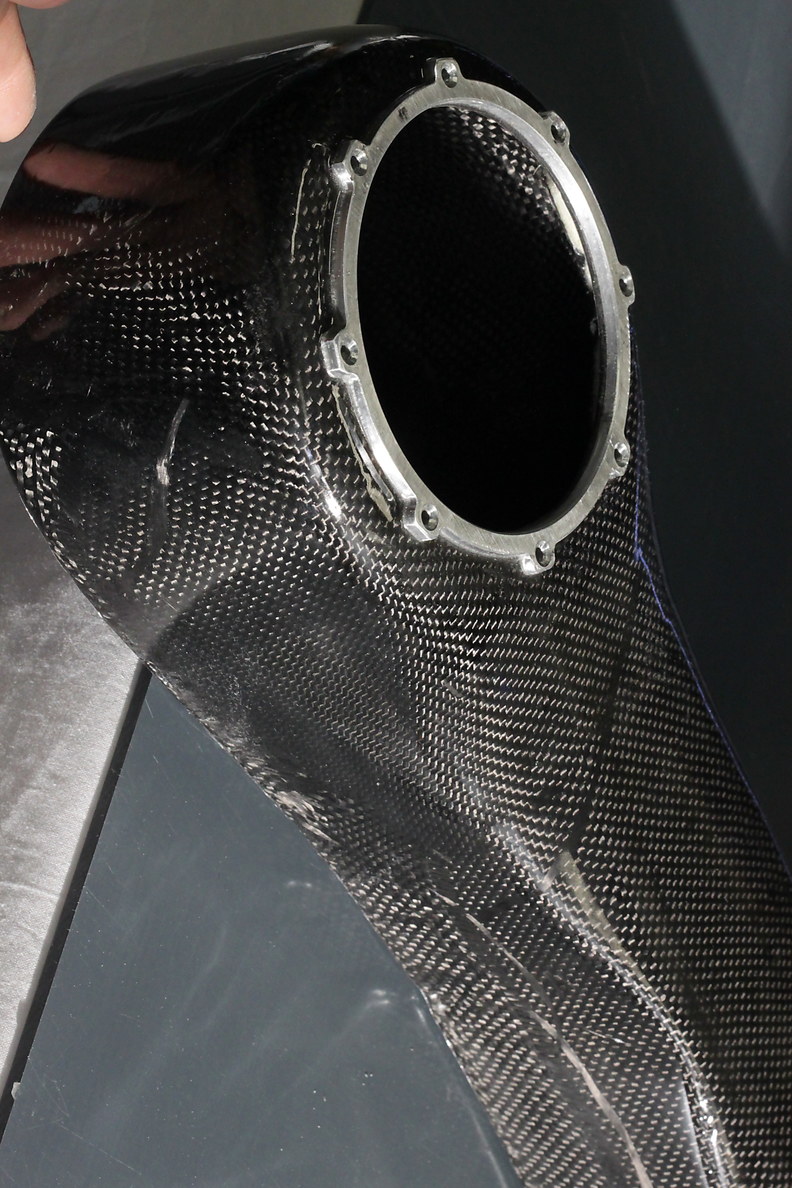
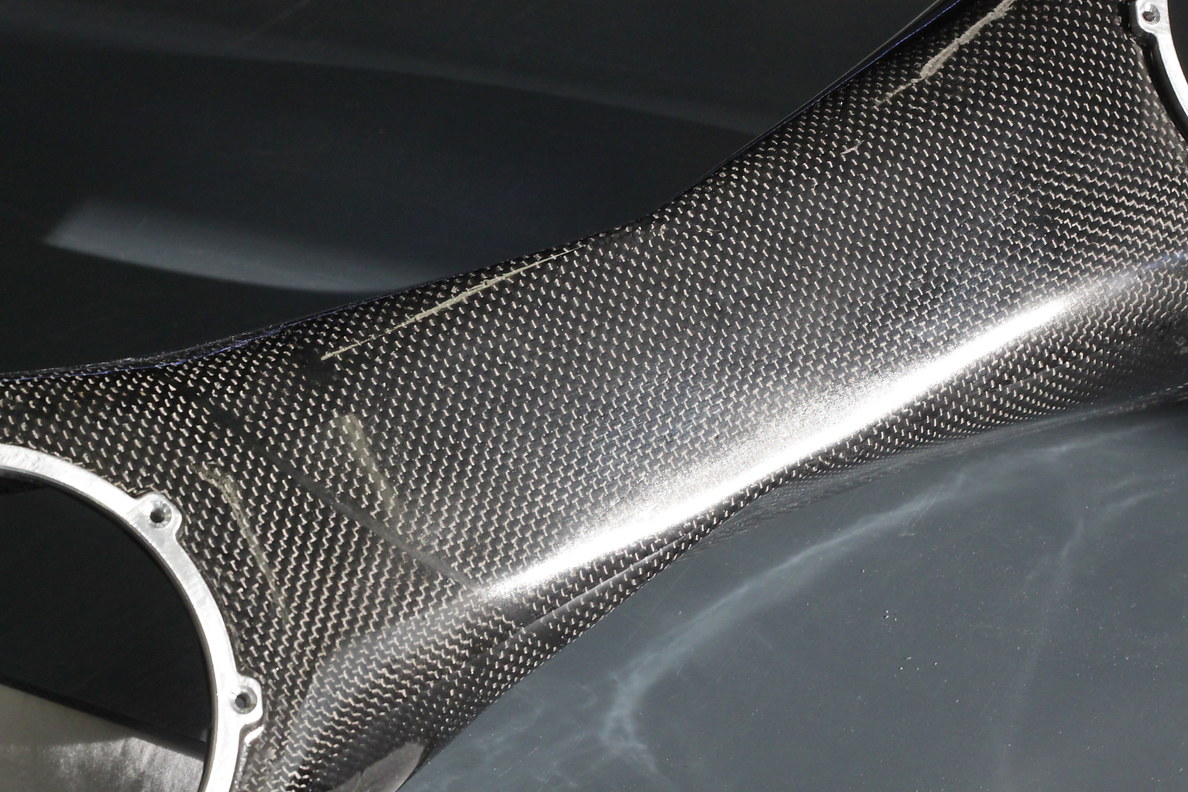
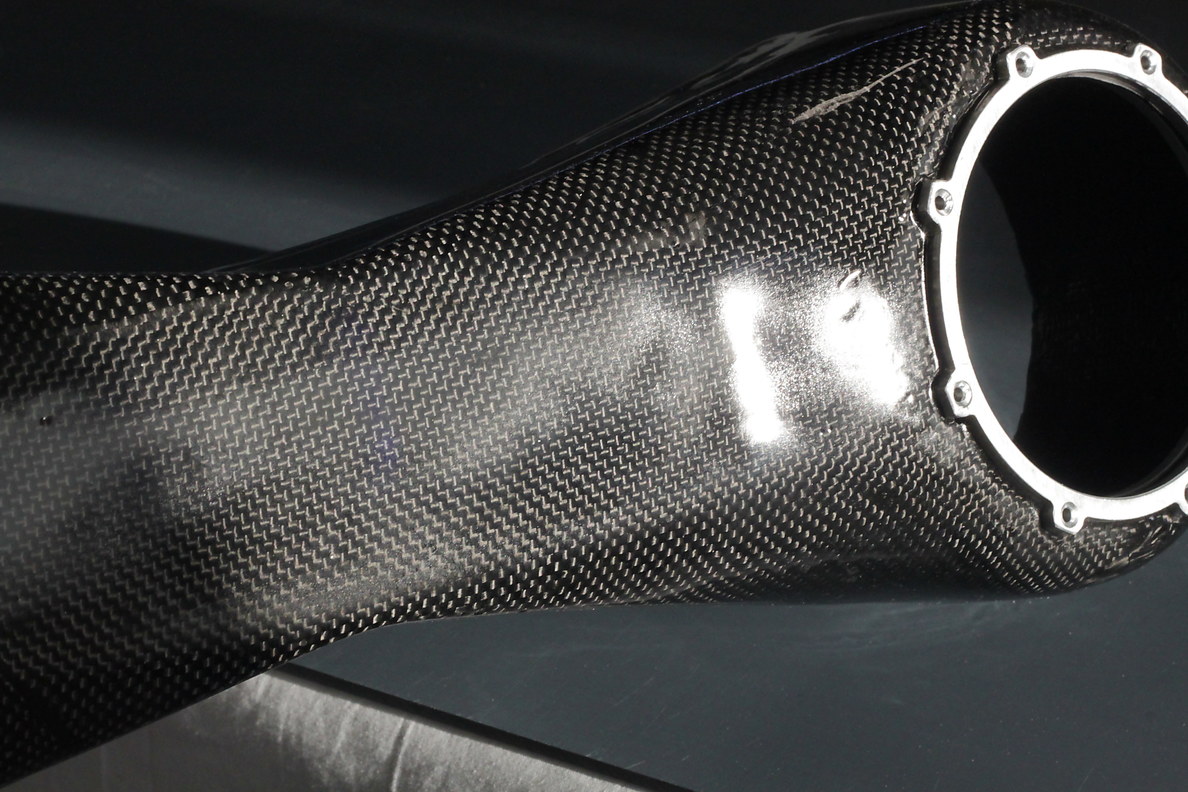
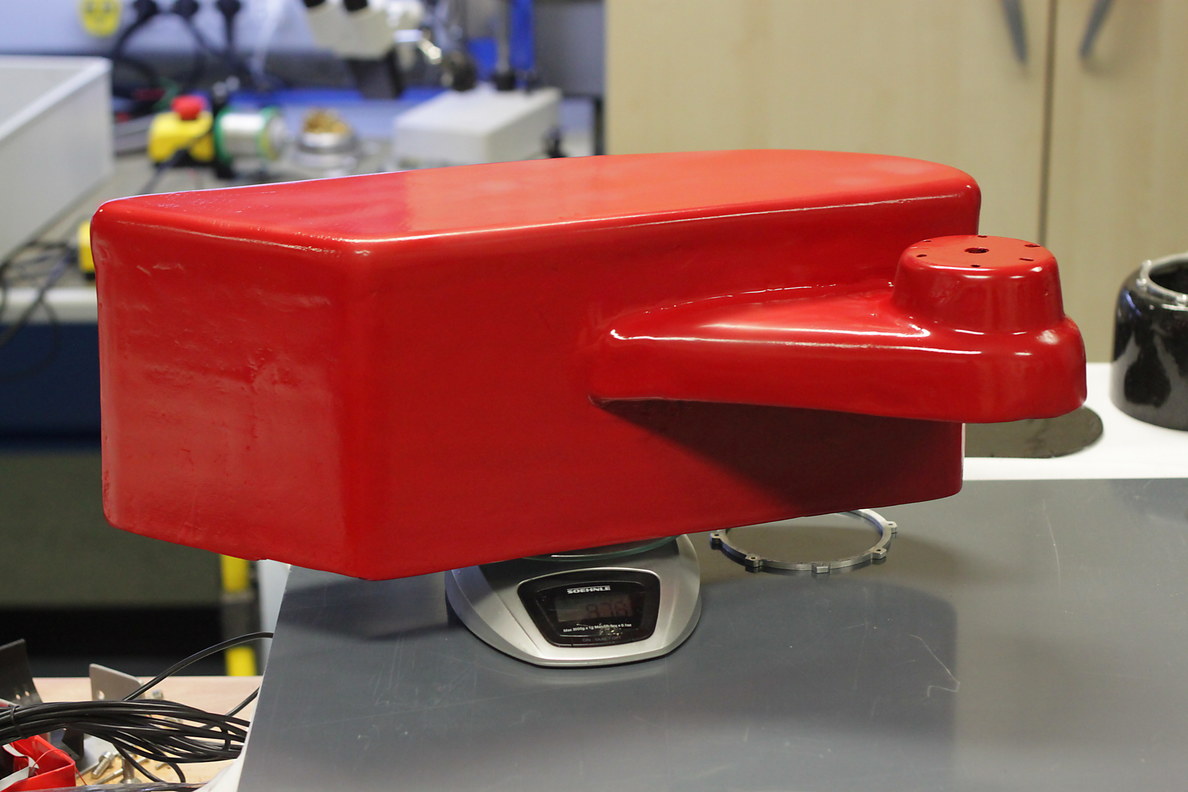
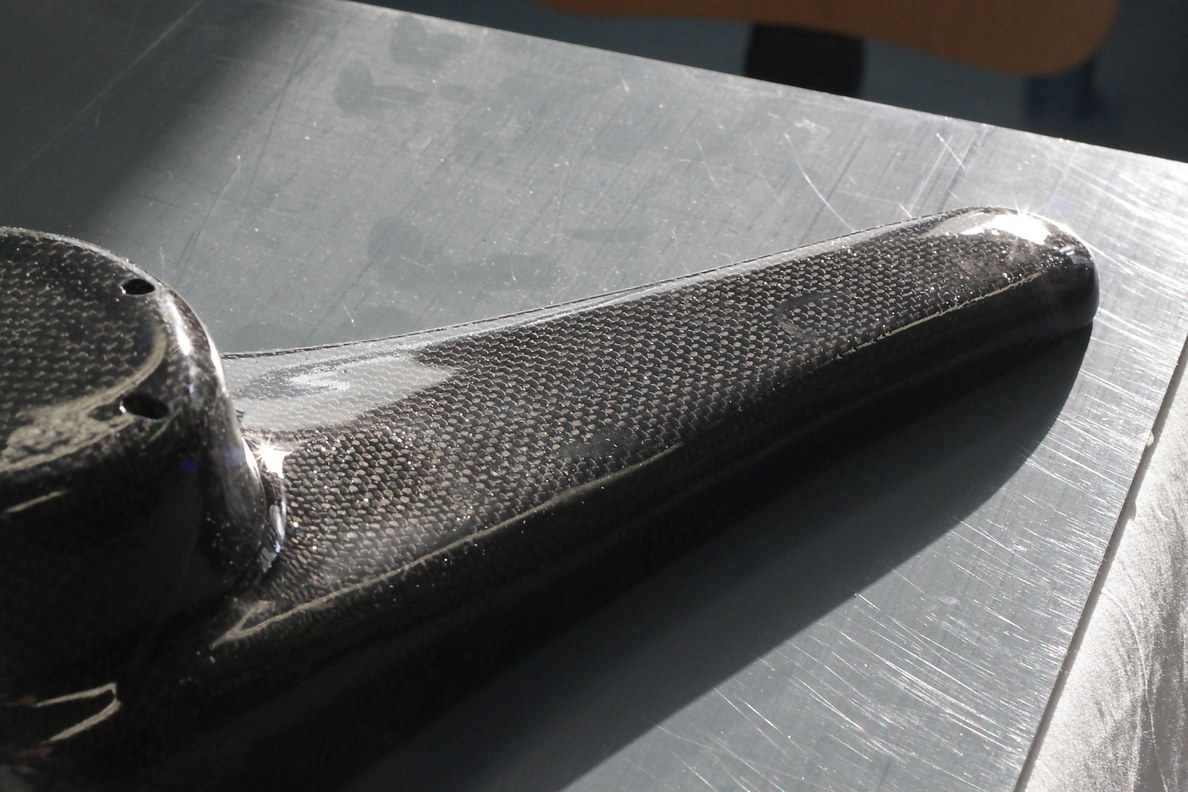
Time for some glamor photos of the pieces thus far:
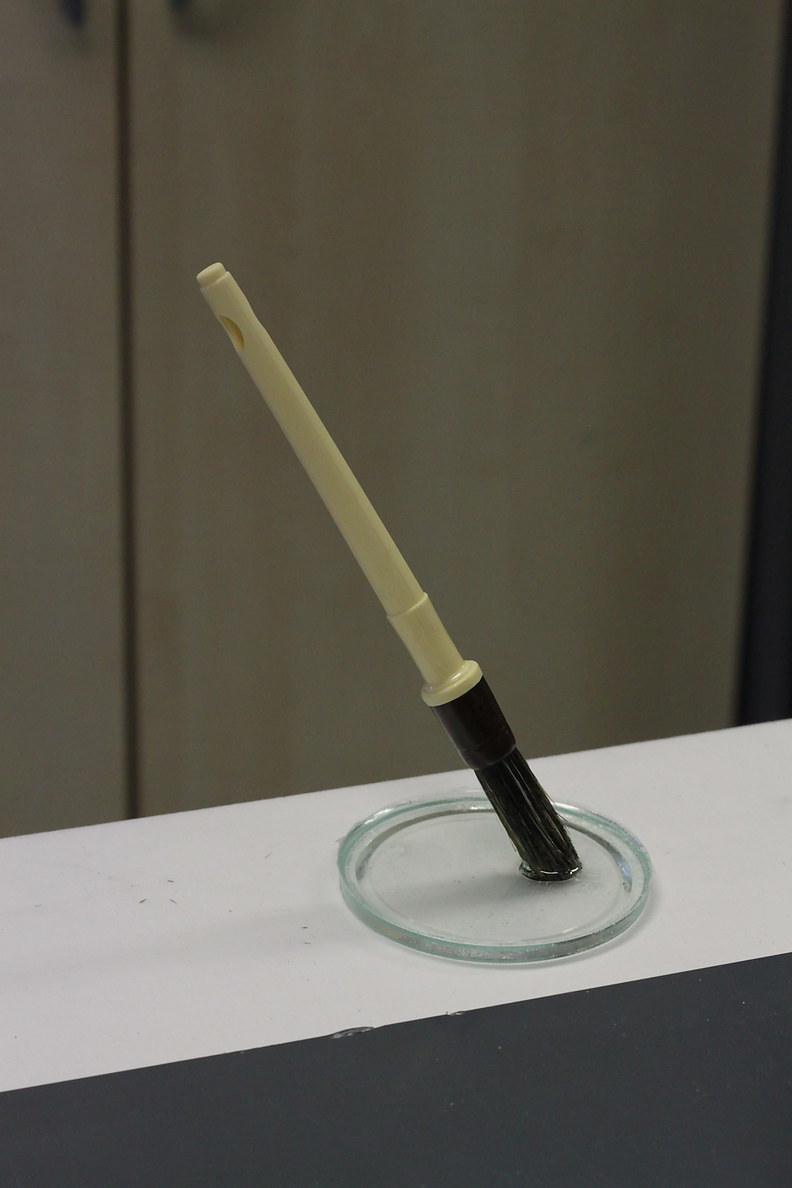
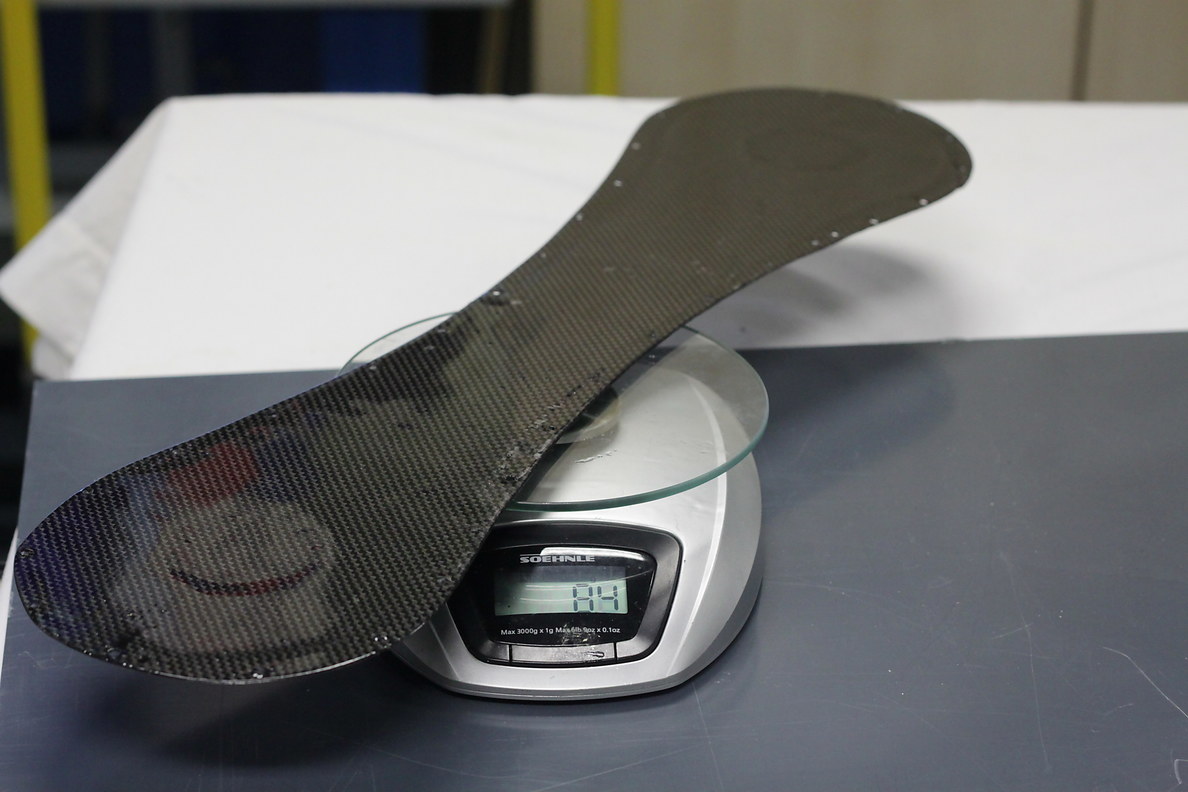
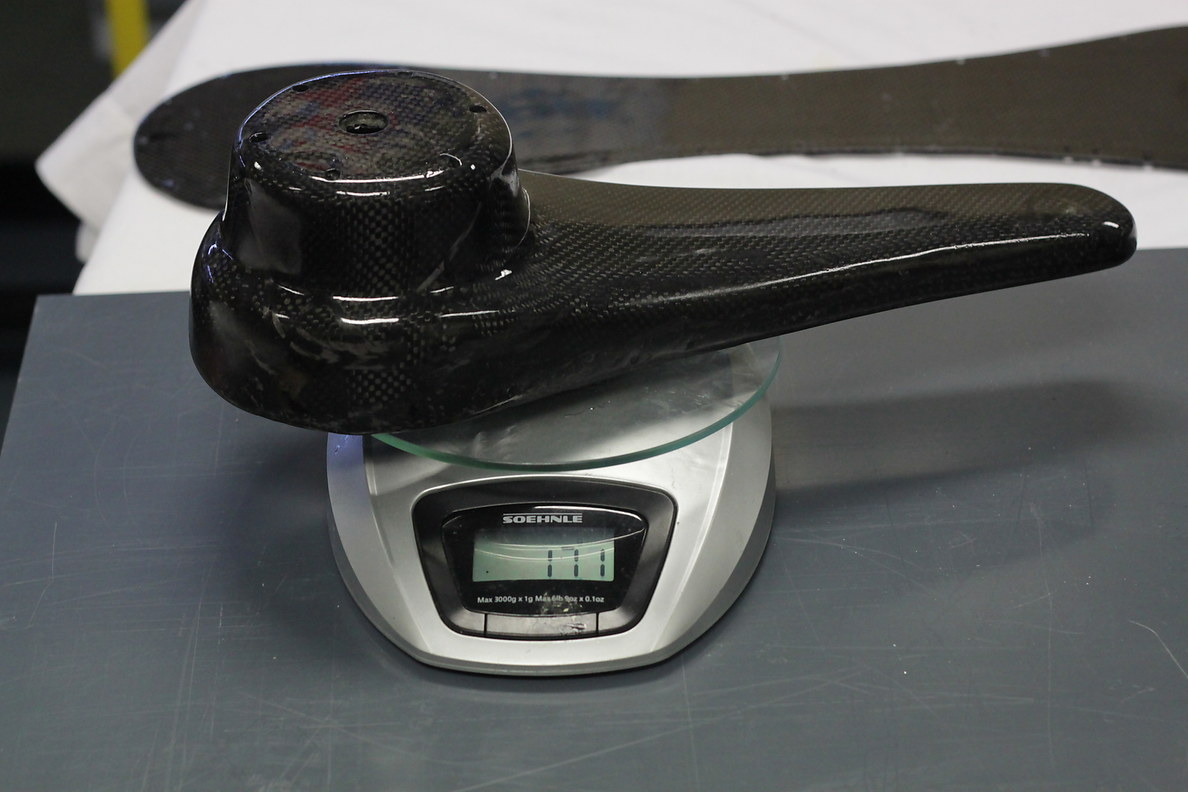
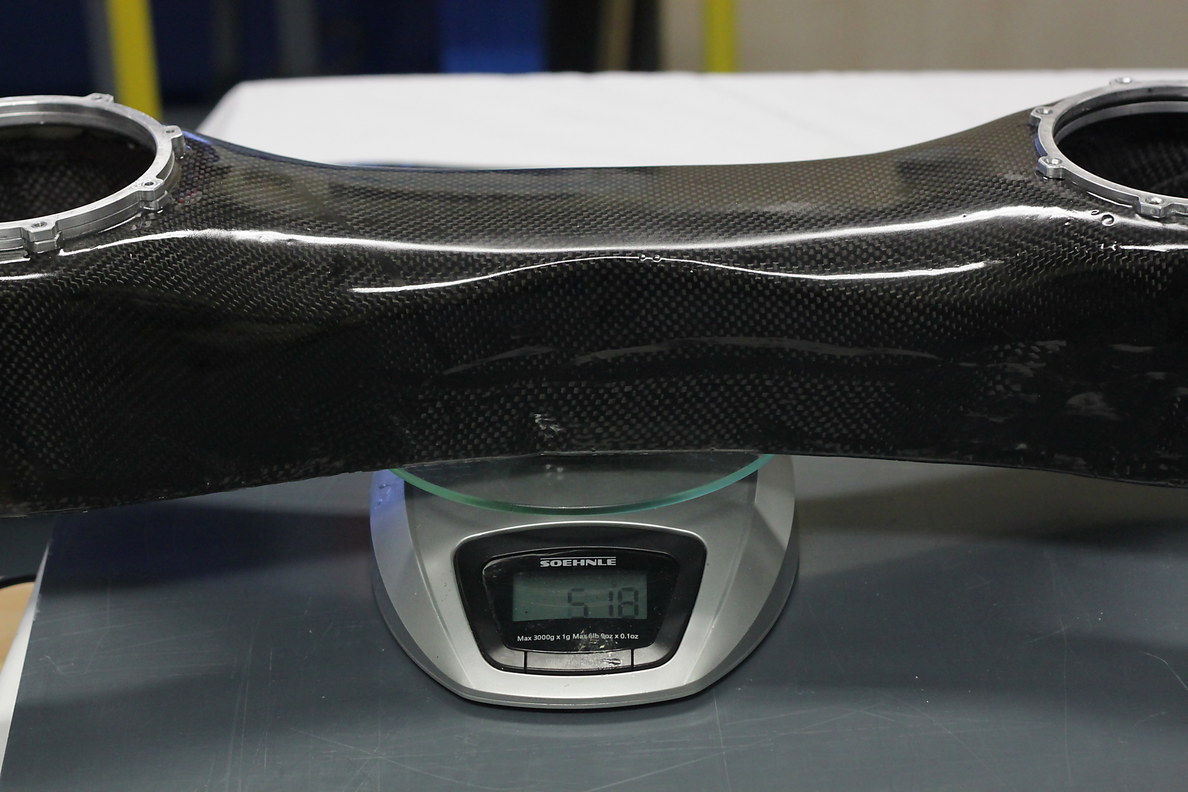
And of course, the brush that made it all possible:
Day 23
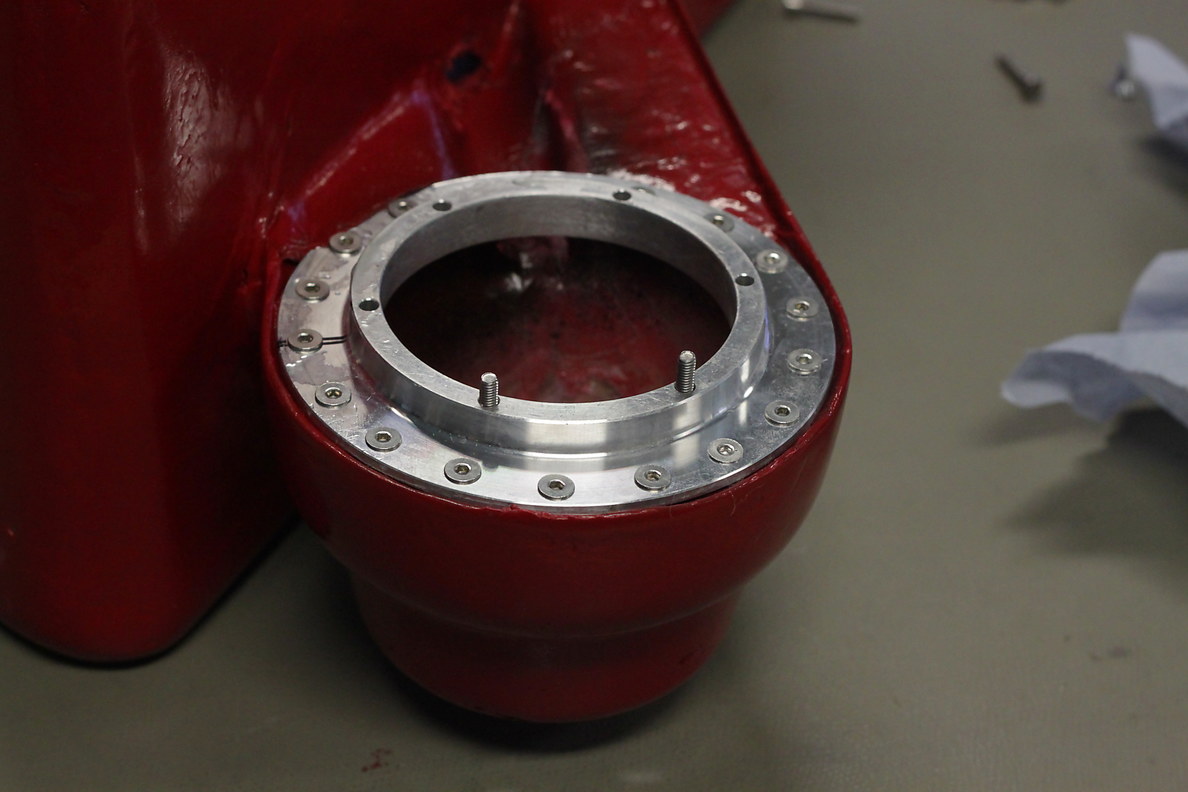
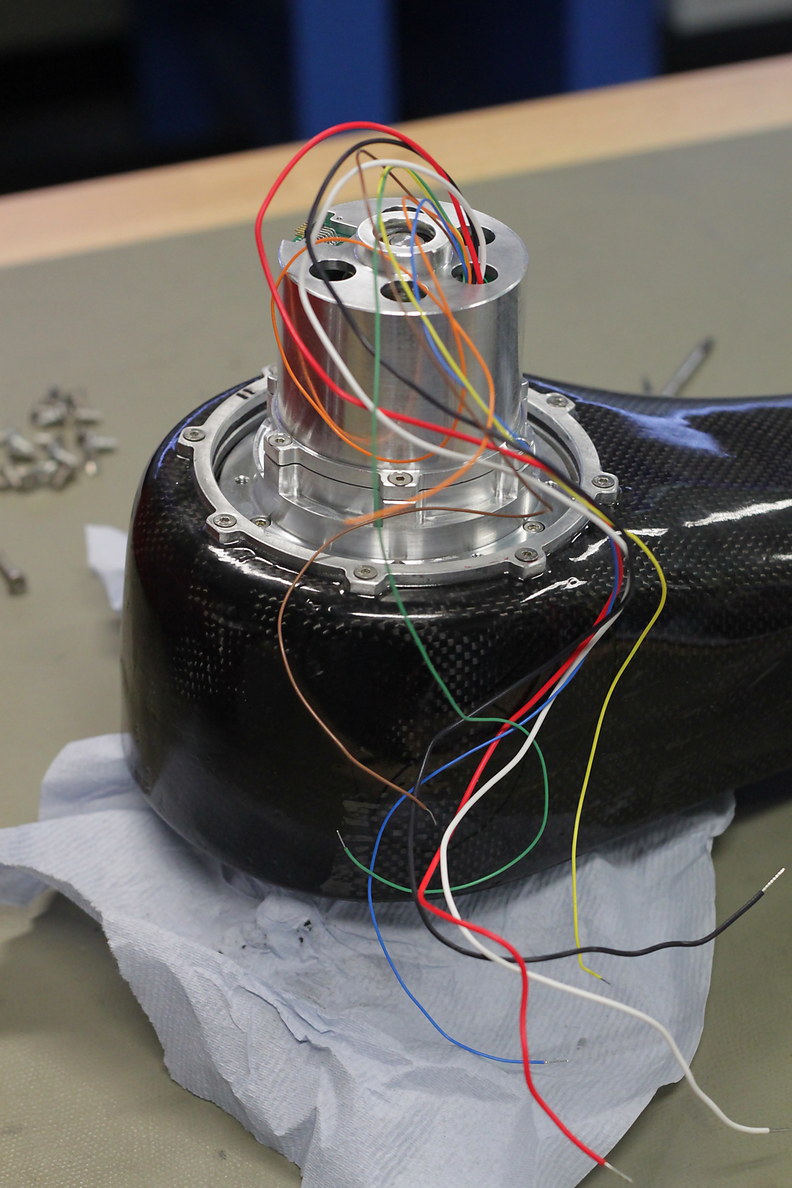
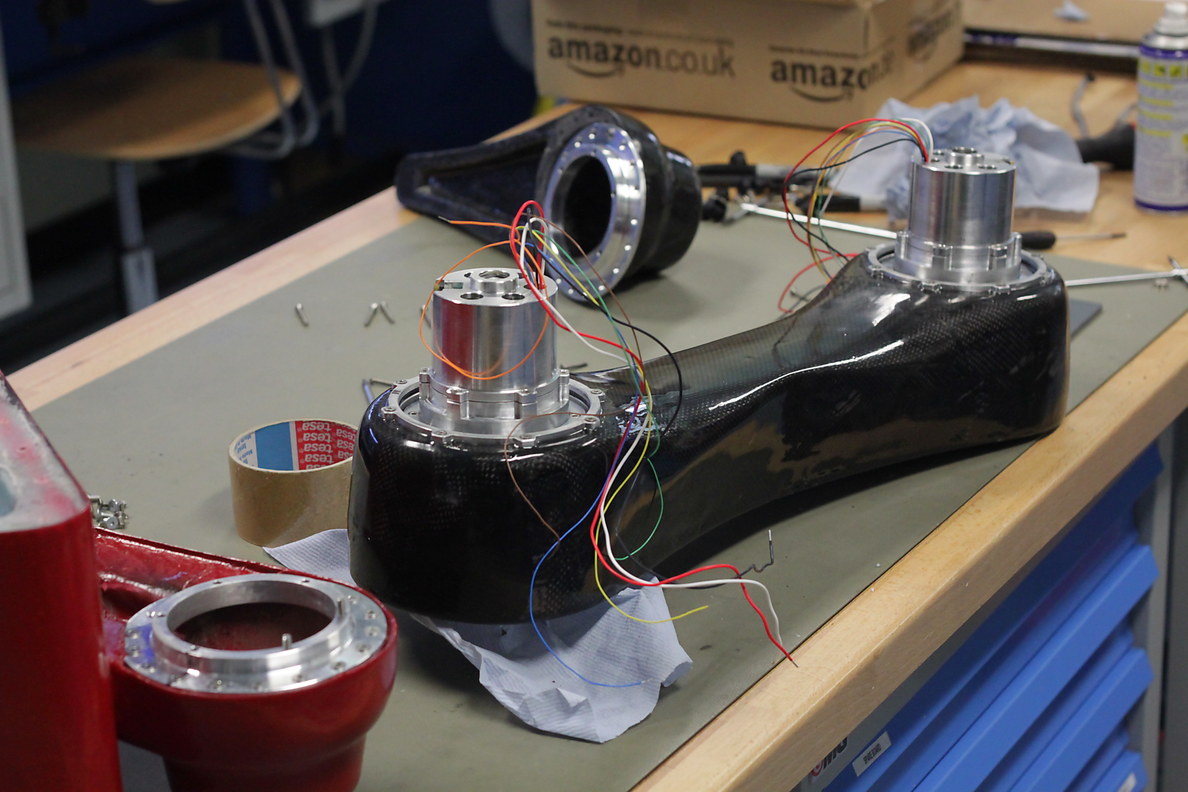
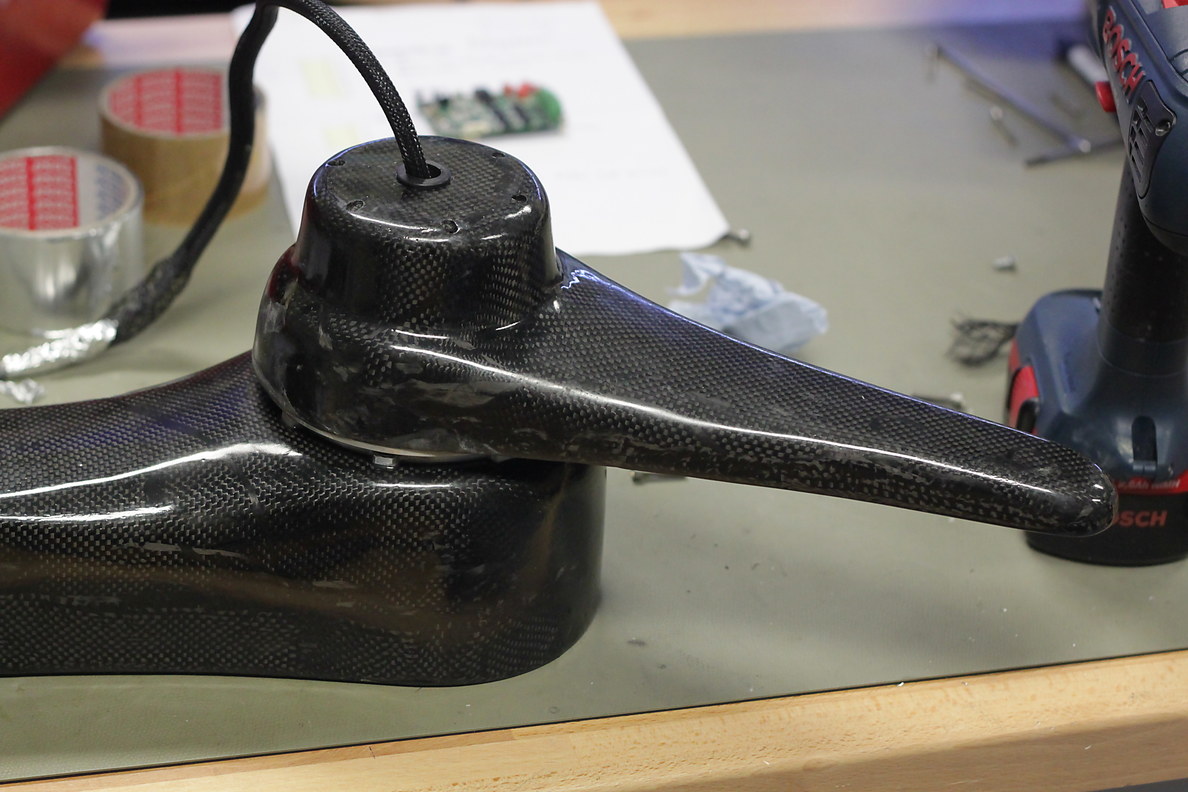
Today was just assembly, mounting motors, running cables, and other fit and finish stuff.
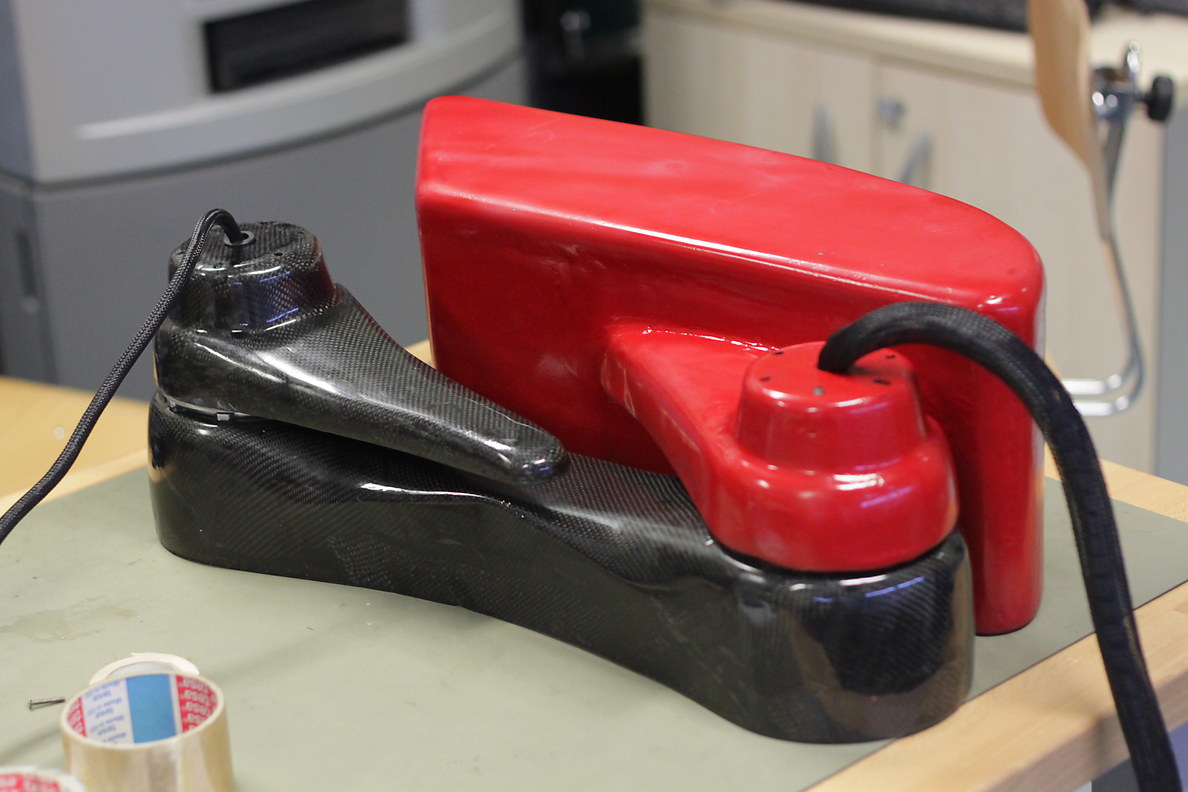
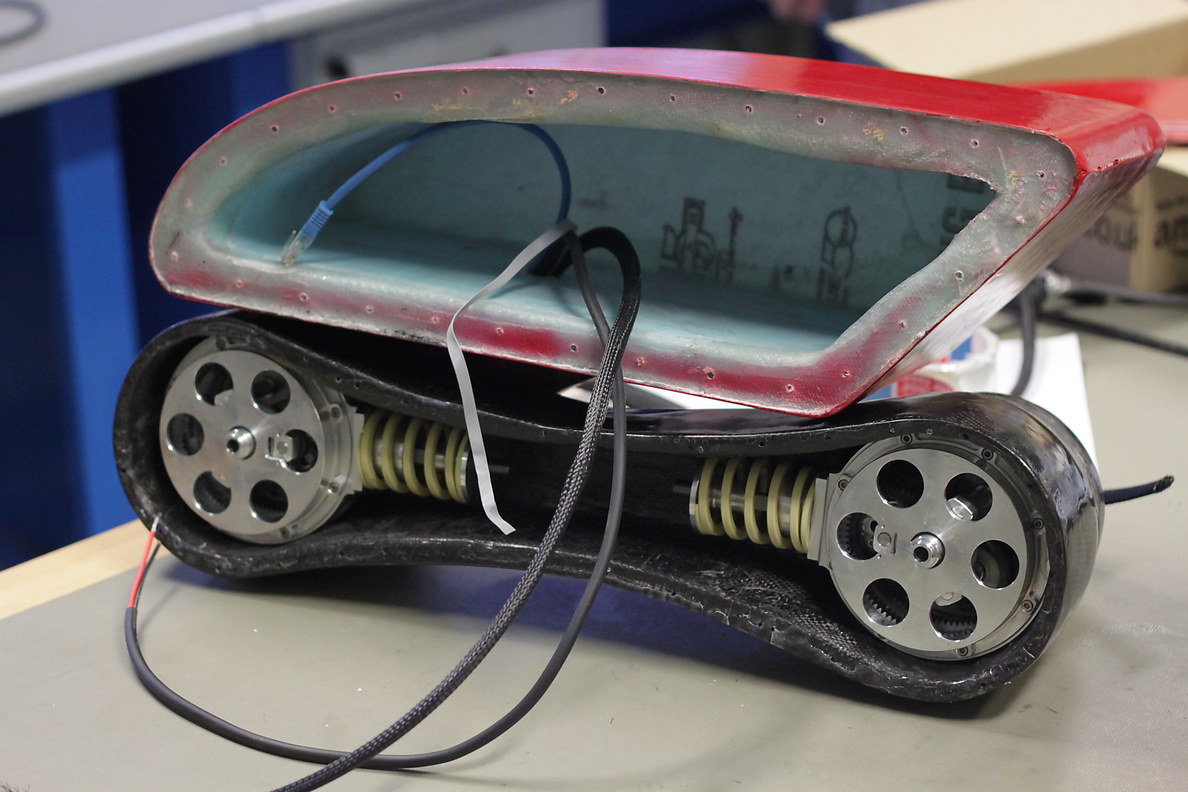
Day 25
Another day of assembly.
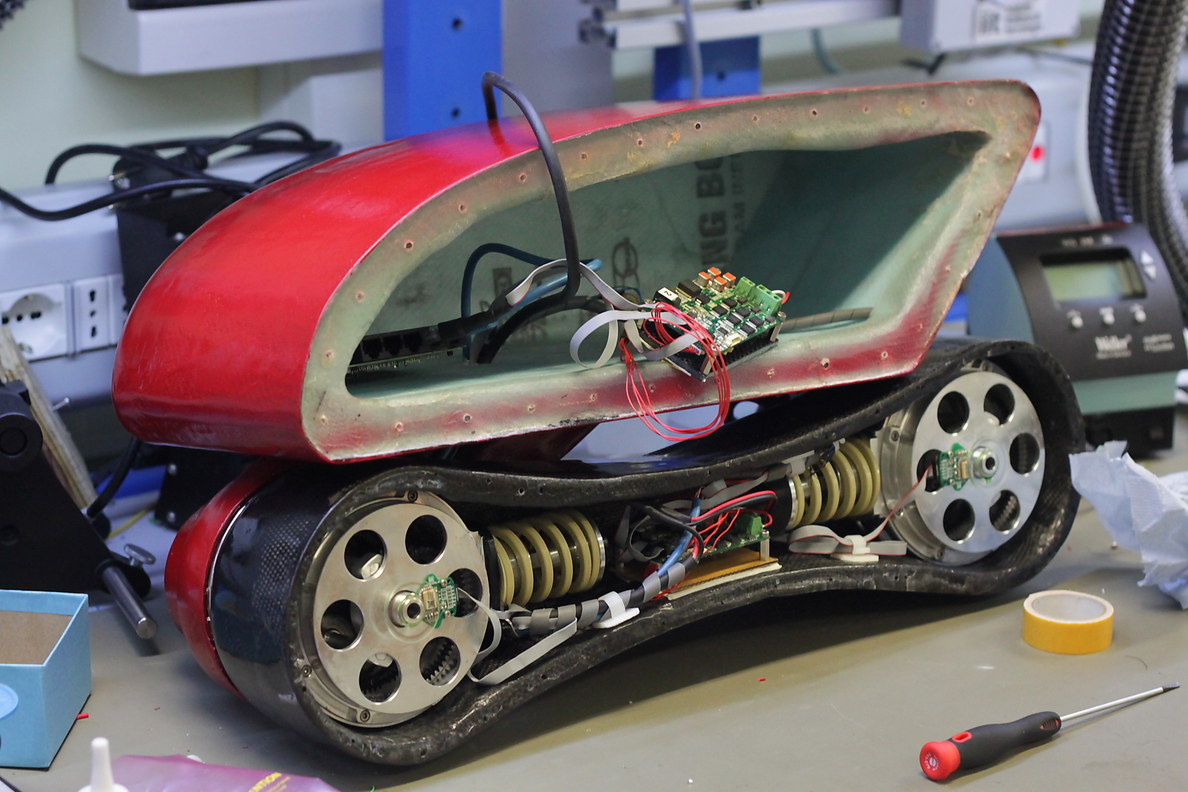
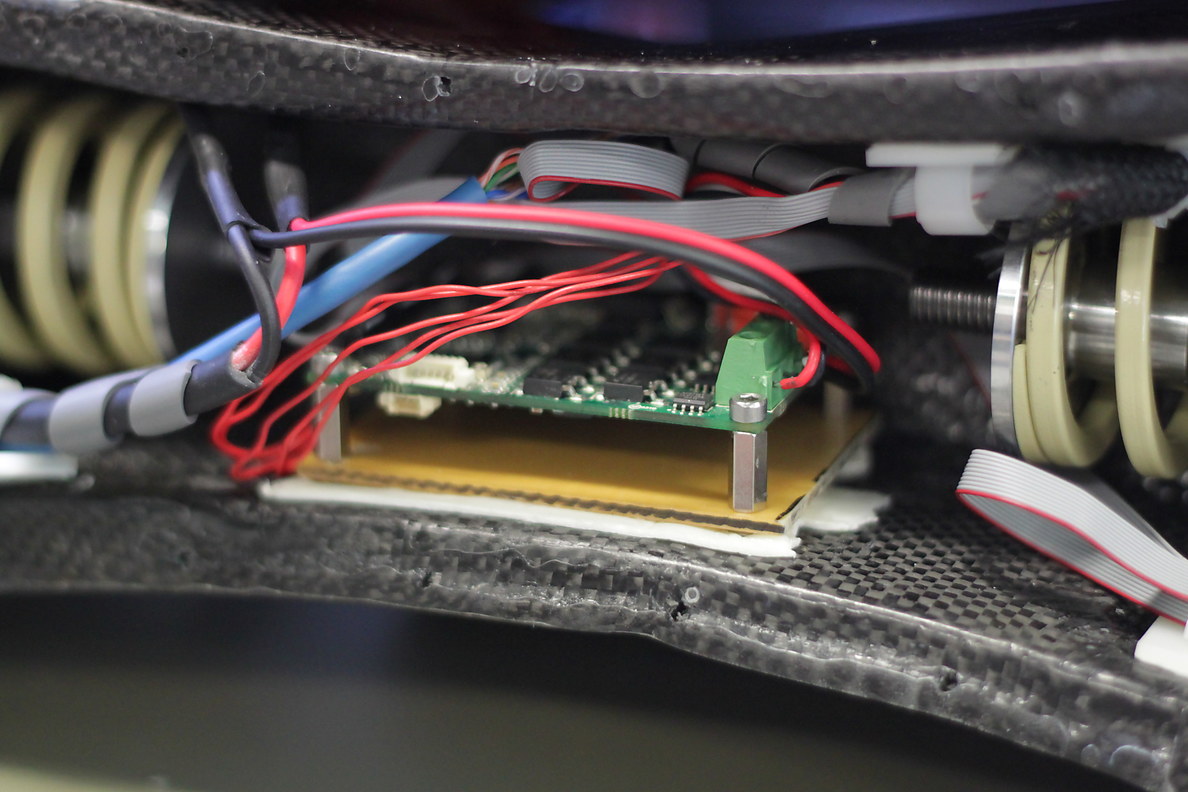
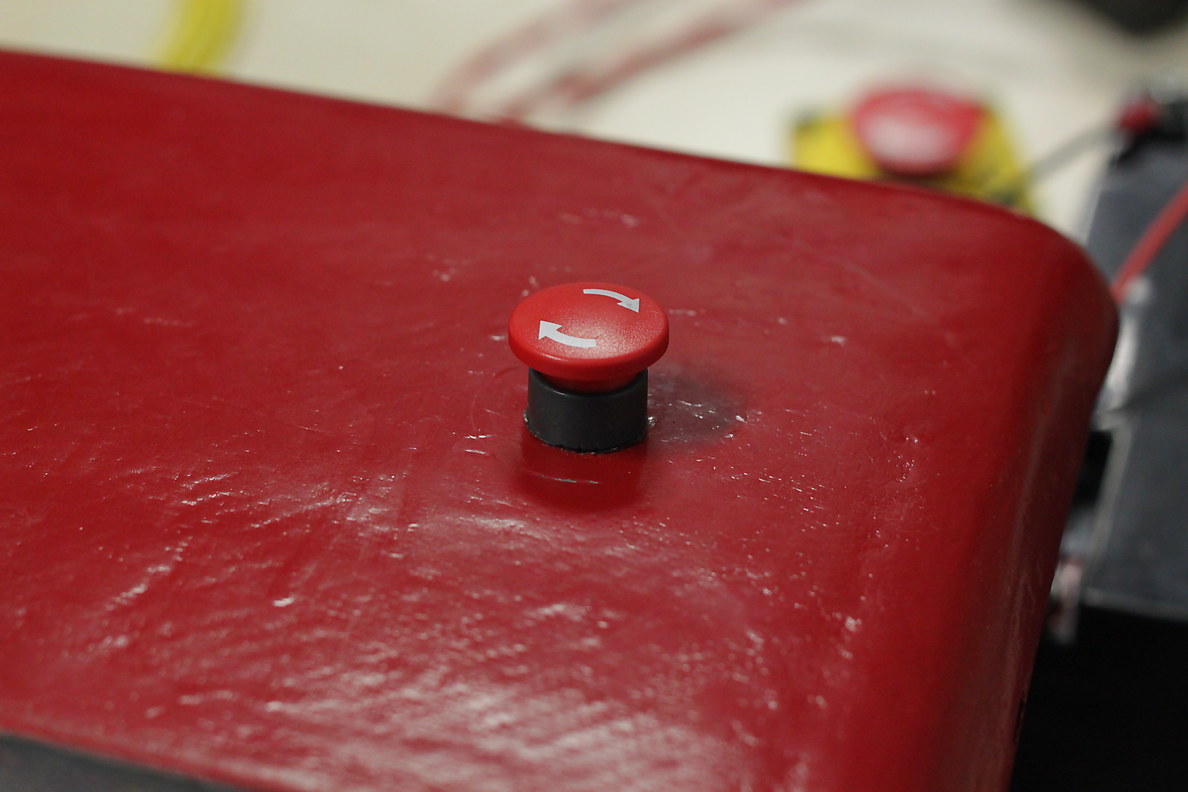
I added an emergency stop button to the top, so you can stop it quickly.
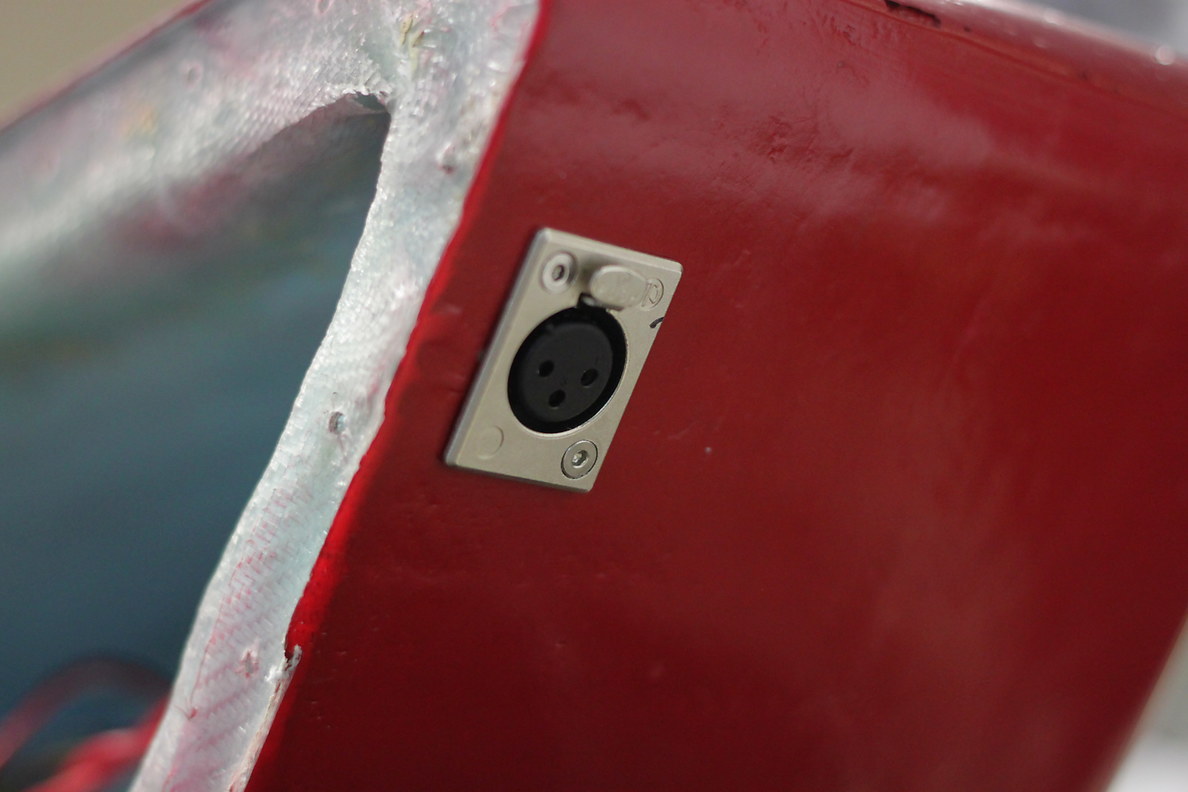
And a power port on the back:
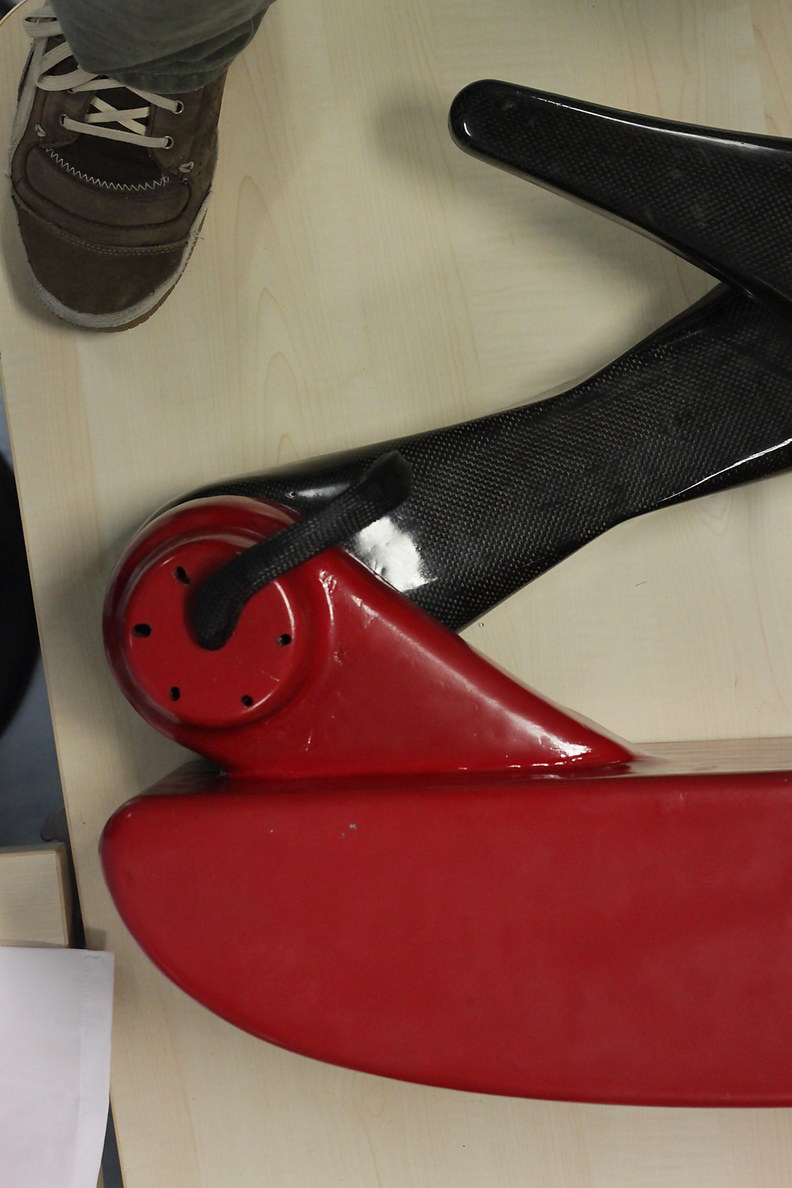
Cables are super important but easy to forget. I ran them axially out the shafts so that they could twist with minimal stress.
Day 27
The robot is mostly assembled at this point. I added some rubber scuff strips to protect the edges because I expect the robot to fall quite a lot before I get the hopping algorithm dialed in.
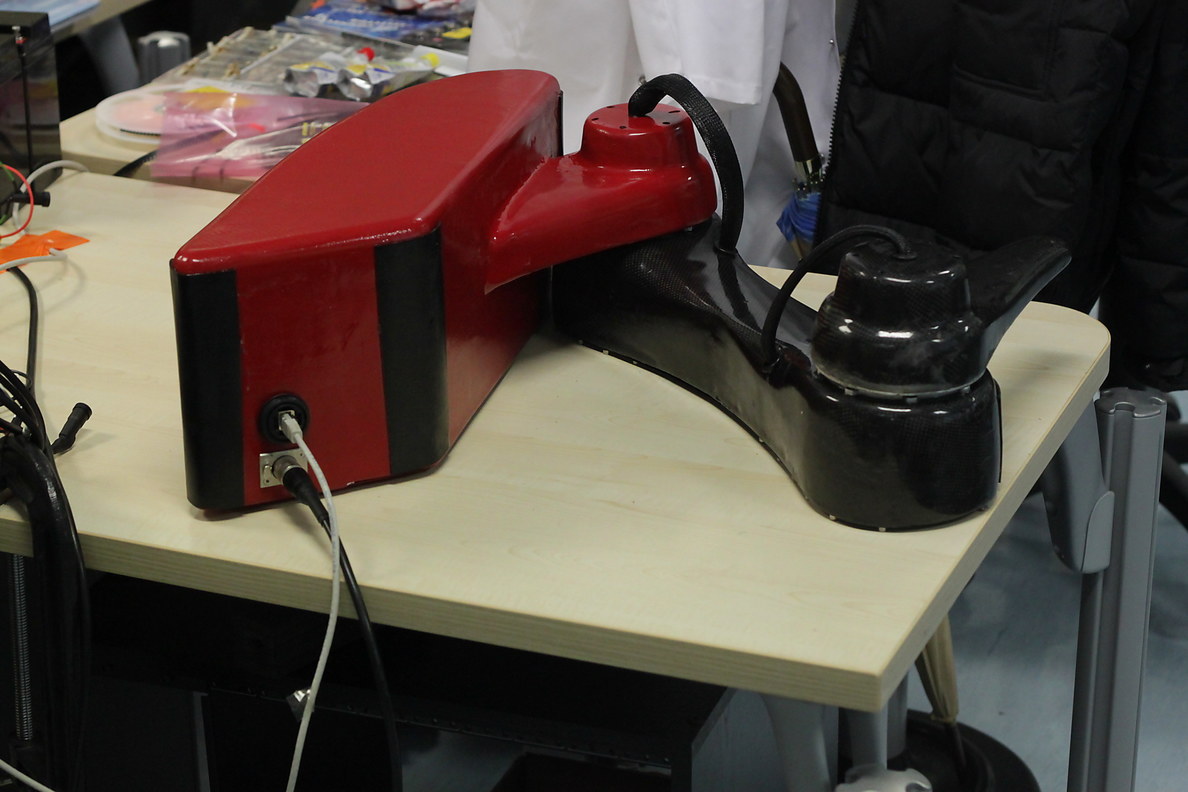
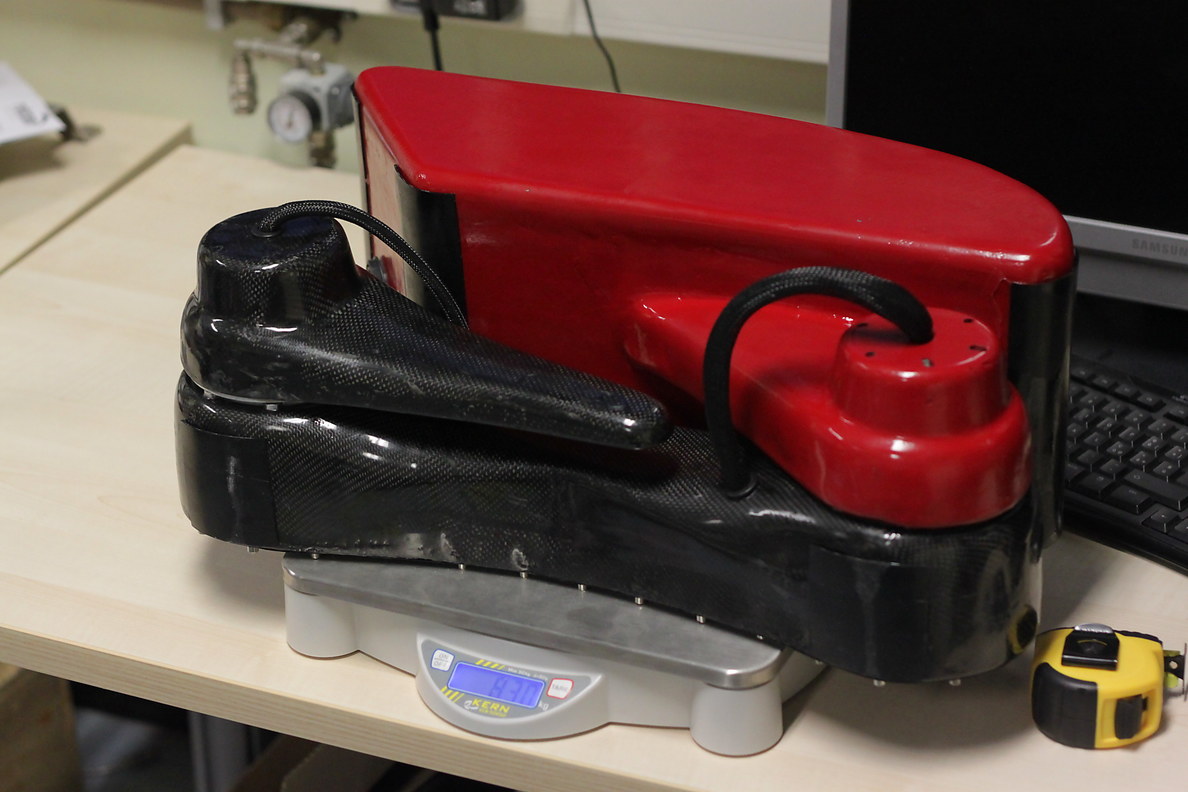
Final weight, sans batteries, is 8.3kg. Heavier than I would like, but it should still be technically possible.
Day 28
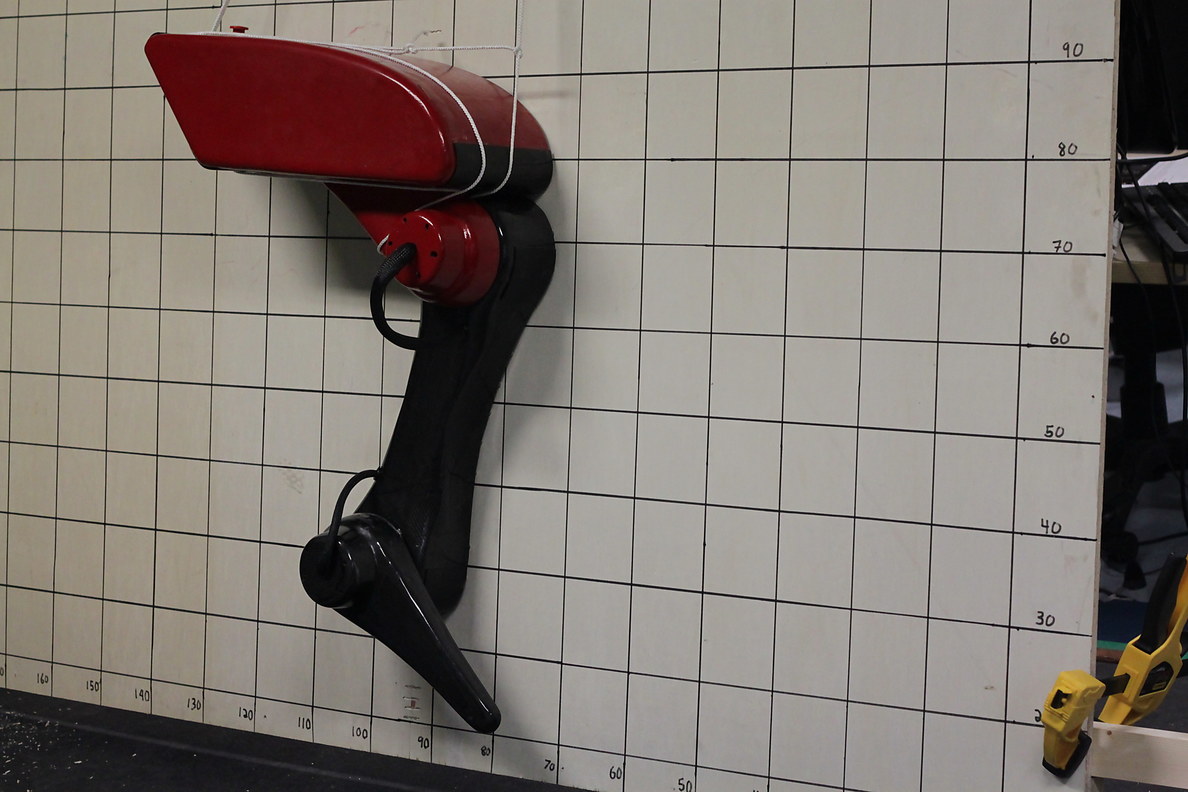
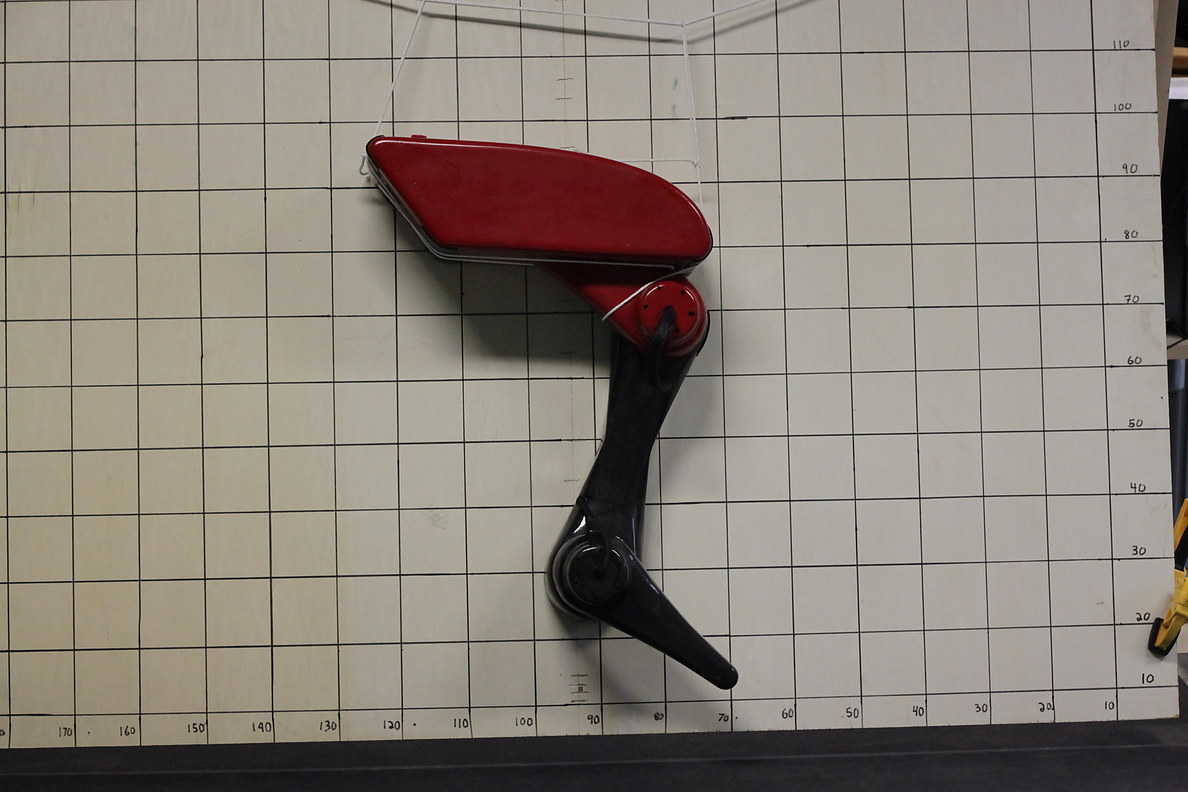
No actual robot construction today. Instead, I built a moveable backboard out of some lumber, drew 10cm squares on it, and positioned the robot over the treadmill it runs on.
Day 65
At this point, I had spent a whole month writing software, trying to tune the balance algorithm I had used in simulation, reverse-engineering the UDP packet structure of the Vicon camera system, and discovering bugs in the motor electronics control software. You can see the Vicon camera marker reflectors that I used to orient the robot in 3D. I waaaaay underestimated the amount of time it would take to tune the control systems and account for all of the communication lag. I also way underestimated the number of sources of friction and inefficiency; I was getting only about half of the toqrue that I expected from the motors.
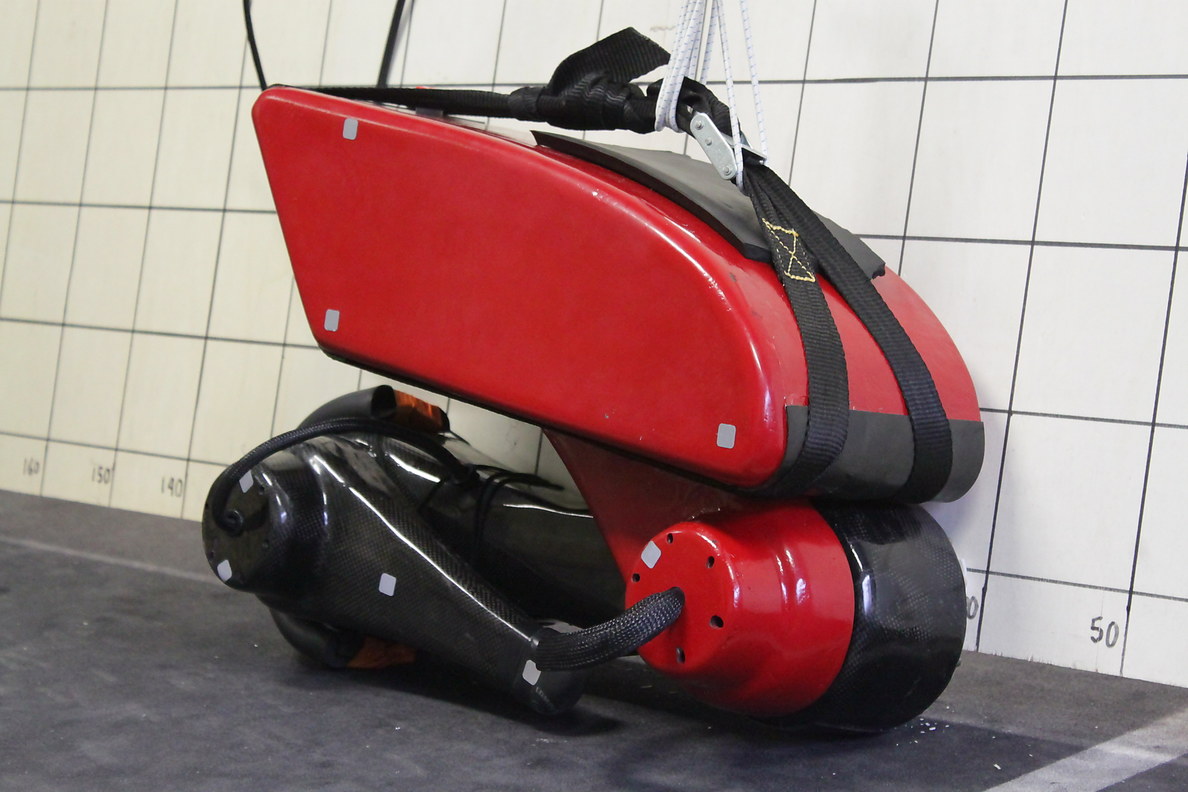
During testing, I added a big foam “heel” to the robot, since that place was striking the ground occasionally with a lot more force than I intended.
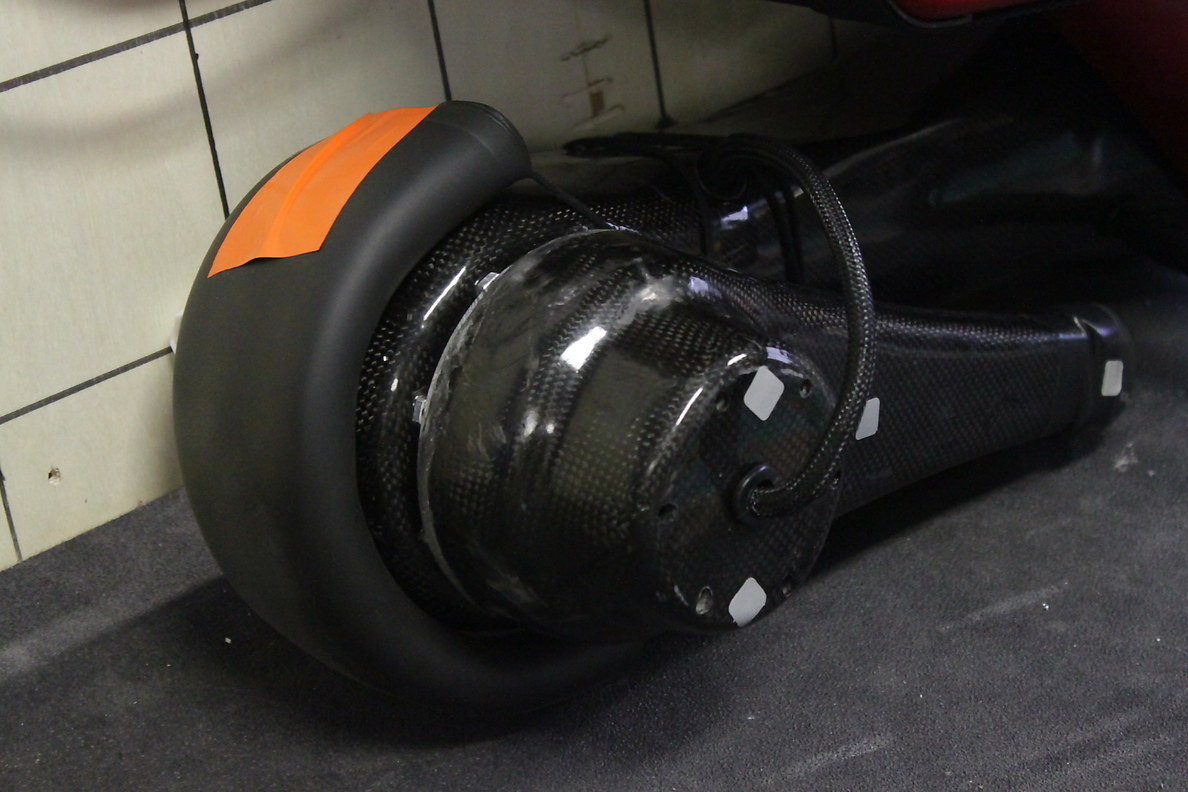
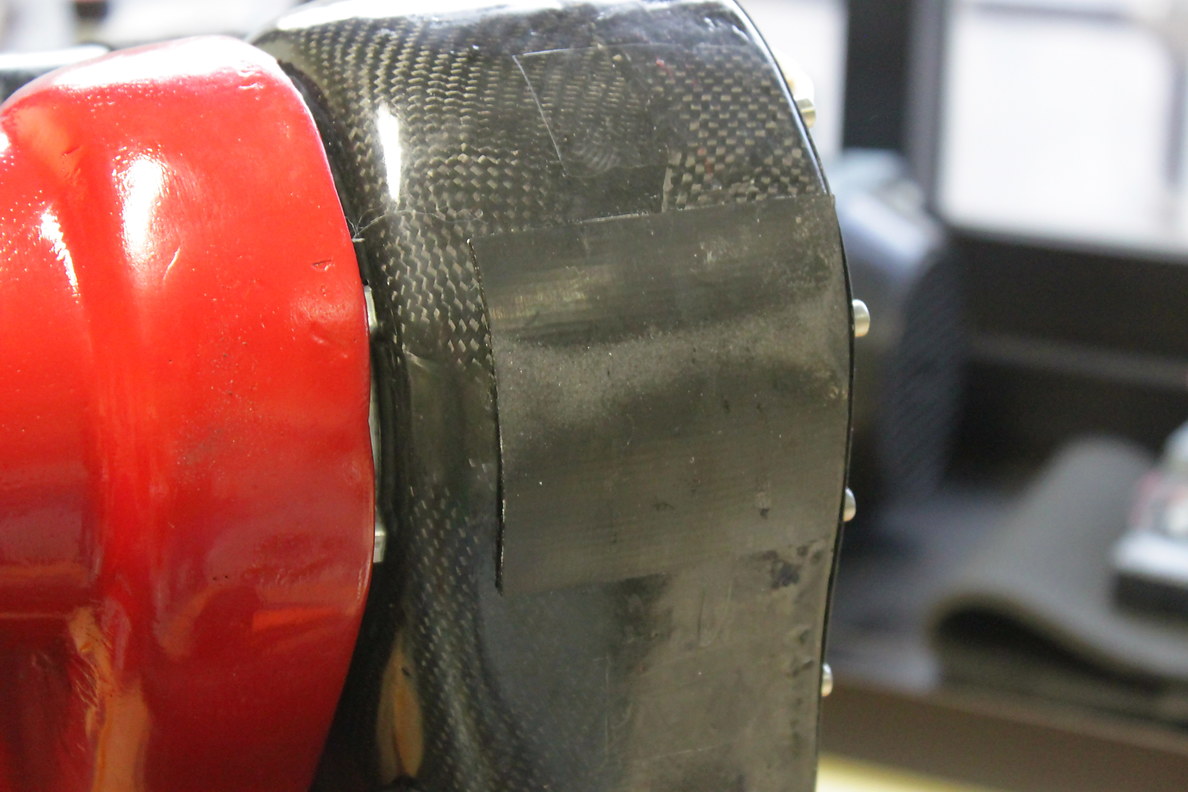
The scuff pads have also gotten some wear:
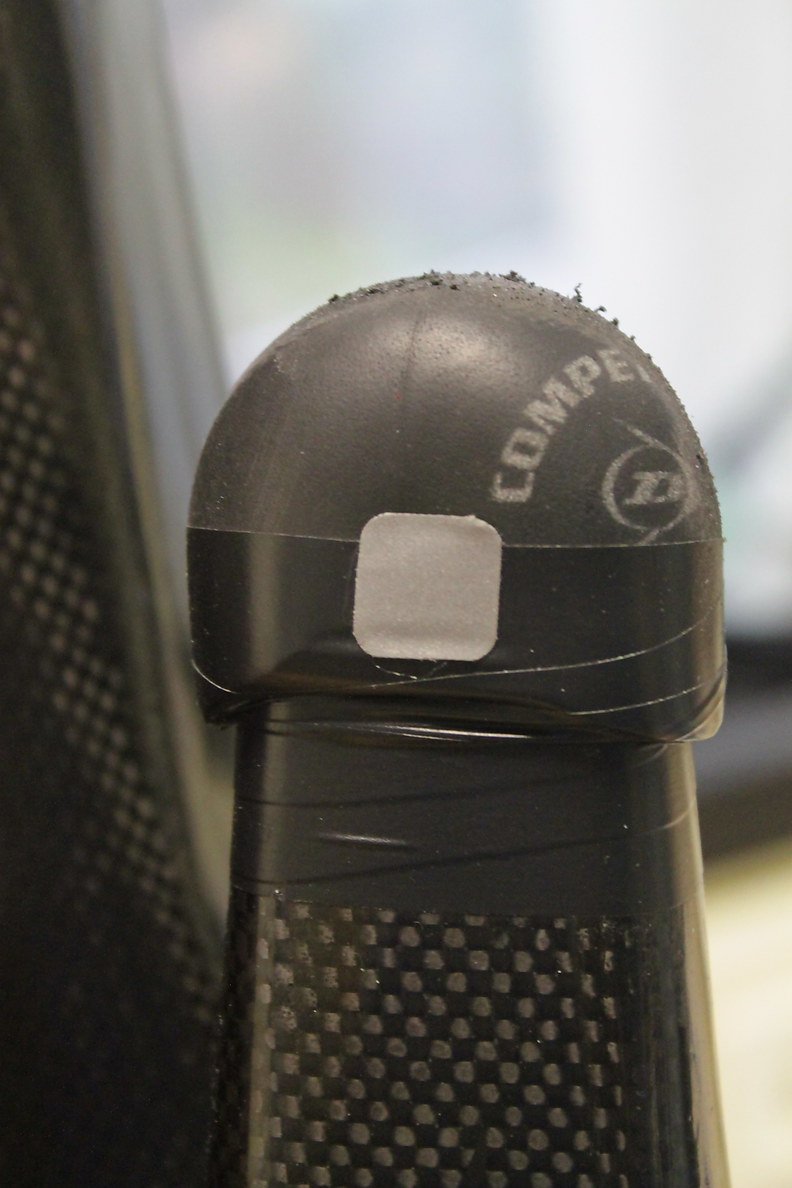
As has the rubber sports ball I used as the foot tip:
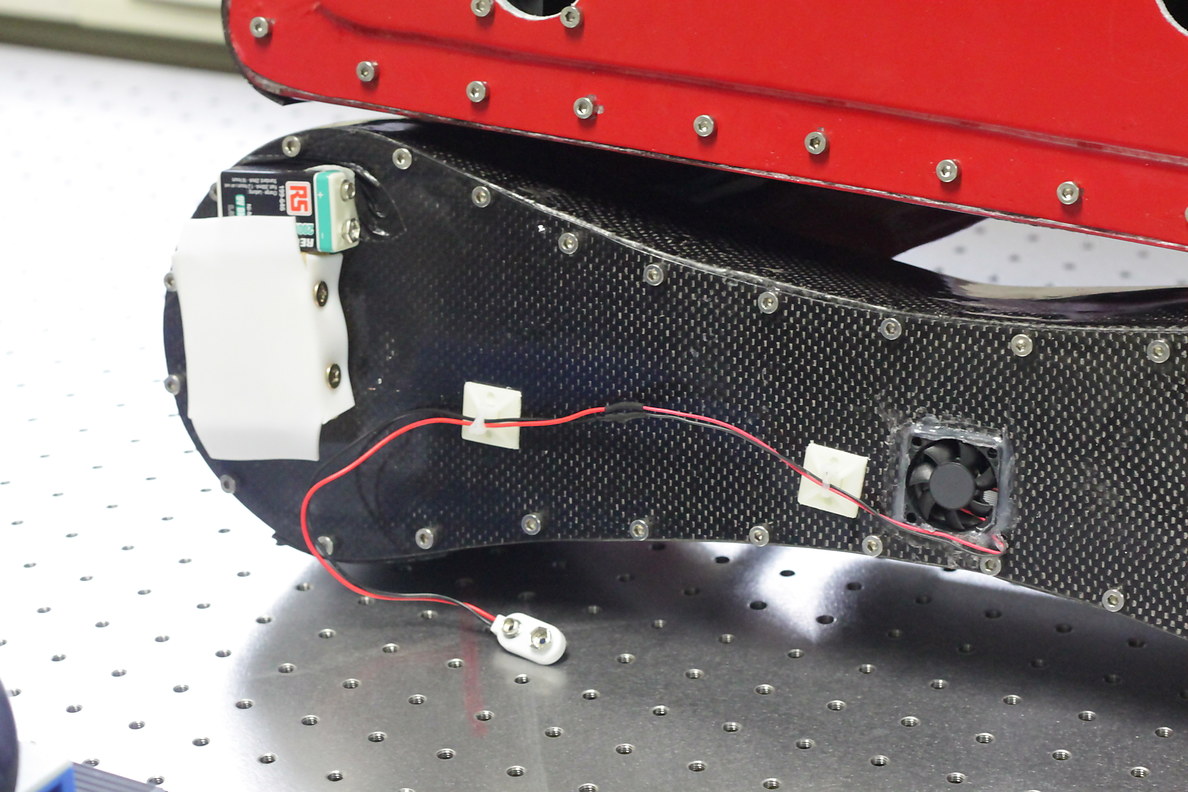
Other things learned during testing is that, unsurprisingly, a foam and fiberglass box is a great heat insulator. I added some small fans to pull air into the body and thigh to keep the motors and electronics cool.
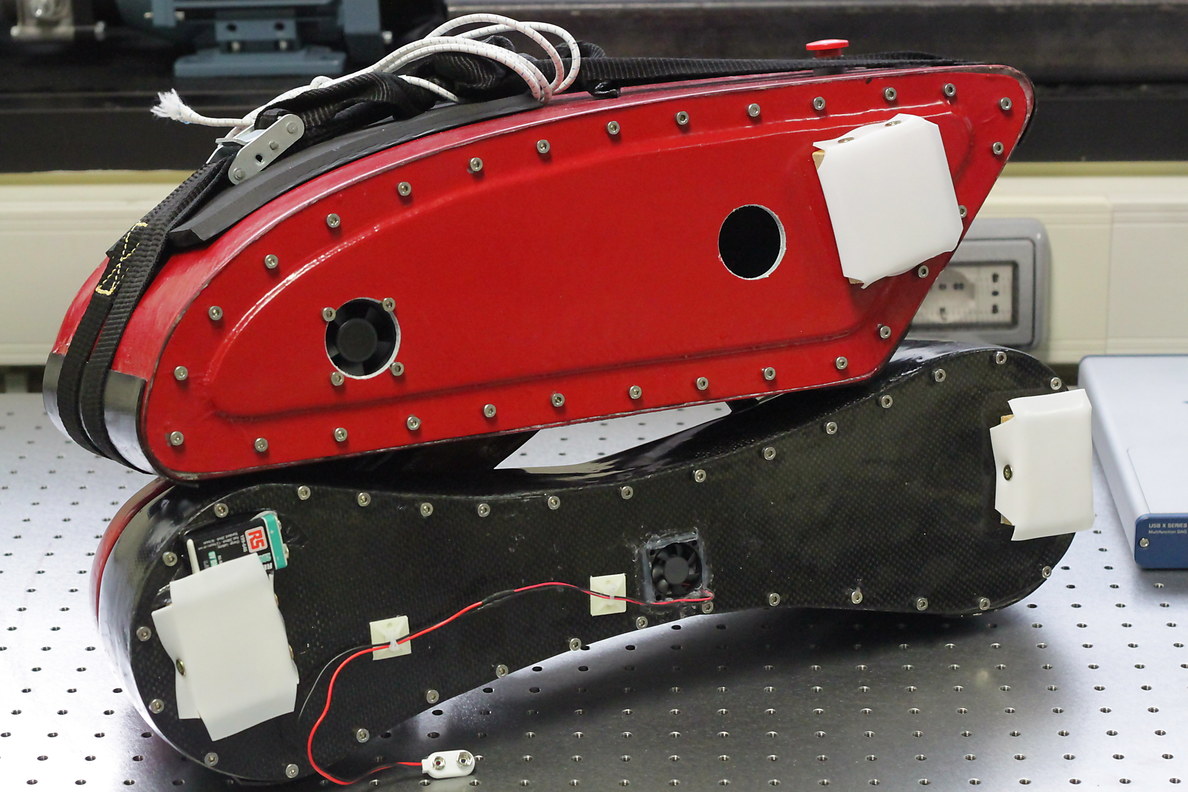
The robot usually looked like this in operation. I added some bungee cables at the top to make the falls less hard.
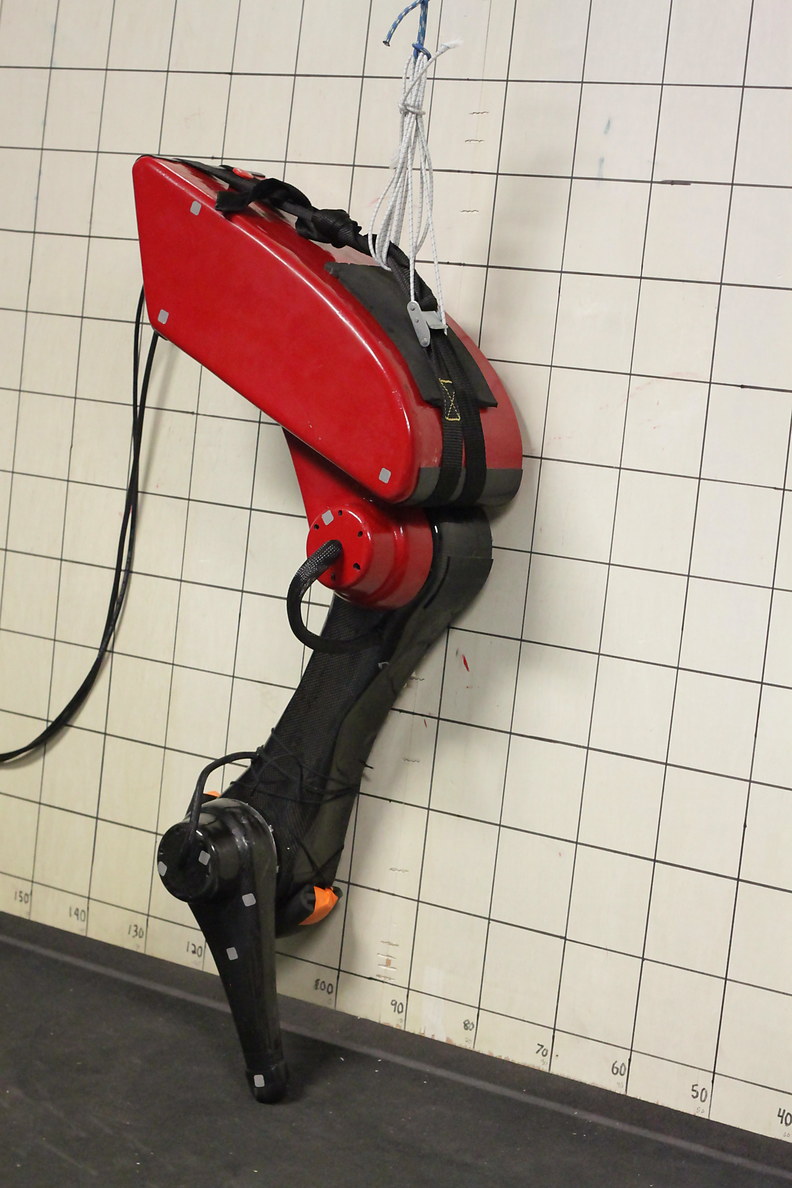
Conclusion:
To my great disappointment, it didn’t work! Even after all of this work making a light structure, and as much tuning as I could do, the robot was still too heavy to jump properly. Given the 111W motors, had I more properly accounted for the motor inefficiency and backboard friction, a more realistic estimate on a reasonable jumping weight would have been 4-6kg instead of 8-10kg. Thankfully, I had enough work with the compliant actuators and other work that I was able to complete my Ph.D. even without the robot hopping. And the spring mechanism was a great success, even if the hopping robot itself was not.
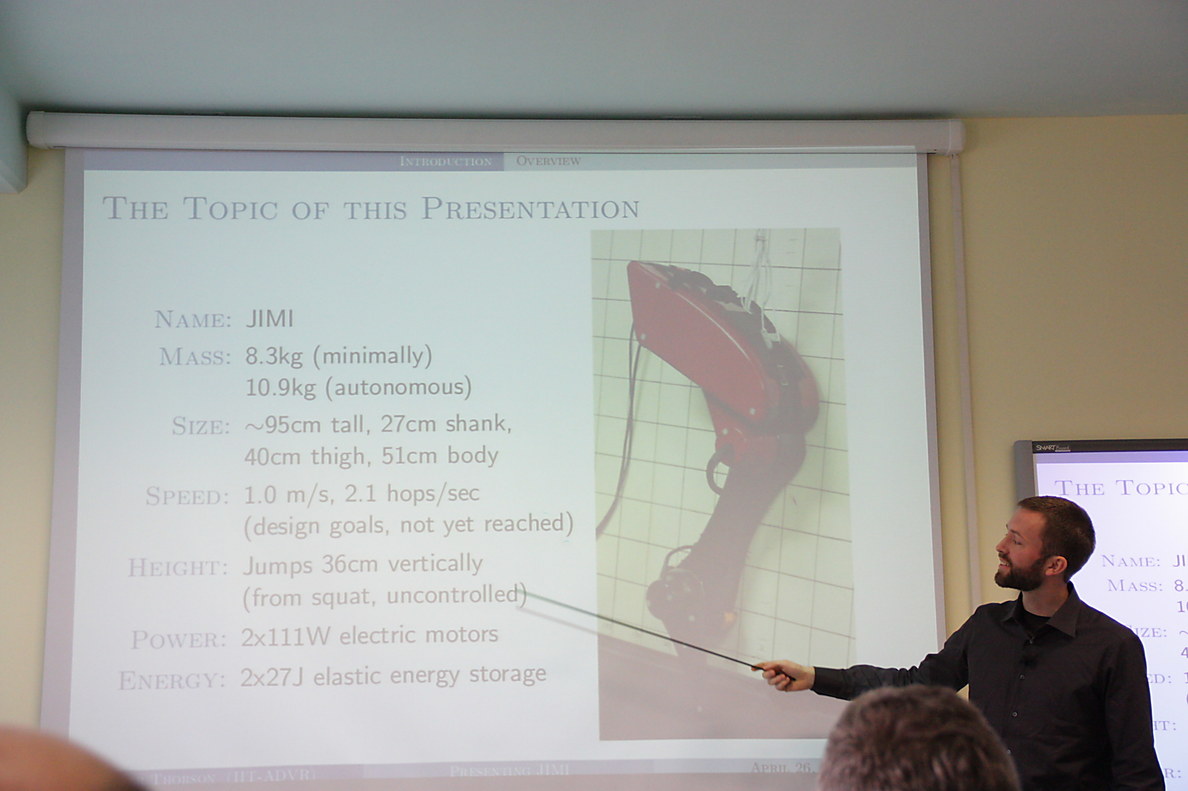
In closing, I would like to thank the Genovese for having shared their beautiful city with me for those years, and thank whatever Italian spirit of energy and passion kept me motivated during this fun and unusual project. I’m still just thankful that I had the experience.

Addendum: Tutorial Photos
Here are some other photos that you may find helpful.
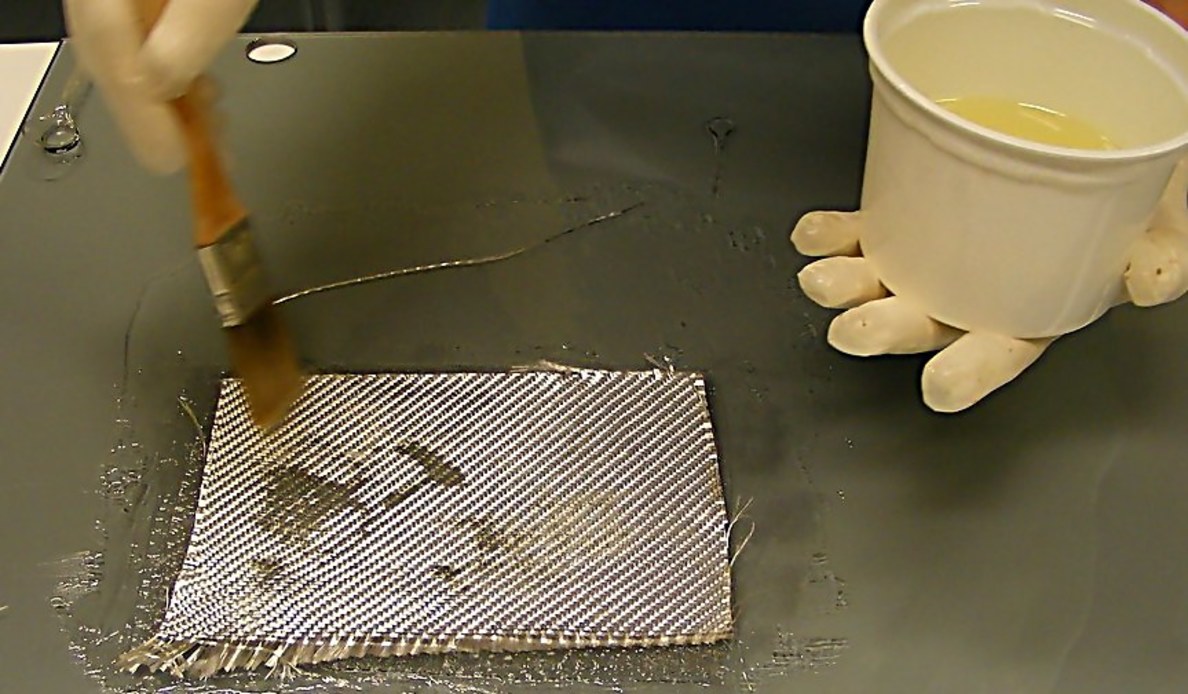
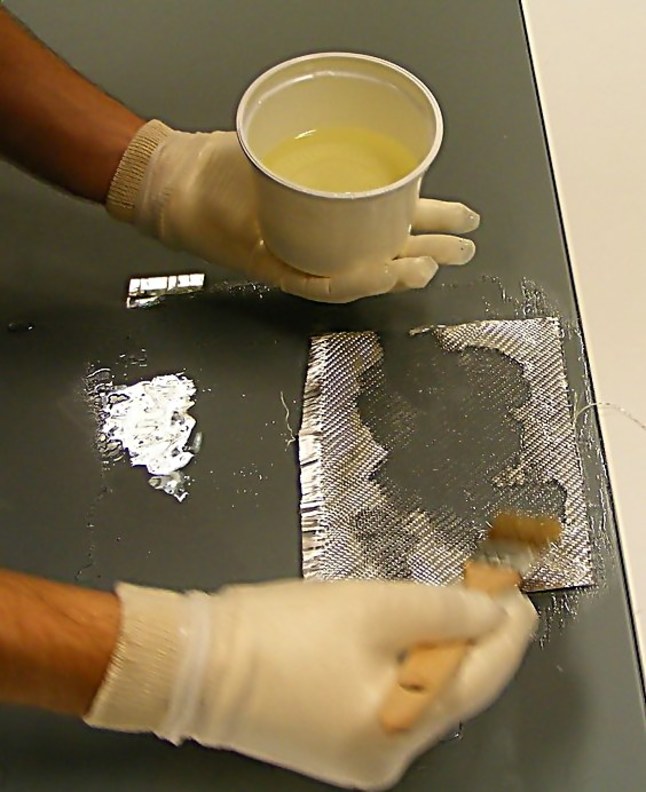
Let’s start with the actual process of doing a fiberglass lay-up. When putting fiberglass onto a mold (or glass in this case), I find it helpful to paint the mold itself with epoxy to ensure there are no air bubbles trapped under the fabric.
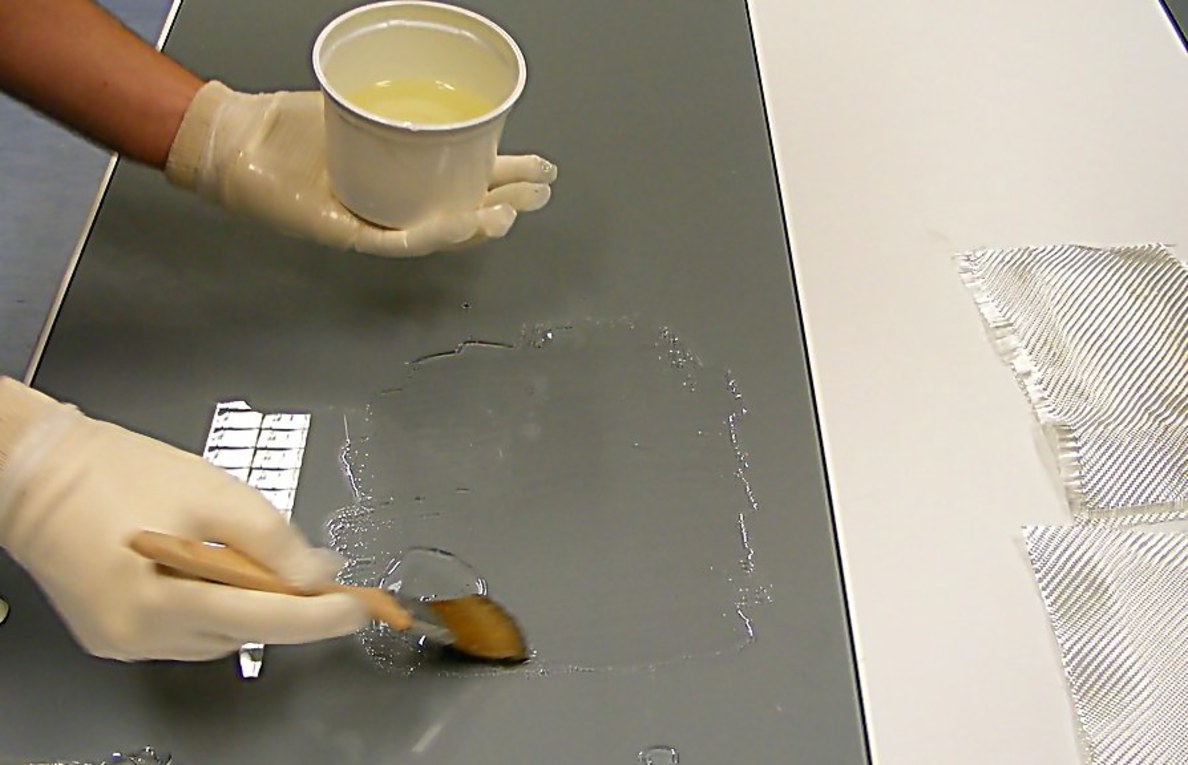
As you wet out the fabric (using the tip of the brush to “stipple” as needed), you will see the fiberglass become clear.
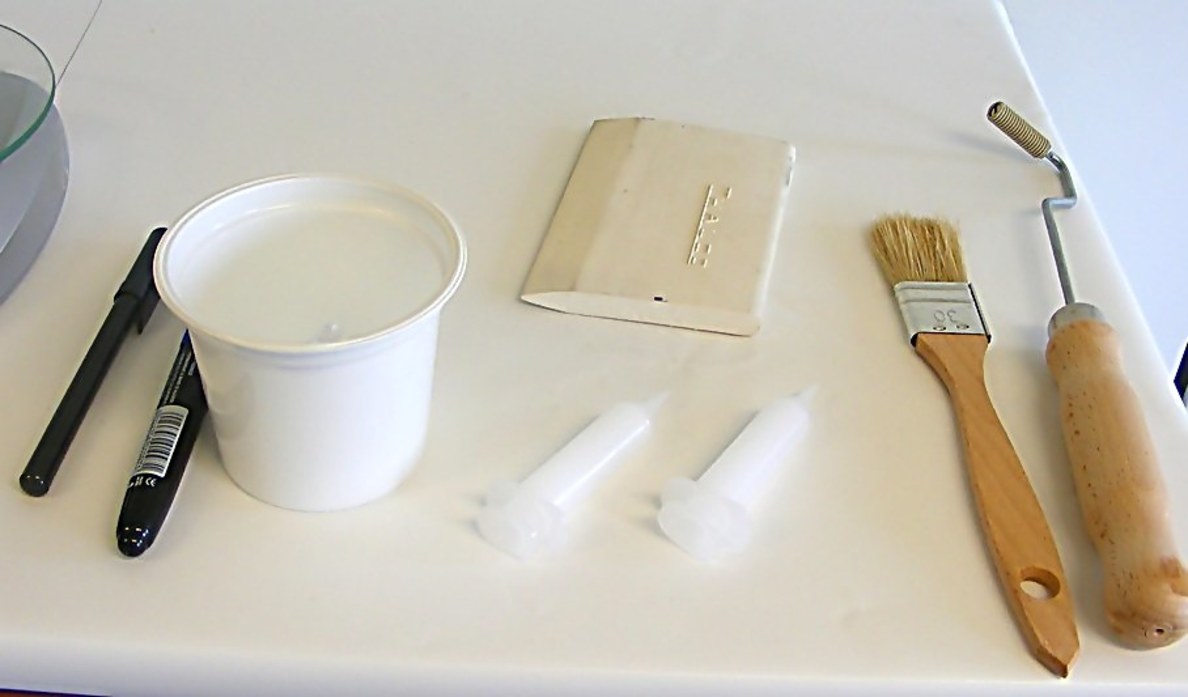
During a layup, it’s a good idea to have various things handy. A marker, lots of cups, a squeege, measuring syringes, disposable paintbrushes, and roller tools to help squeeze out excess resin. But the most essential tools are plastic gloves and tons and tons of paper towels to help clean up, and a timer to let you know how many minutes until your resin gels.
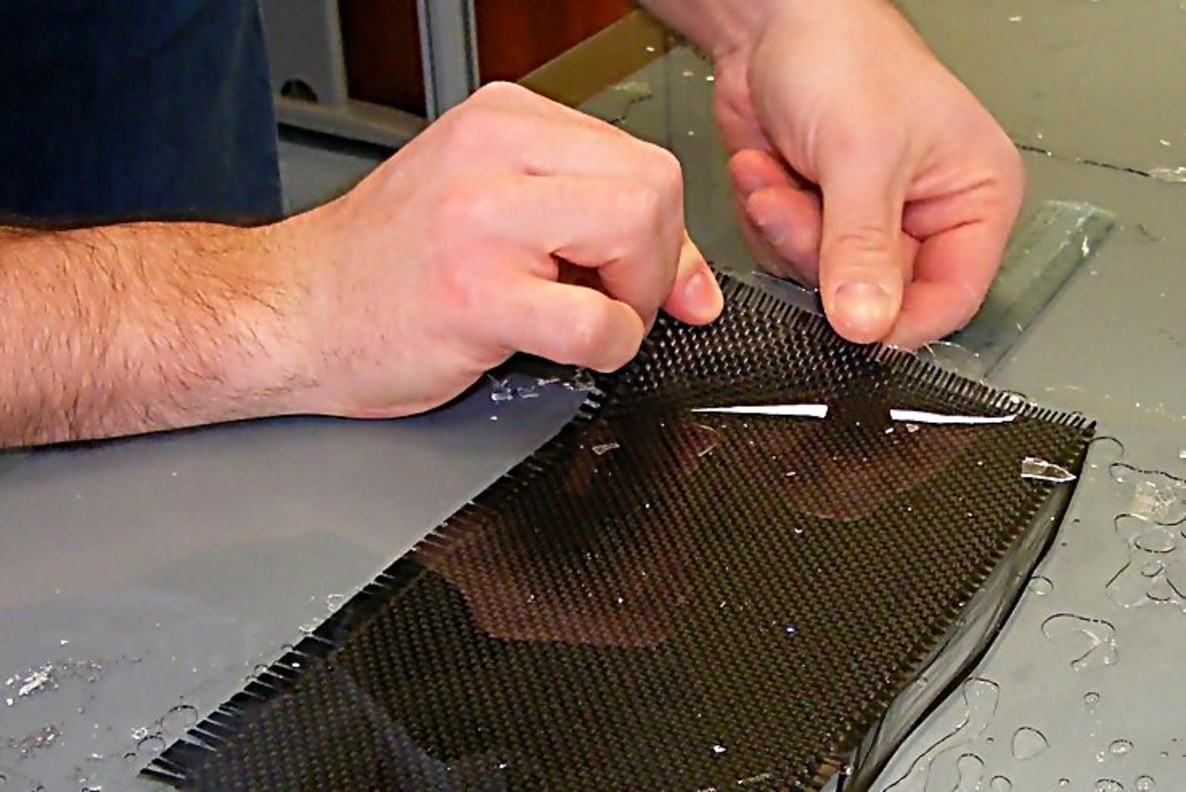
It’s usually a simple matter to peel 1-3 layers of carbon fiber off of a glass plate or mold. However, if you use more than 3 layers, or if the part is curved in a complicated way, the part will be more rigid and more difficult to remove if you have not waxed the glass properly.
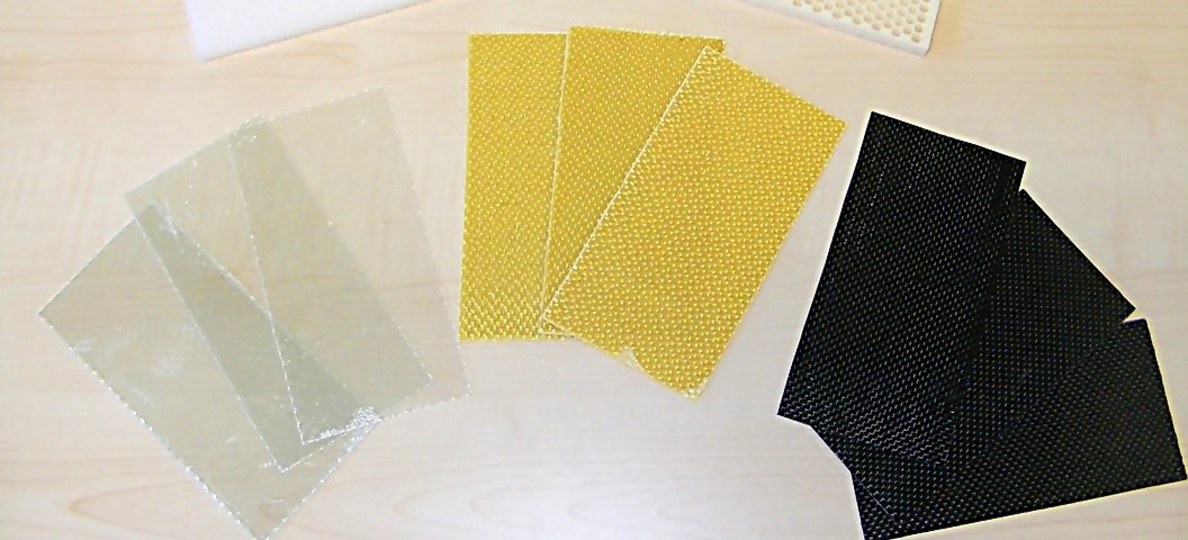
Some people just wonder what various fabrics look like when cured. From left to right, some samples of fiberglass, kevlar, and carbon fiber, in thickenesses of 1, 2, and 3 plys of fabric.
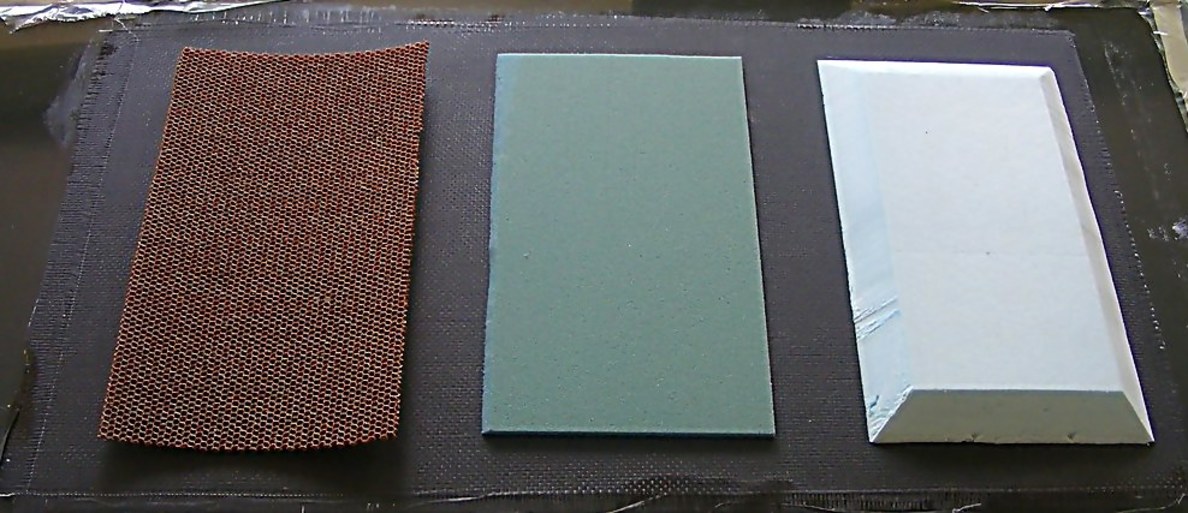
Other people ask about core materials. As an experiment, I made a test piece of composite on a sheet of glass, and put three different cores on it. From left to right, nomex honeycomb, pvc foam, and styrofoam. For thick cores like this, it’s important to bevel the edges as I did. Note that the layer on the glass is already cured. It’s also important to note that you should add tiny pinholes through the foam, every 2cm or so, to help resin trapped under the foam cores flow through it as the vacuum pressure squeezes out any excess resin underneath the core material.
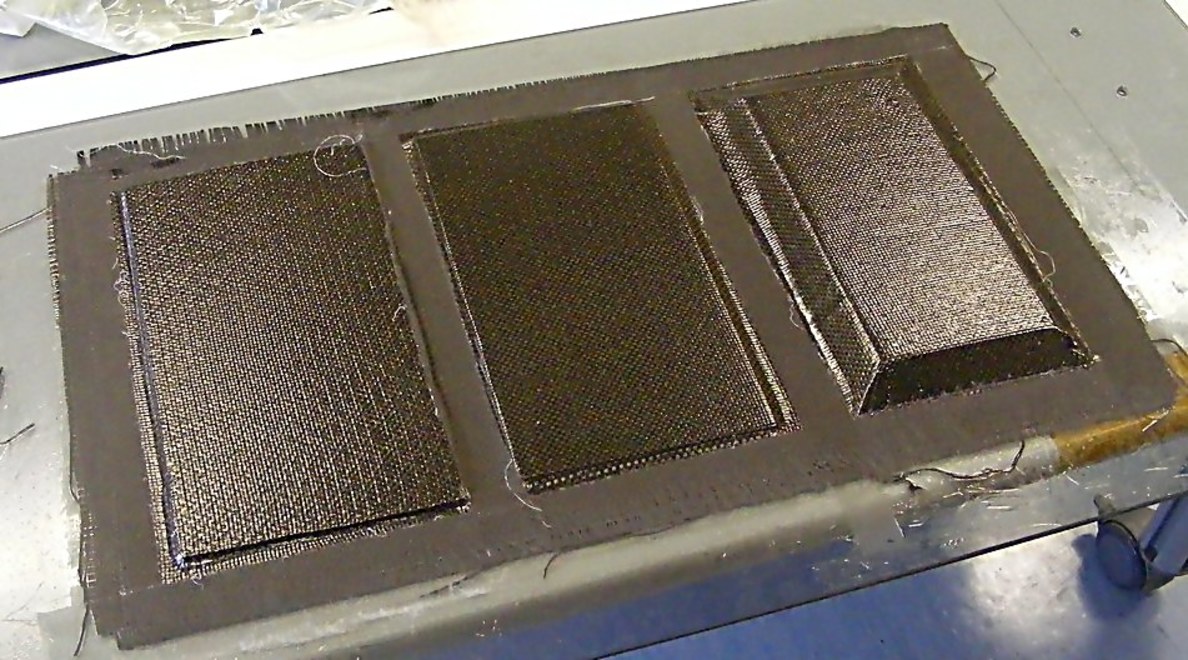
After applying another layer of carbon fiber and using a vacuum bag, you get this result:
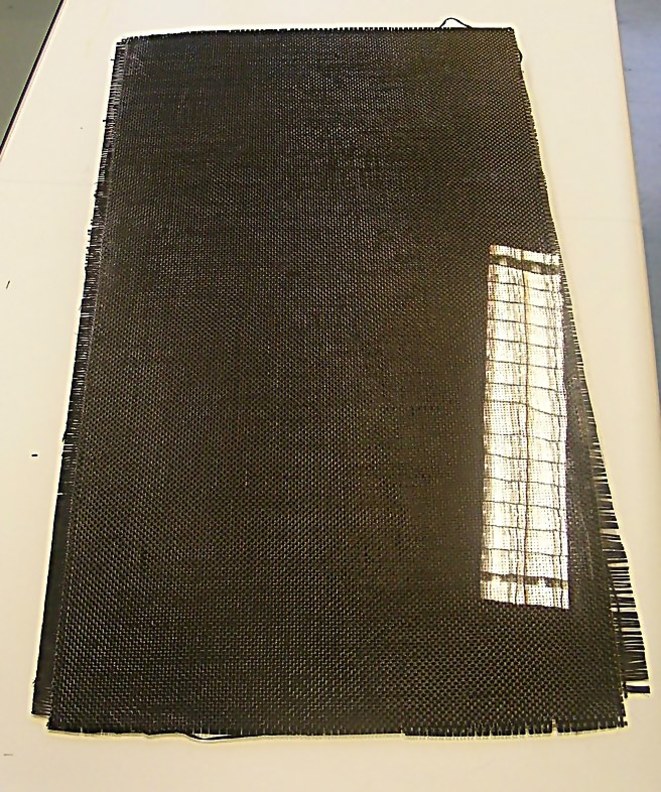
After pulling it off the glass and flipping it over, the test piece looks like this:
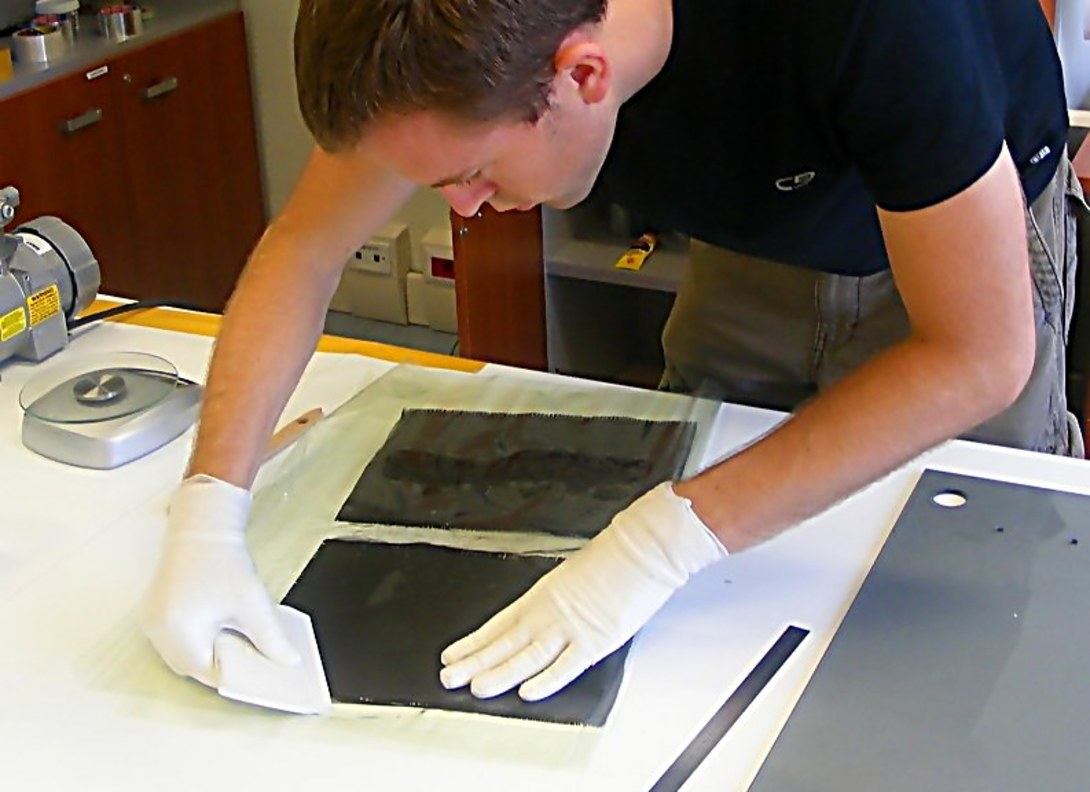
Another trick you can use that is sometimes helpful is to pour resin over fabric, between two sheets of plastic. Then use a squeegee to wet out the fabric, and you have “homemade prepreg” (fabric with pre-impregnated resin) that will last for 30 minutes or so. Use some scissors to cut out a little piece of it and directly apply it to those hard-to-reach areas.
An example of a vacuum bag setup. The gummy, clay-like vacuum bag tape is expensiev, but well worth it for removing leaks. Try at all costs to keep resin out of your vacuum hose.
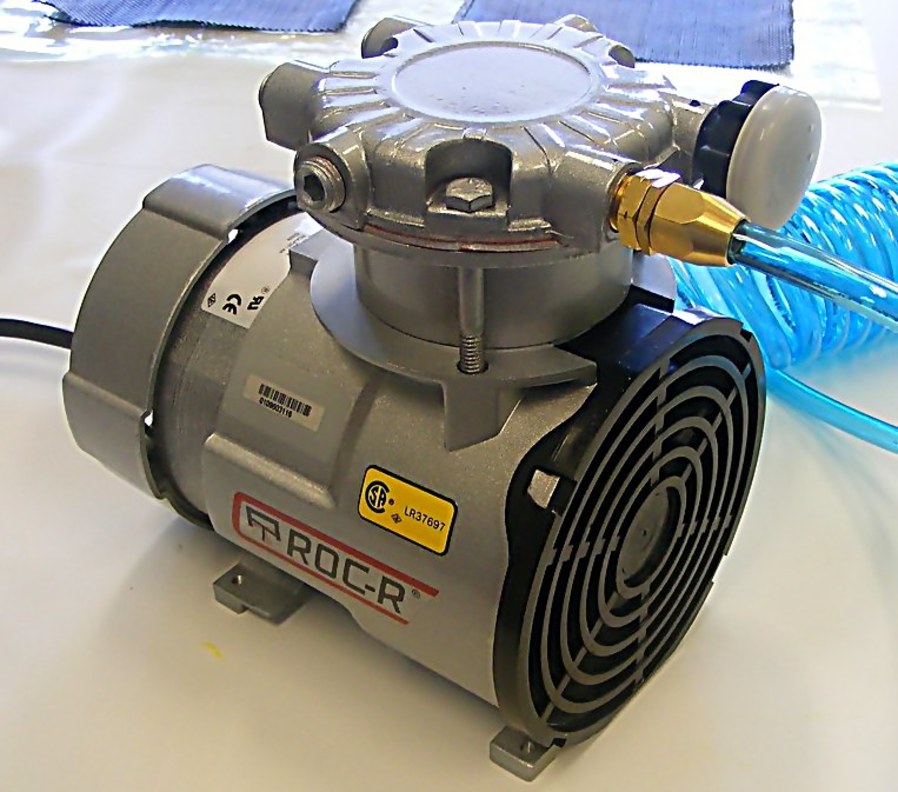
A close-up of the vacuum pump I used.
Here’s a sample piece of the Nomex honeycomb core after being cut out. It makes a really, really light and stiff part. This thing is just 1 layer of carbon and some paper honexcomb, and it’s just barely breakable with your hands. If the edges were sealed (leaving the nomex exposed to the air is a big no-no) as would be common in a non-sample part, it would be even harder to break or crush the core.
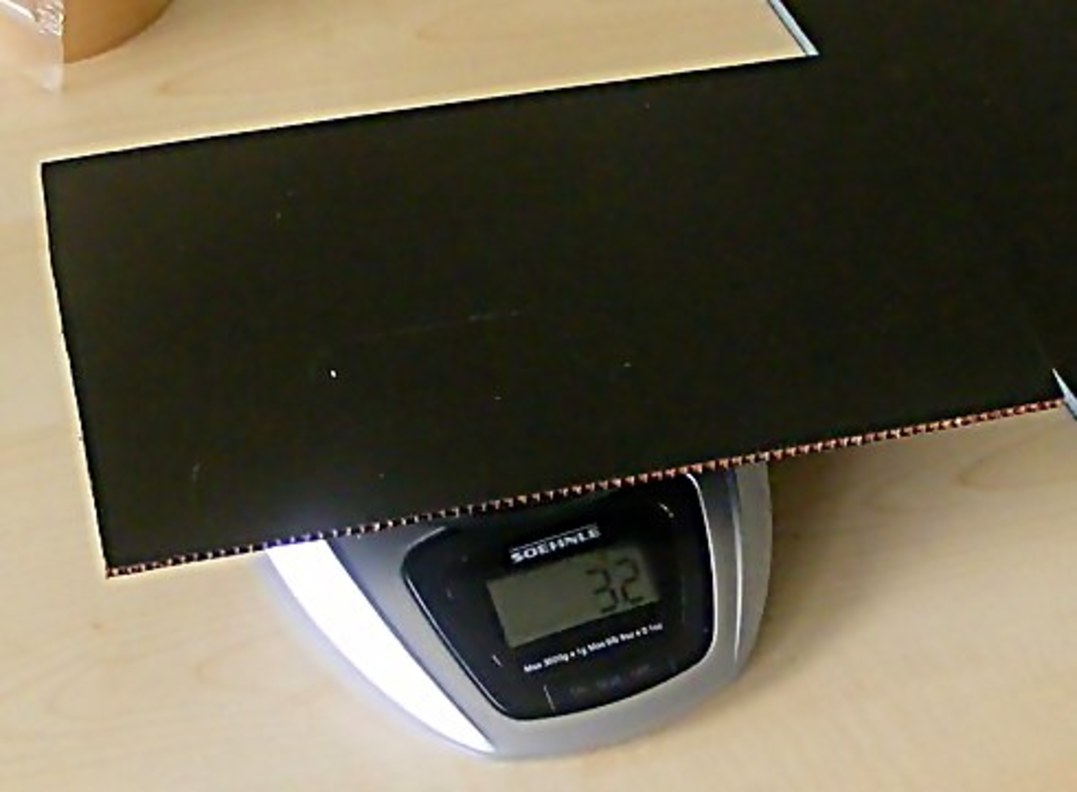
Kevlar is surprisingly resin-hungry, and absorbs a lot of epoxy in my experience. Even just a single layer of kevlar weighs as much as two layers of carbon fiber over nomex honeycomb. If you can stand the extra weight, though, xbKevlar is decidedly “tougher” and less brittle.
If this article interested you, perhaps look at the FRP tutorial slides I made, or watch the tutorial video.